September 17, 2023
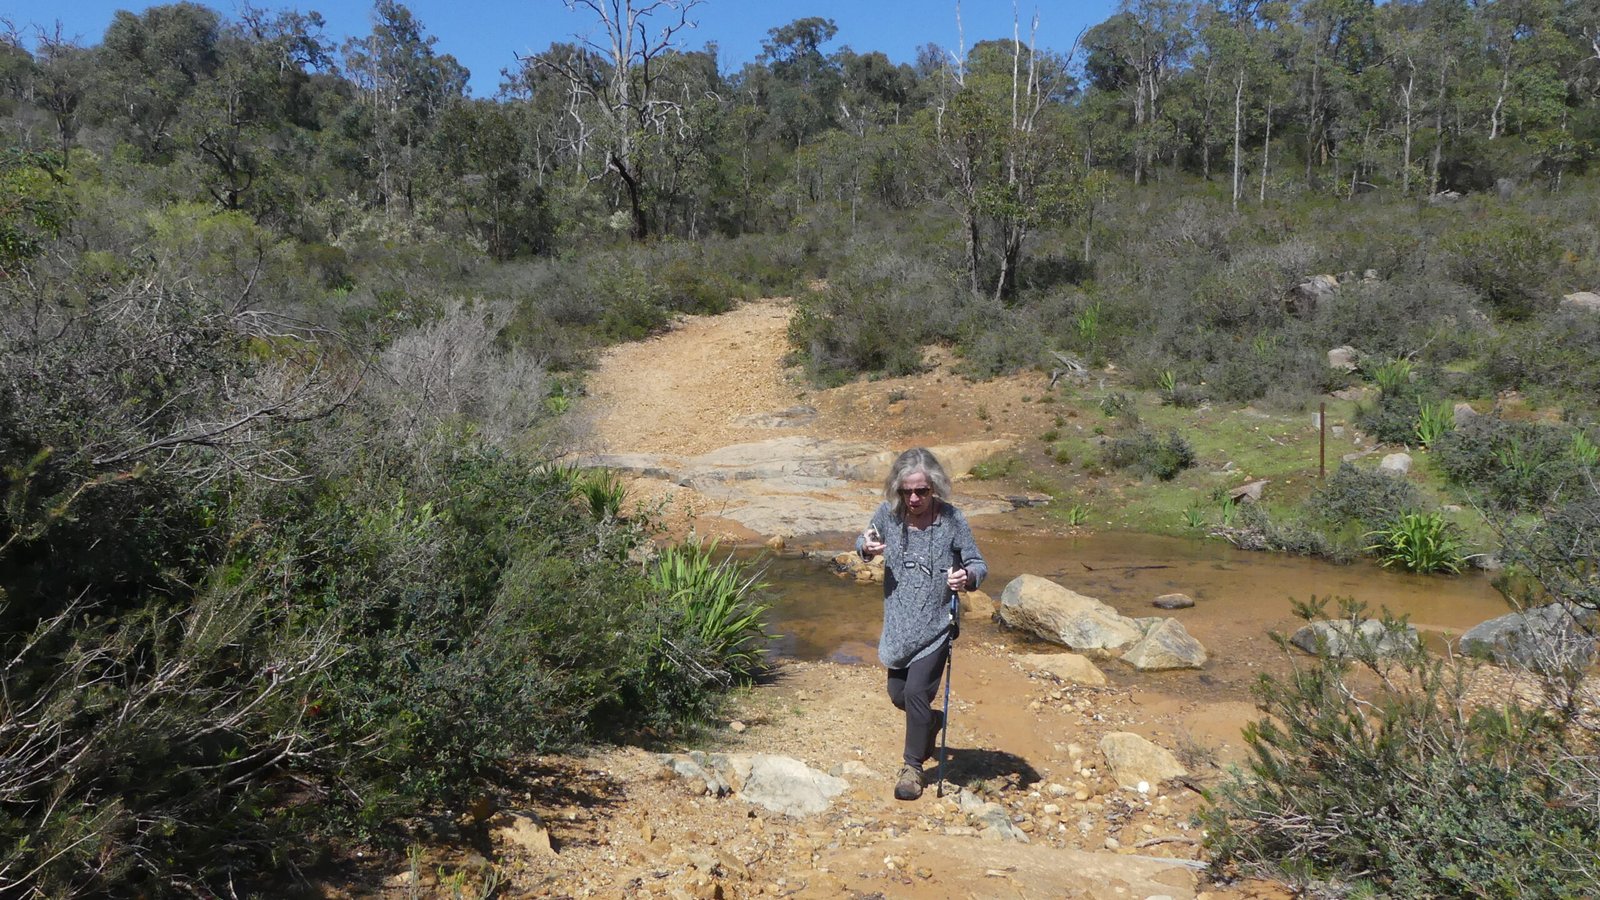
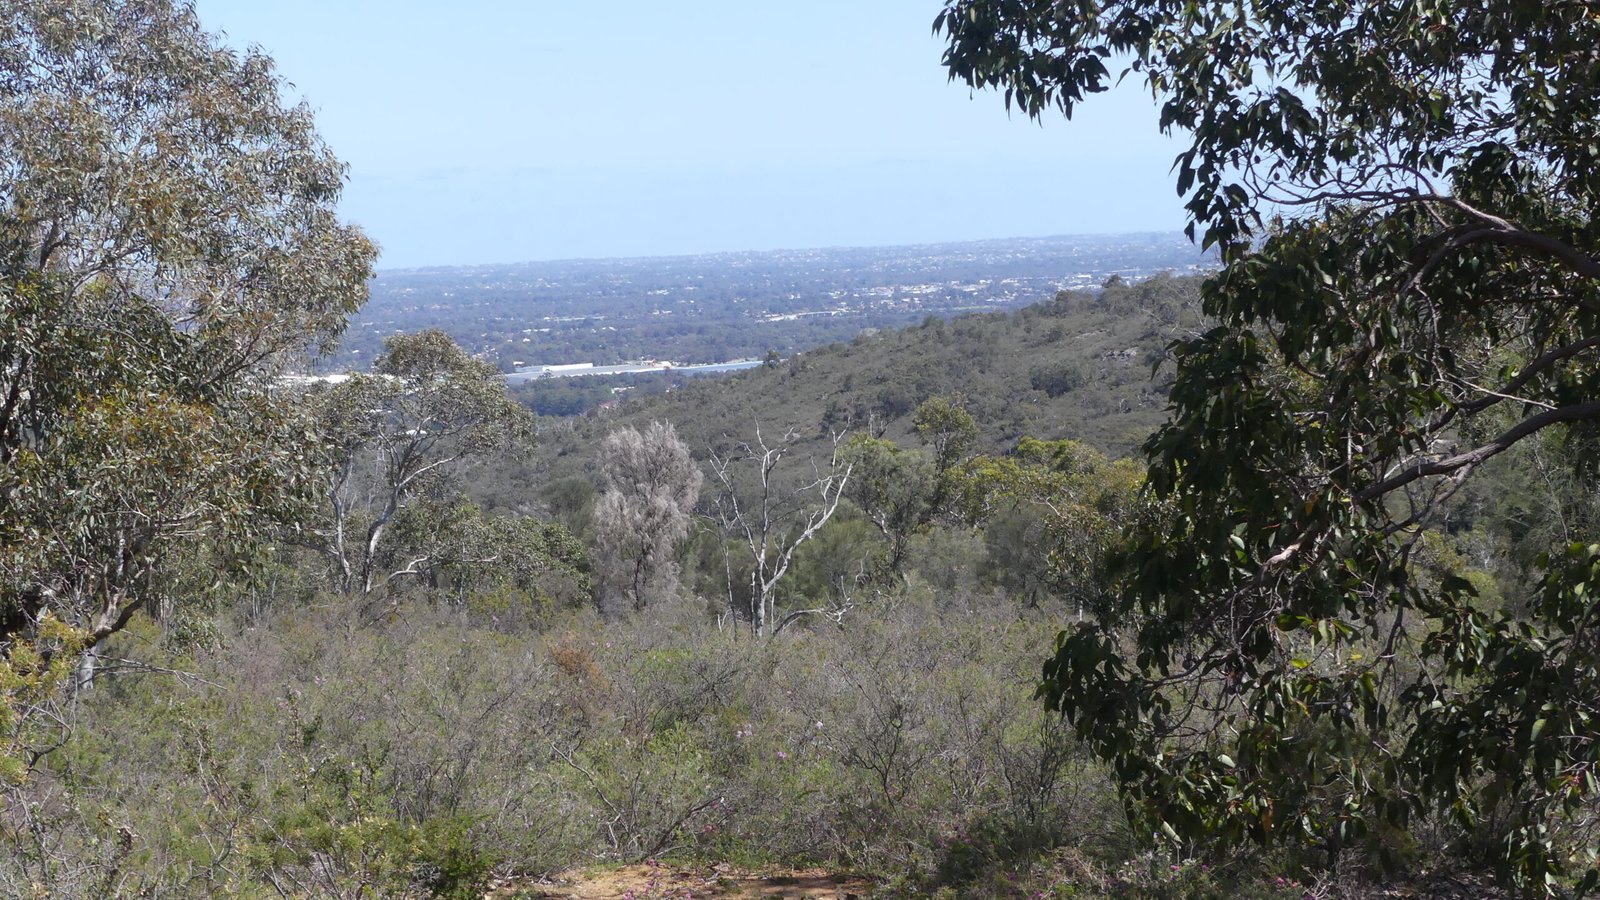
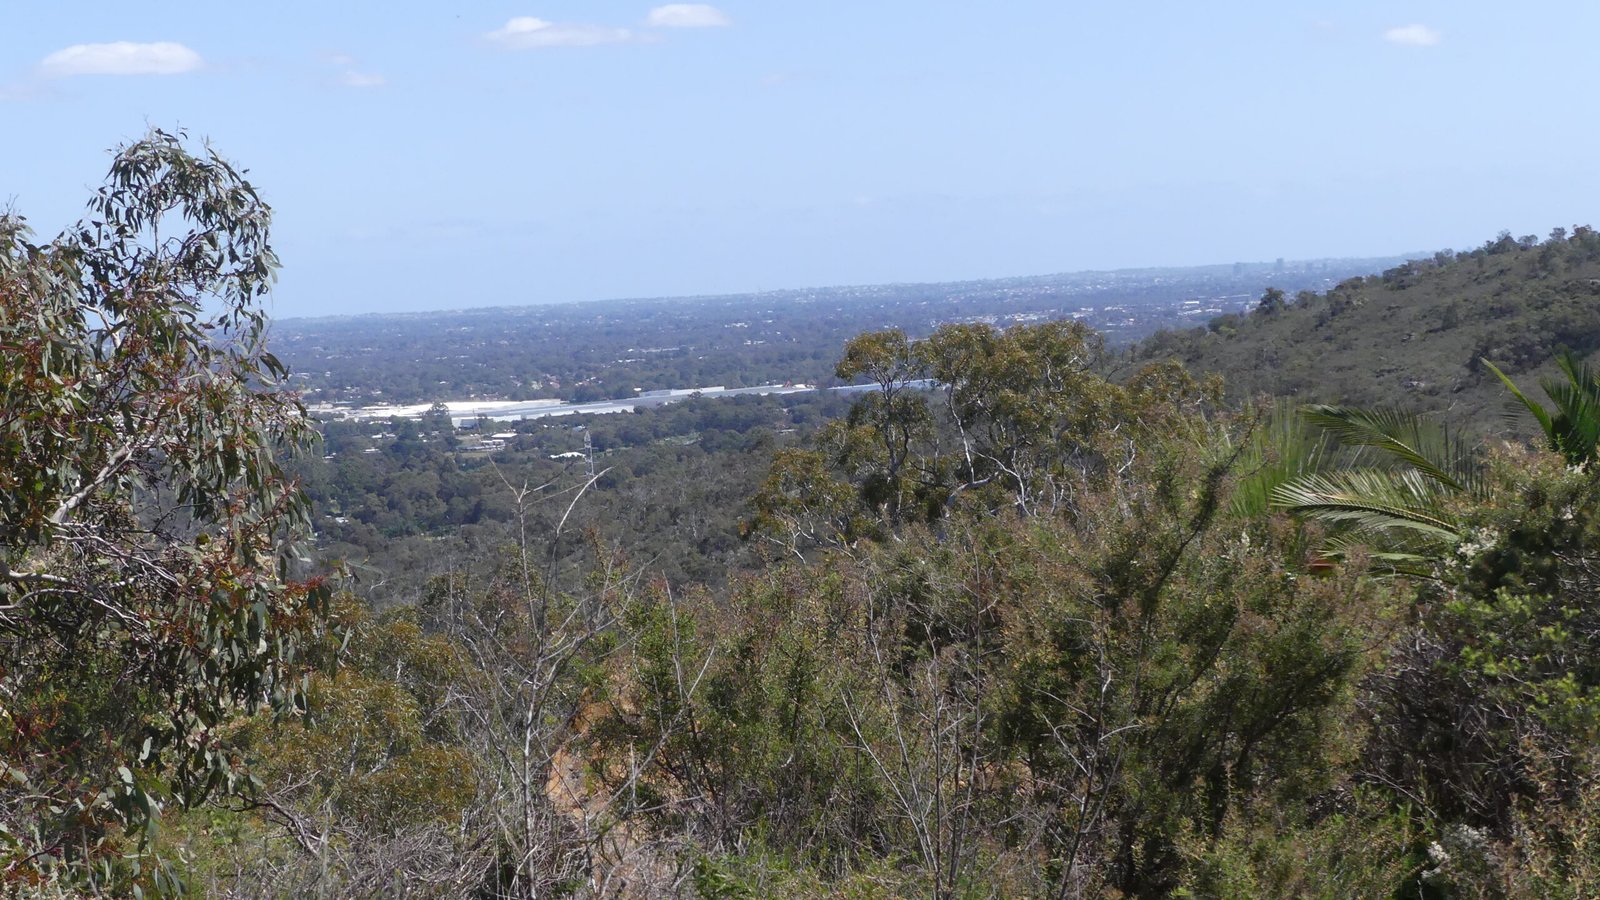
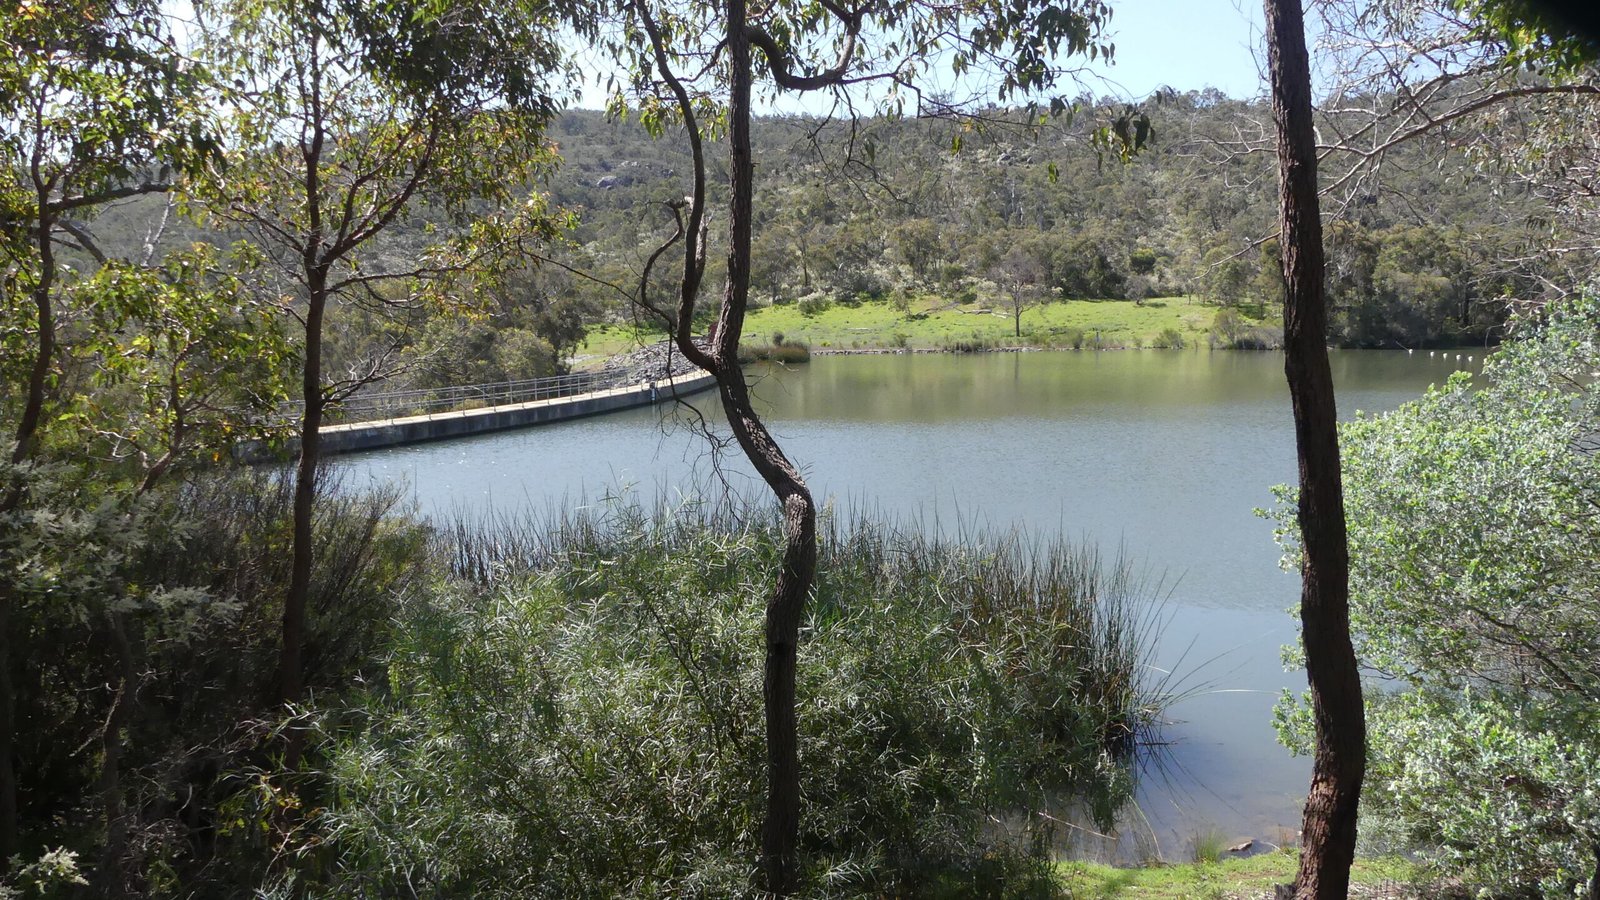
Following from the previous weekend walk we travelled only a couple of kilometres from the Caravan Park to Bickley Reservoir.
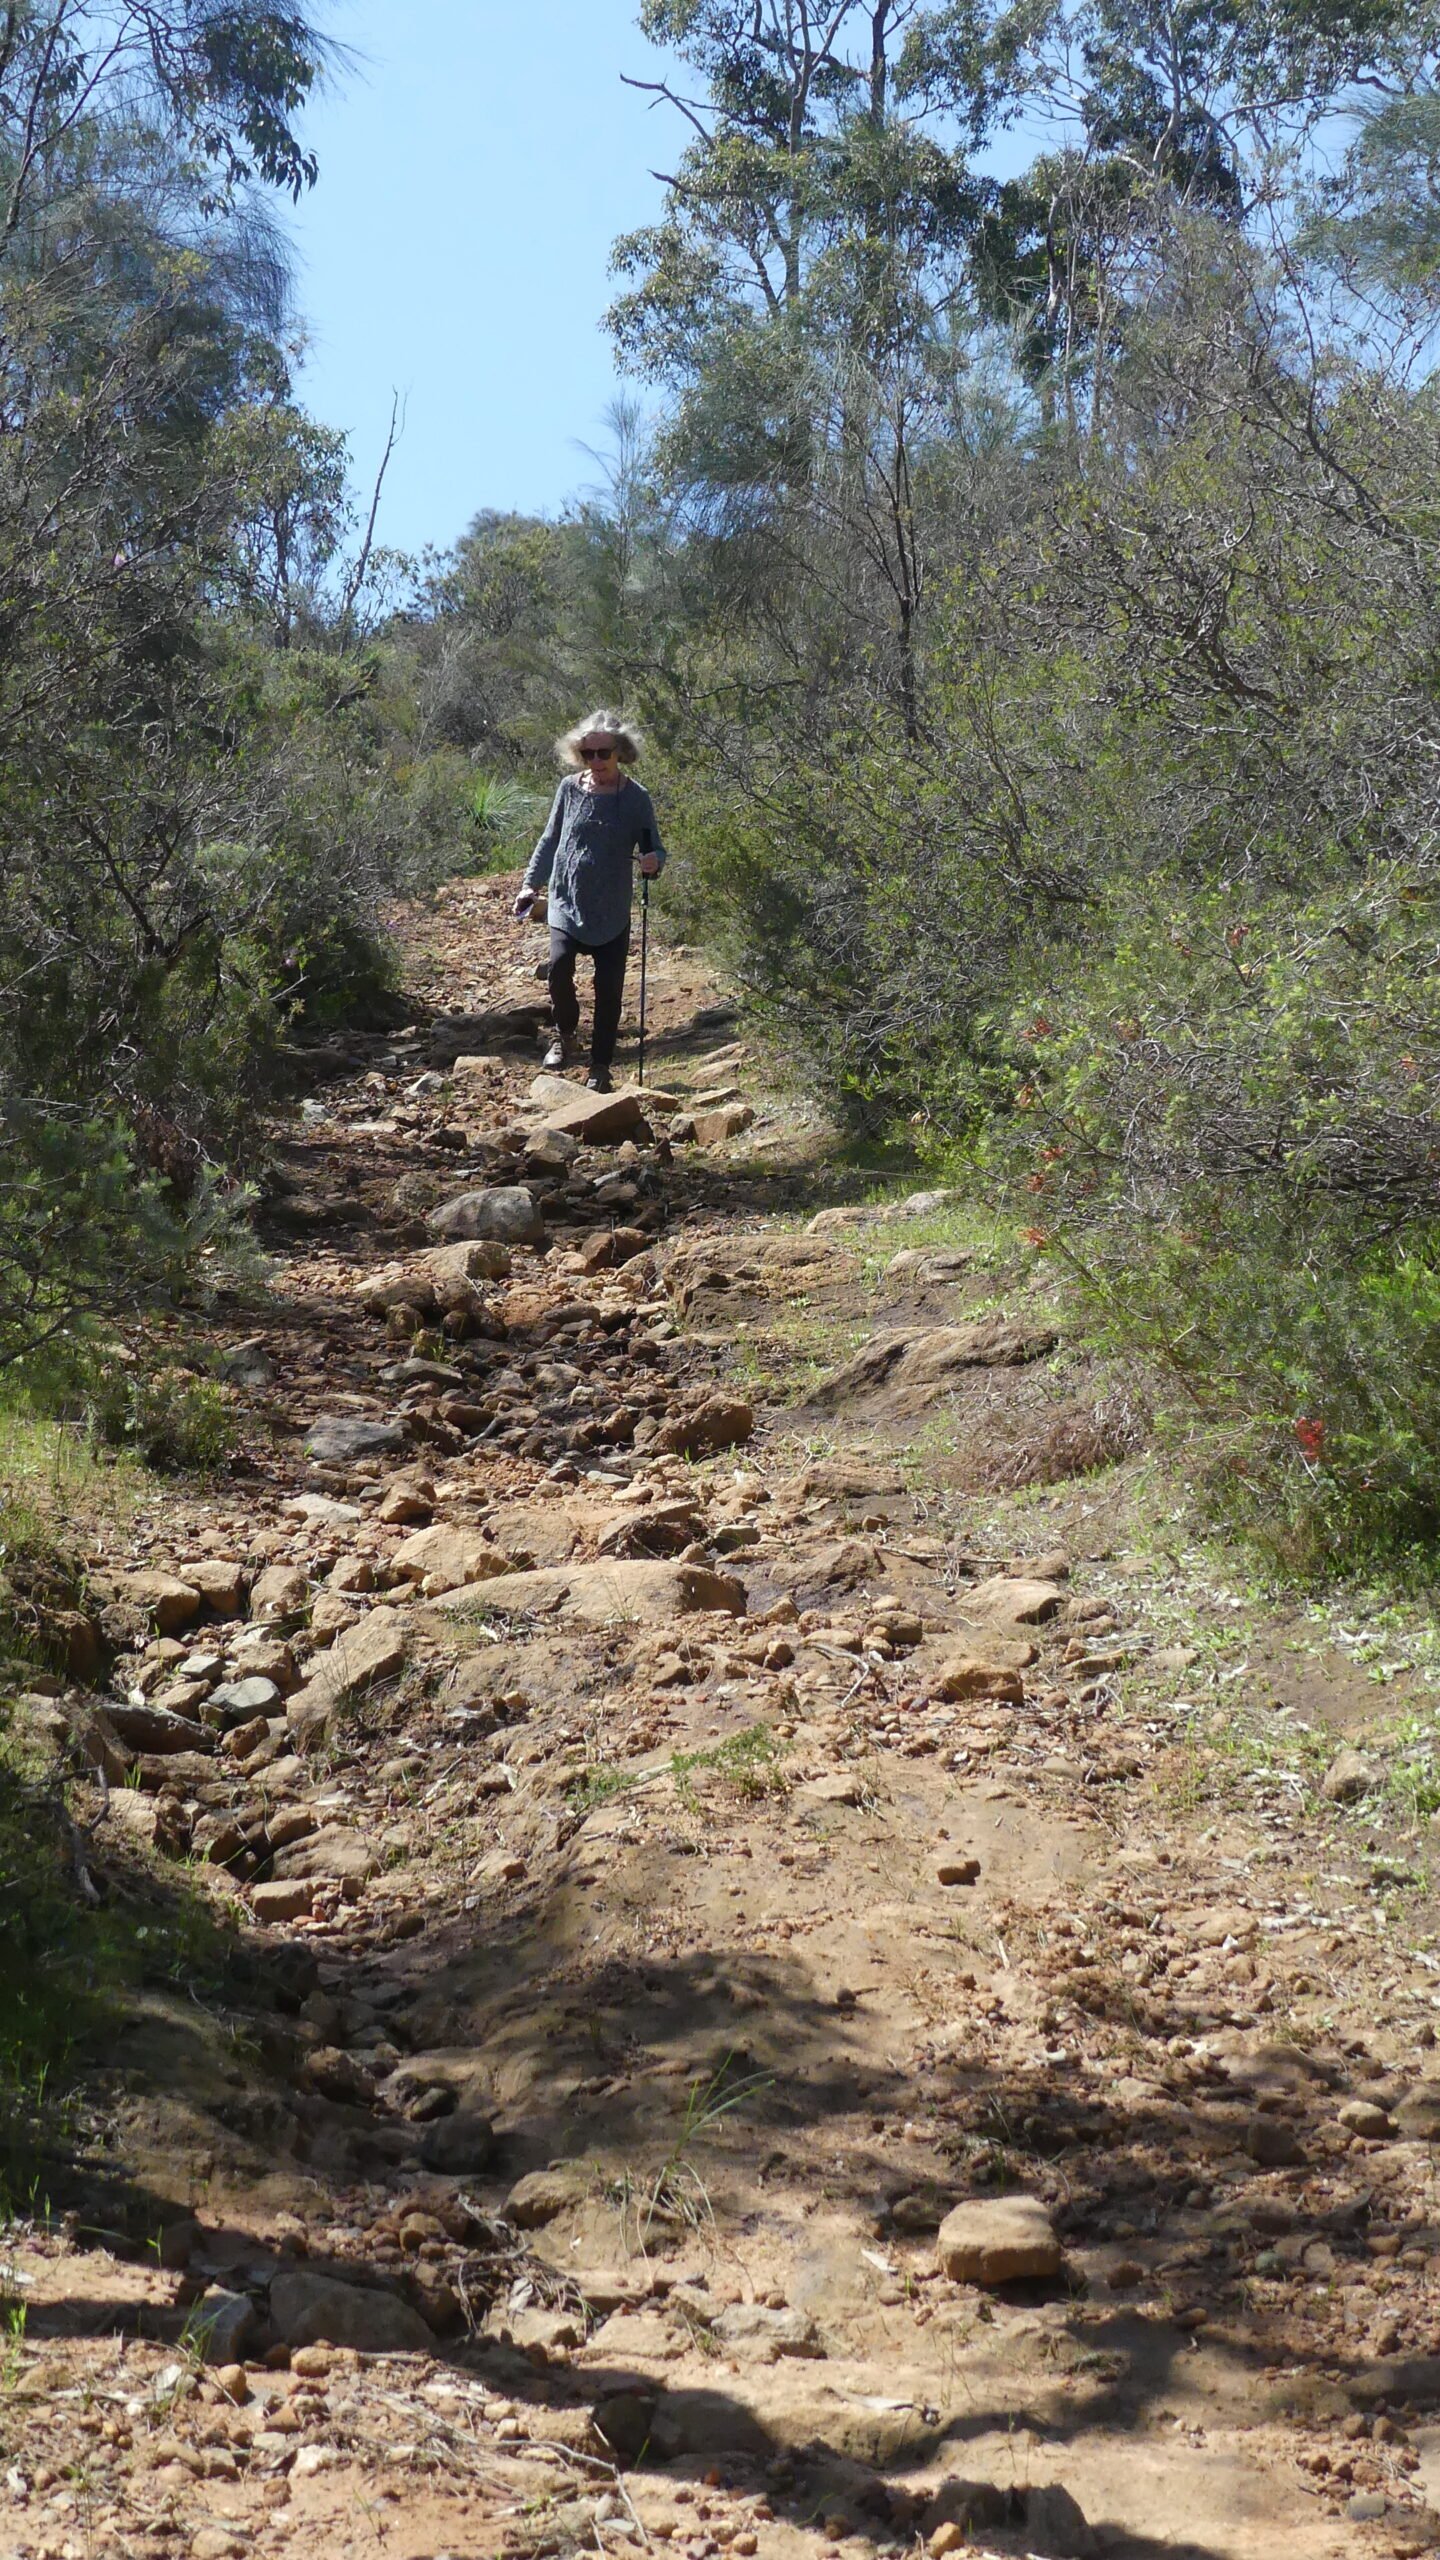
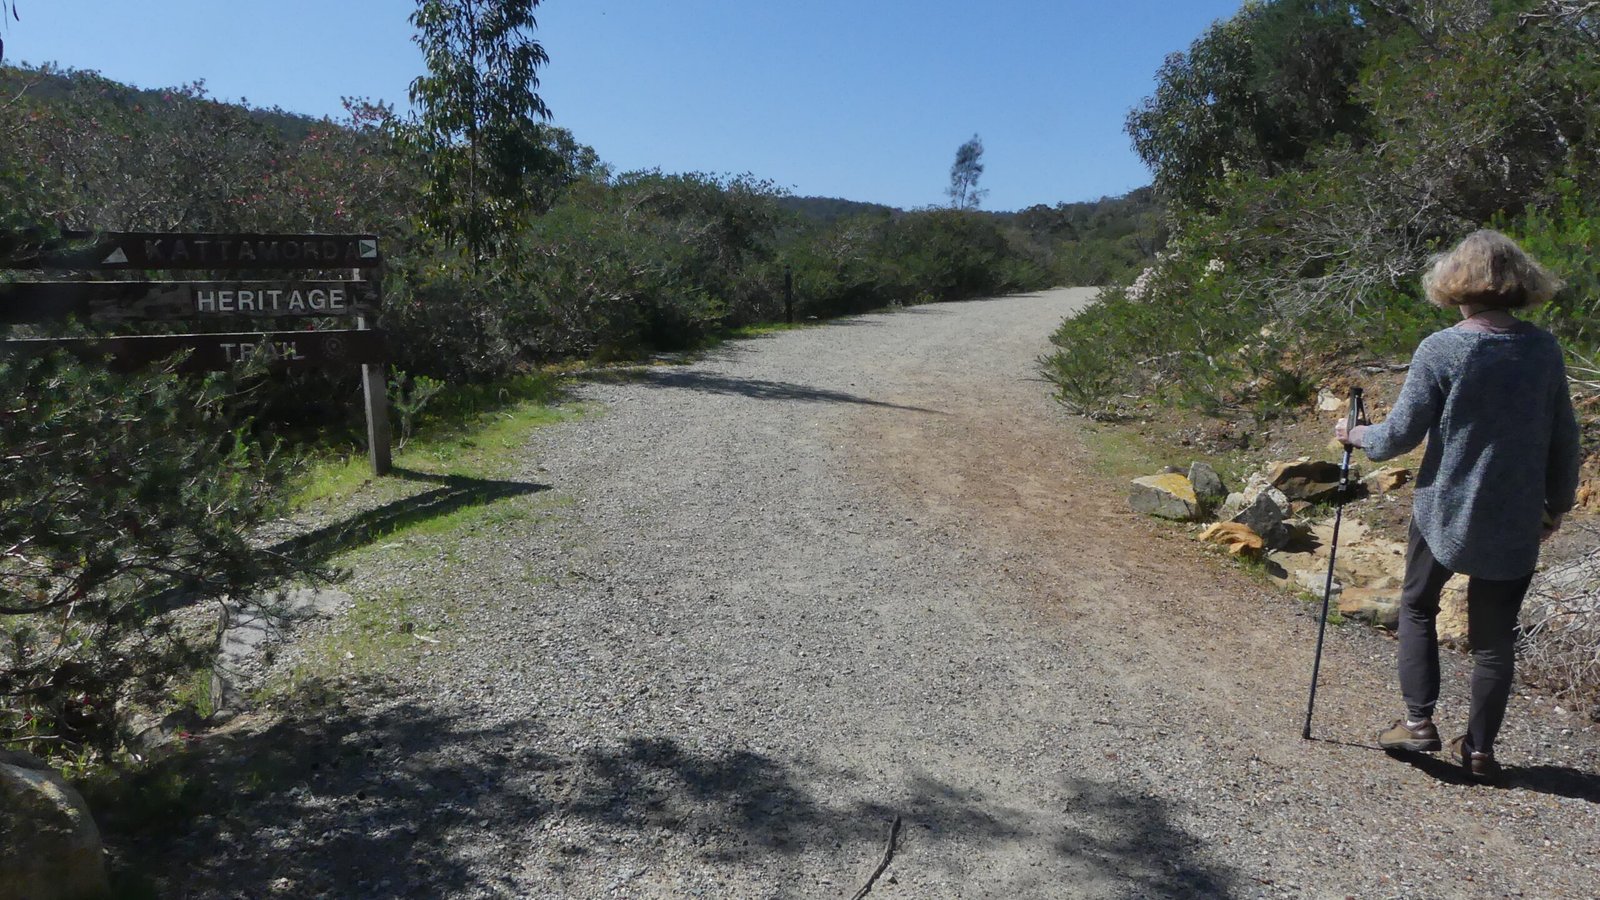
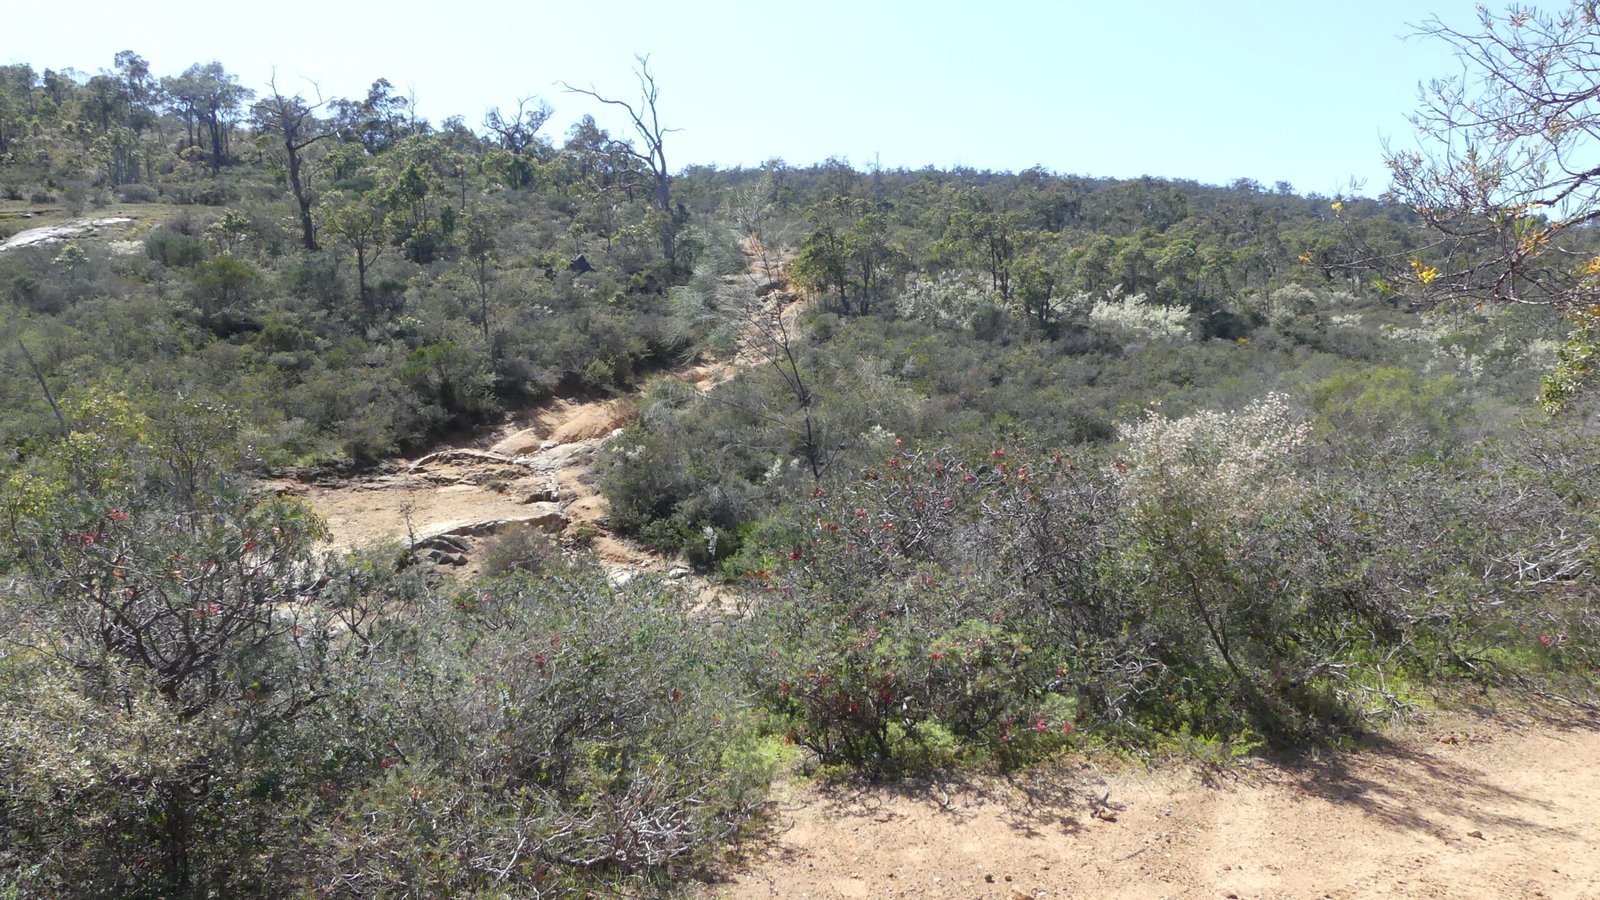
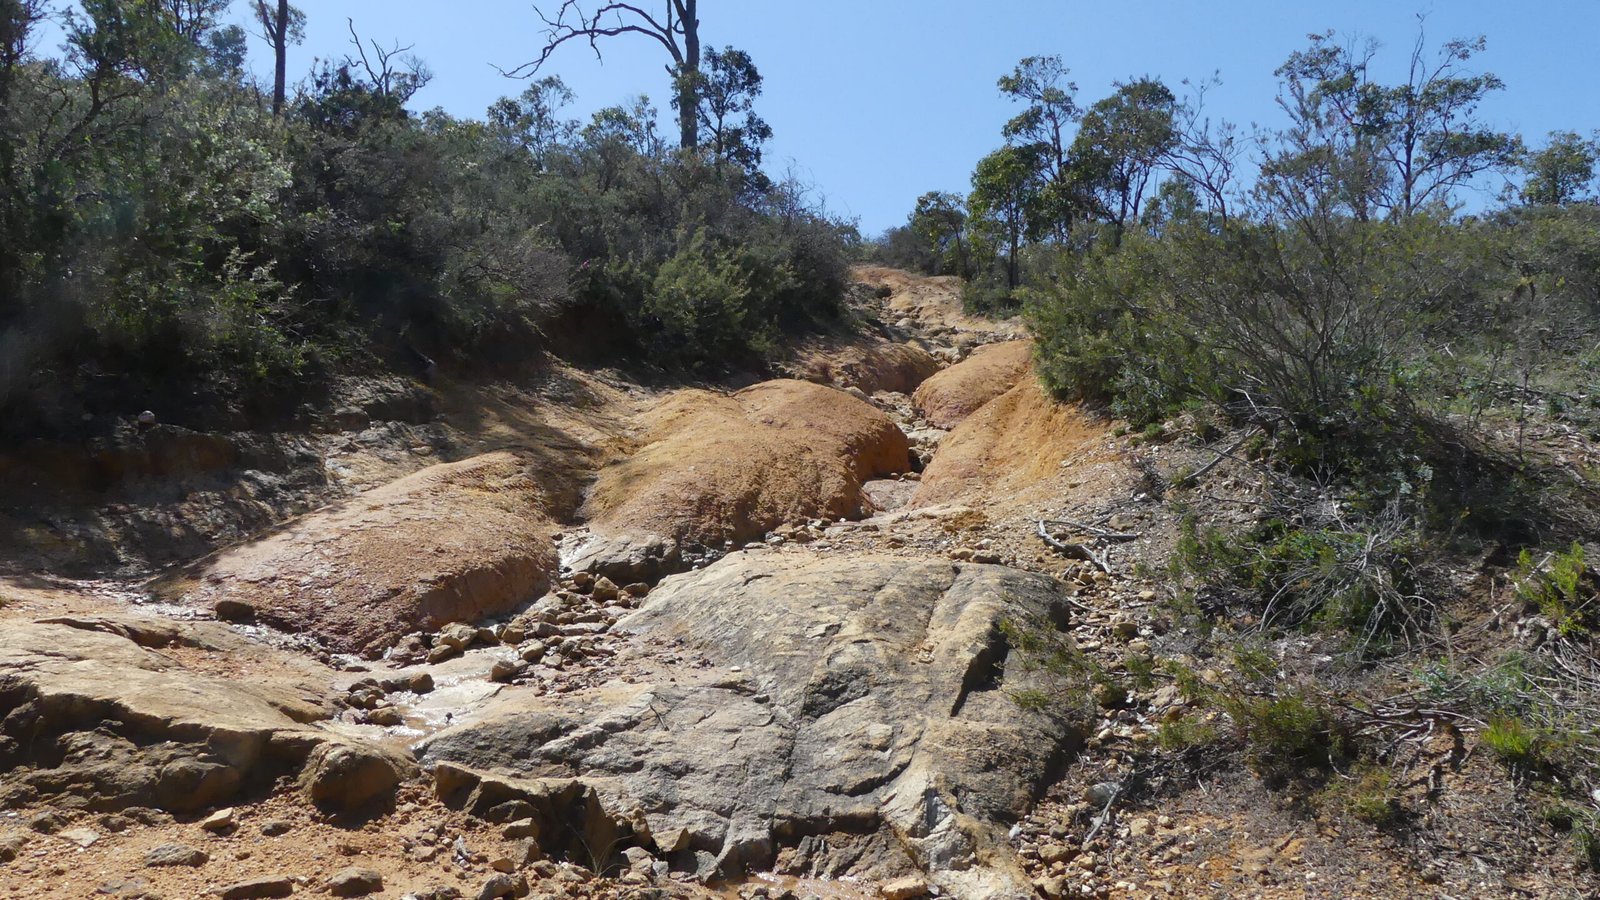
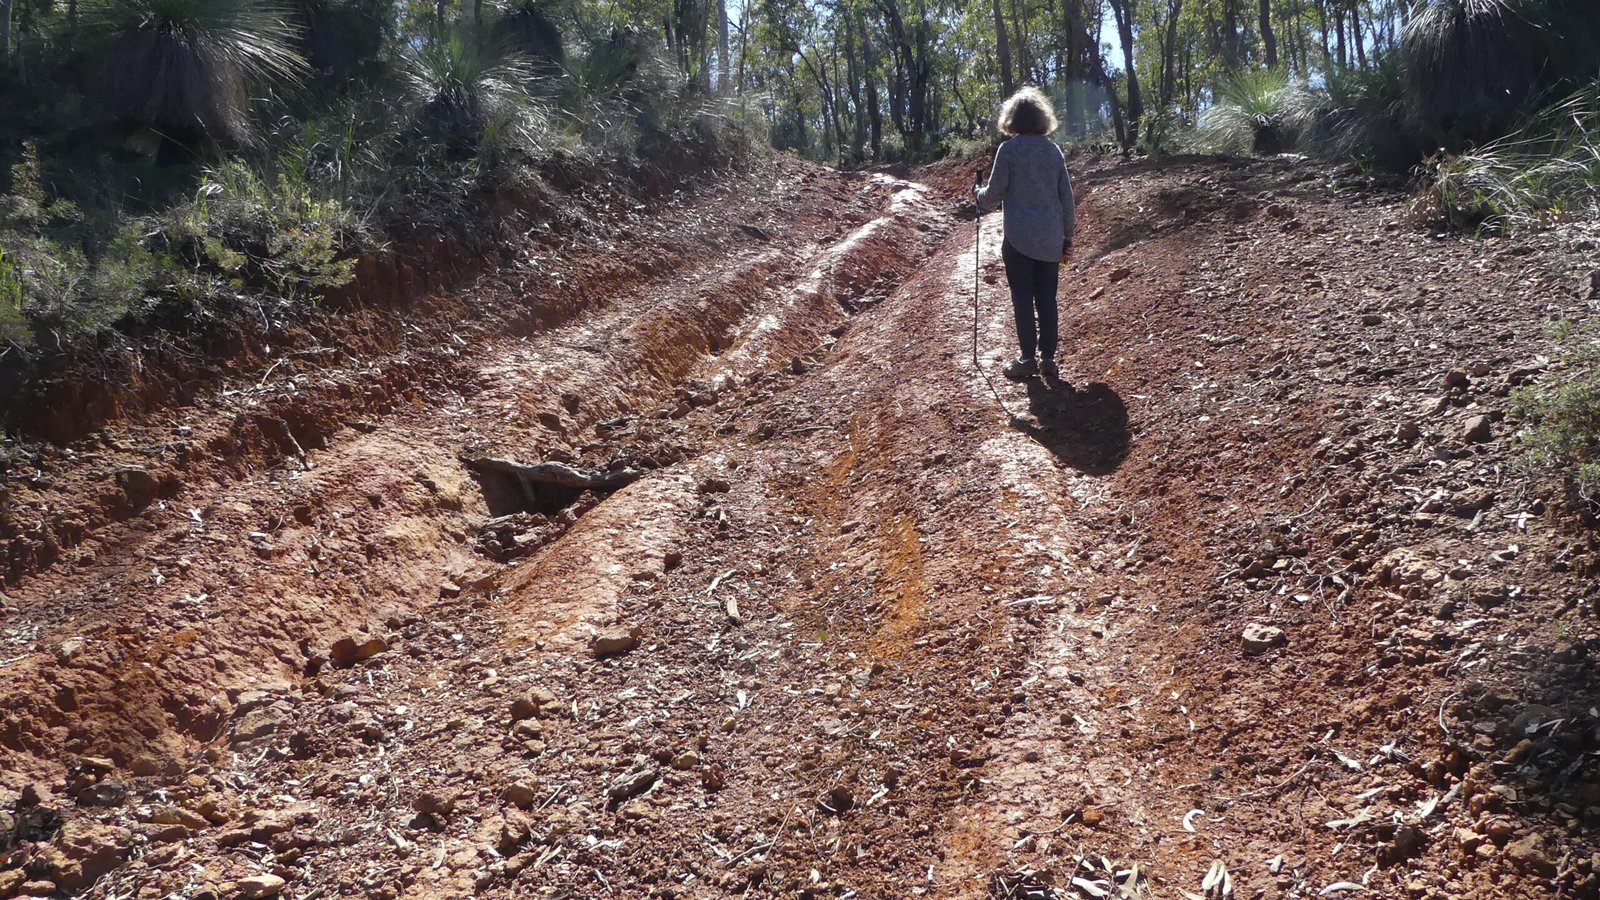
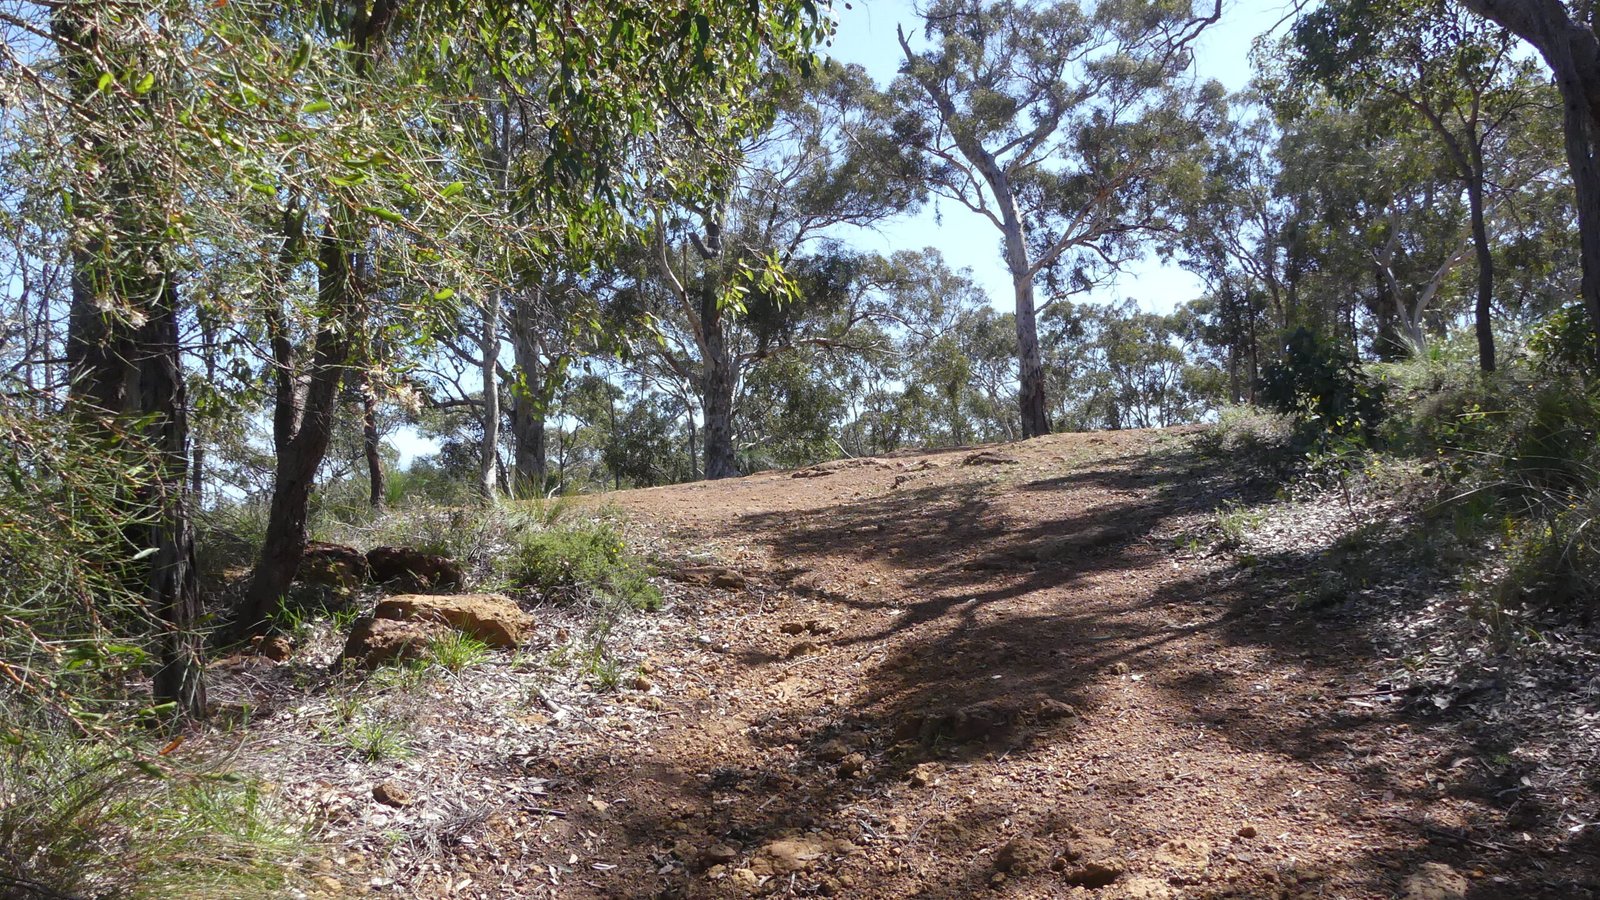
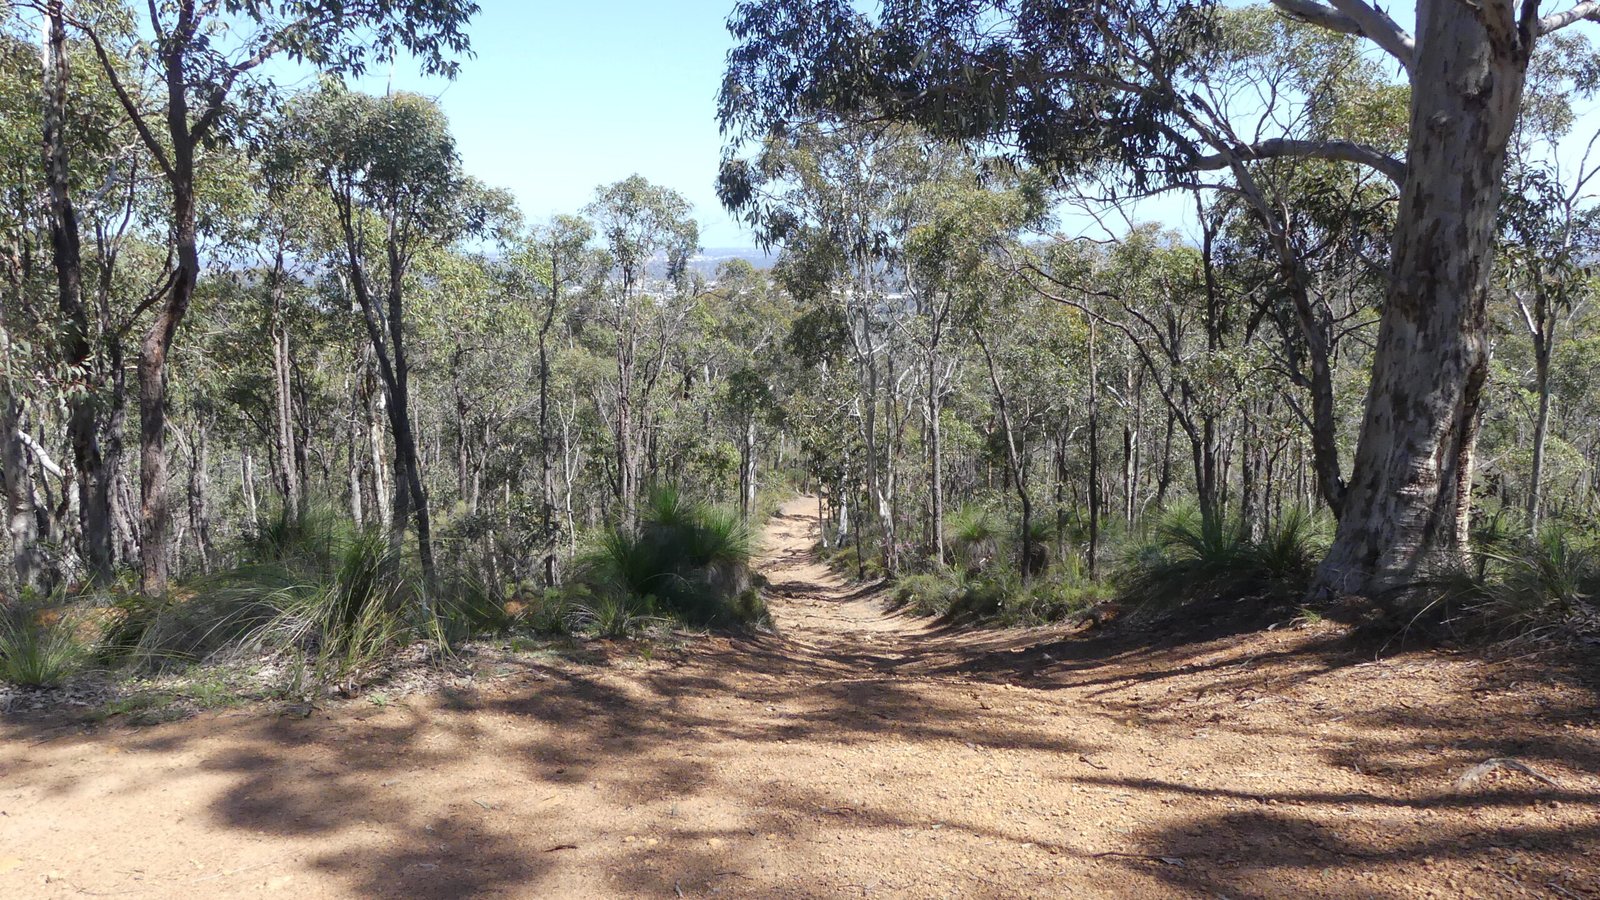
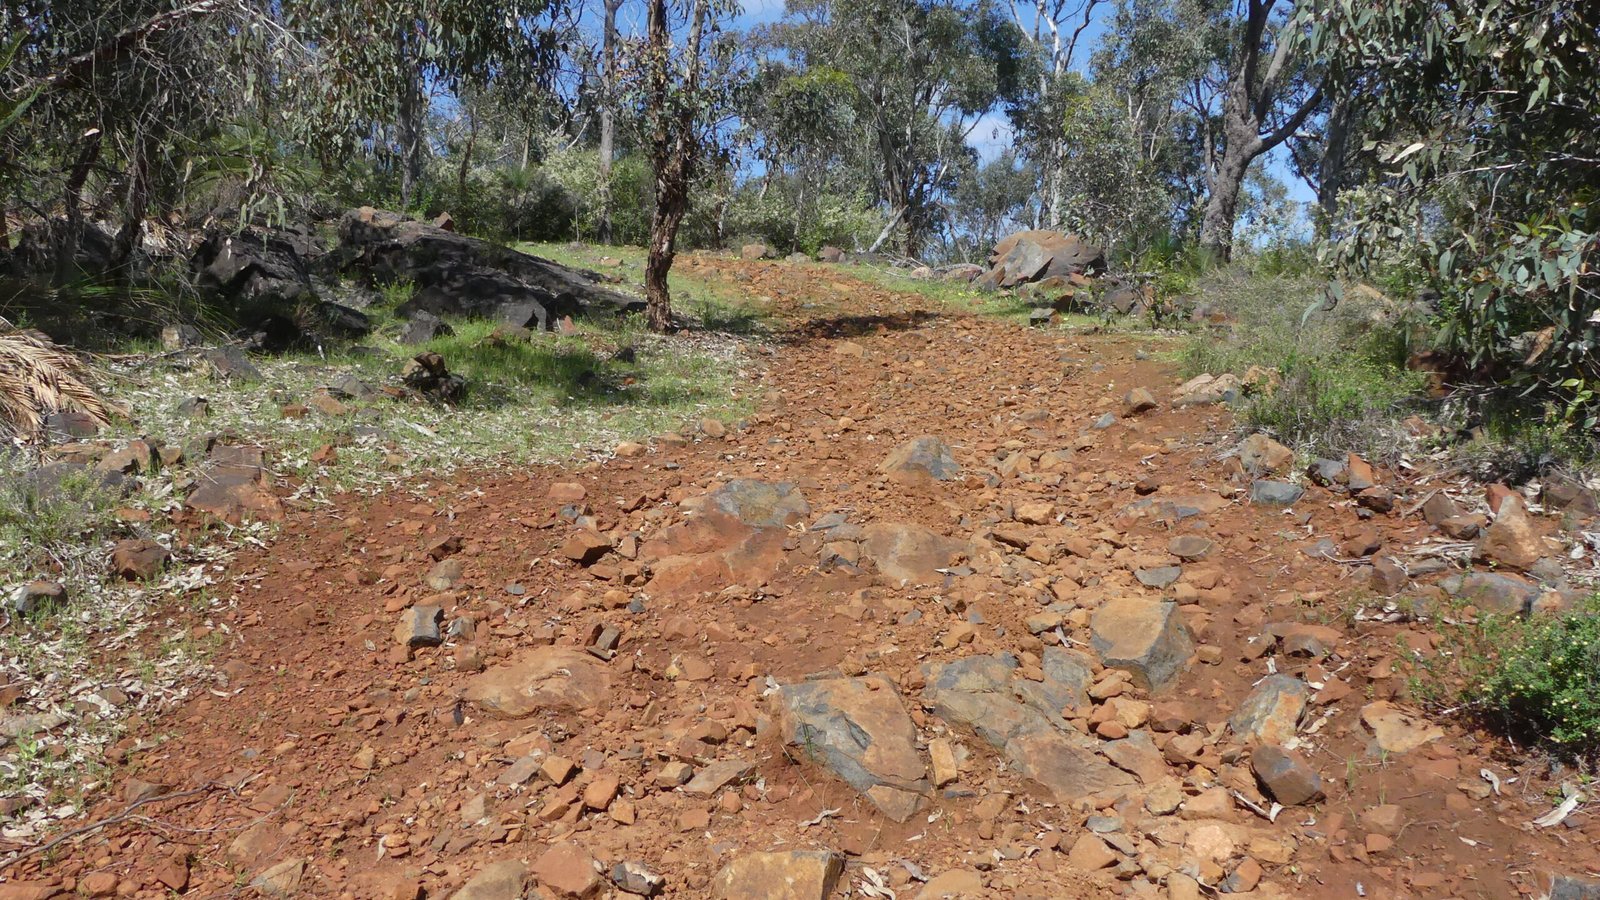
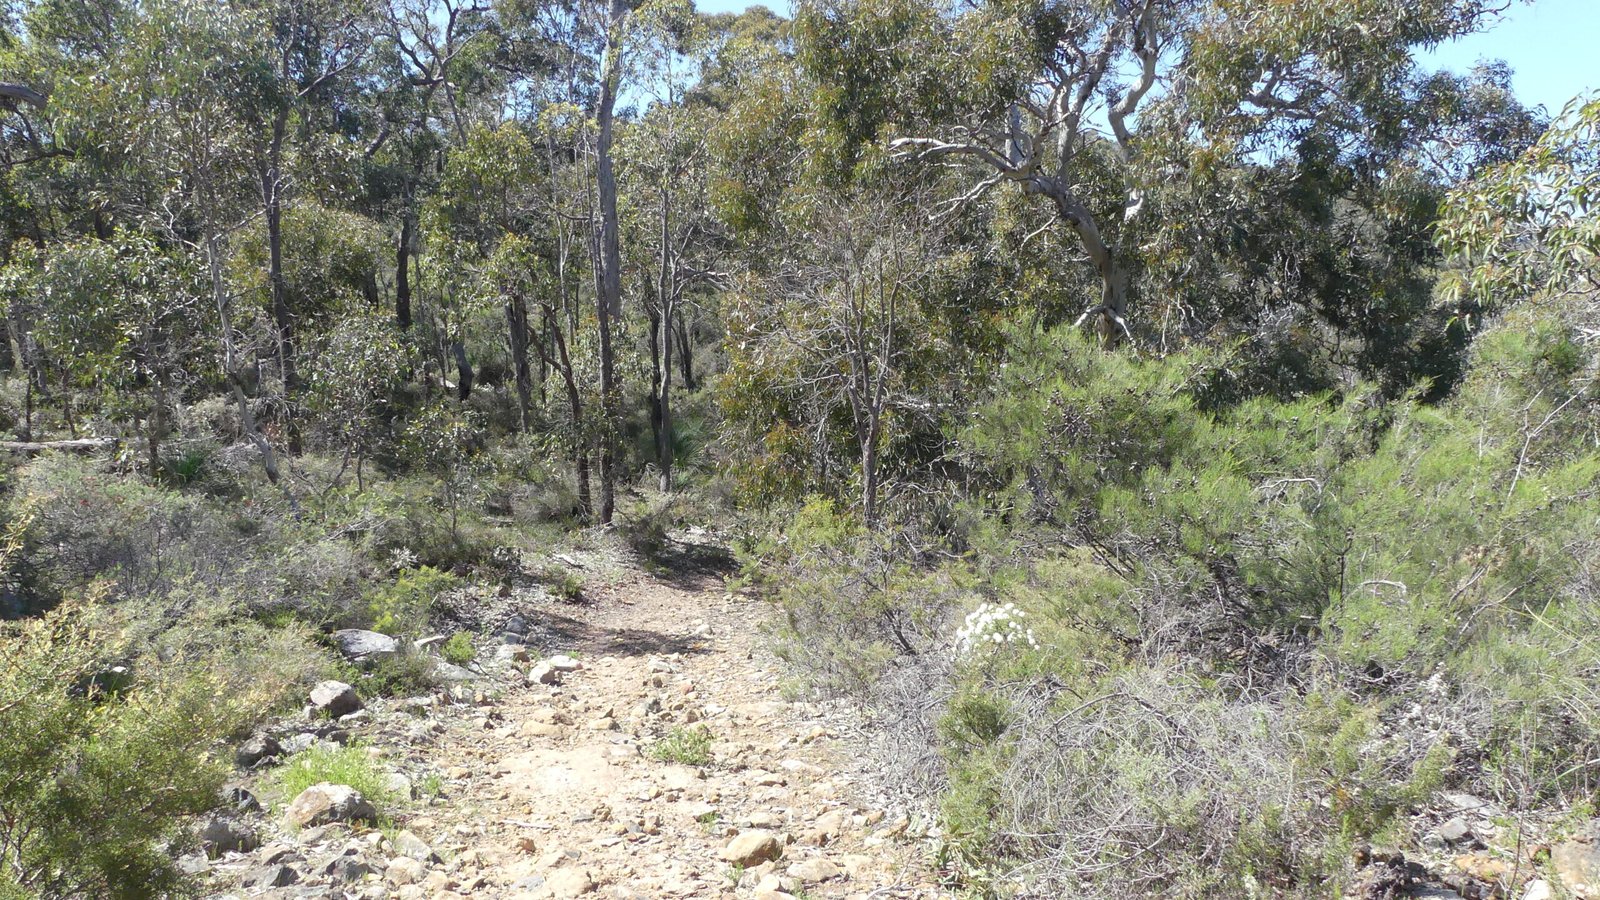
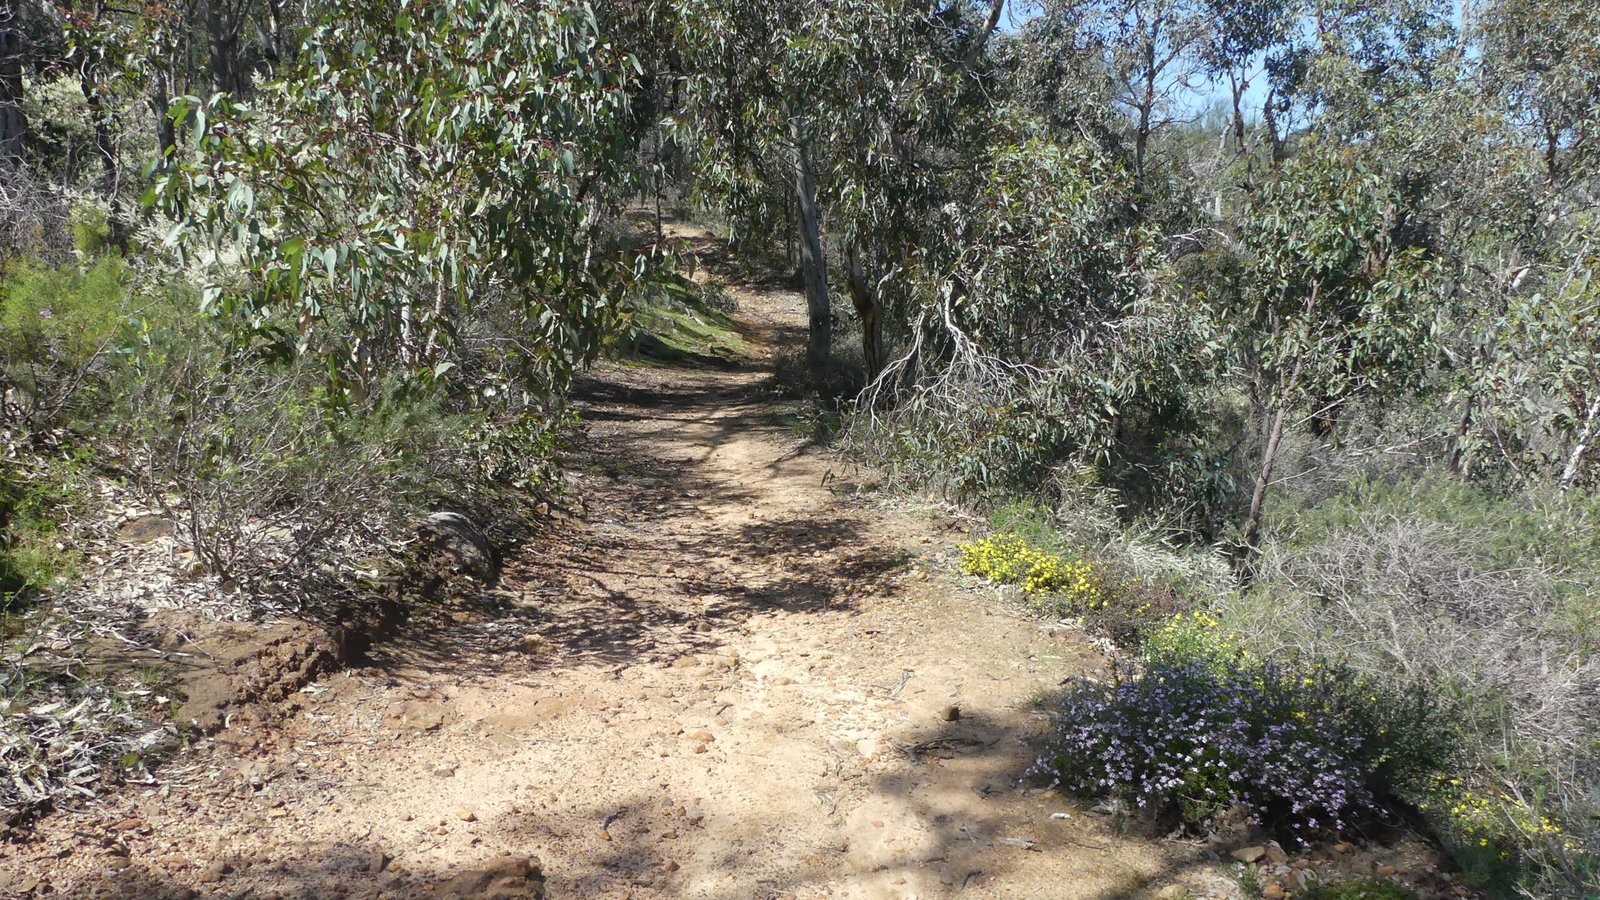
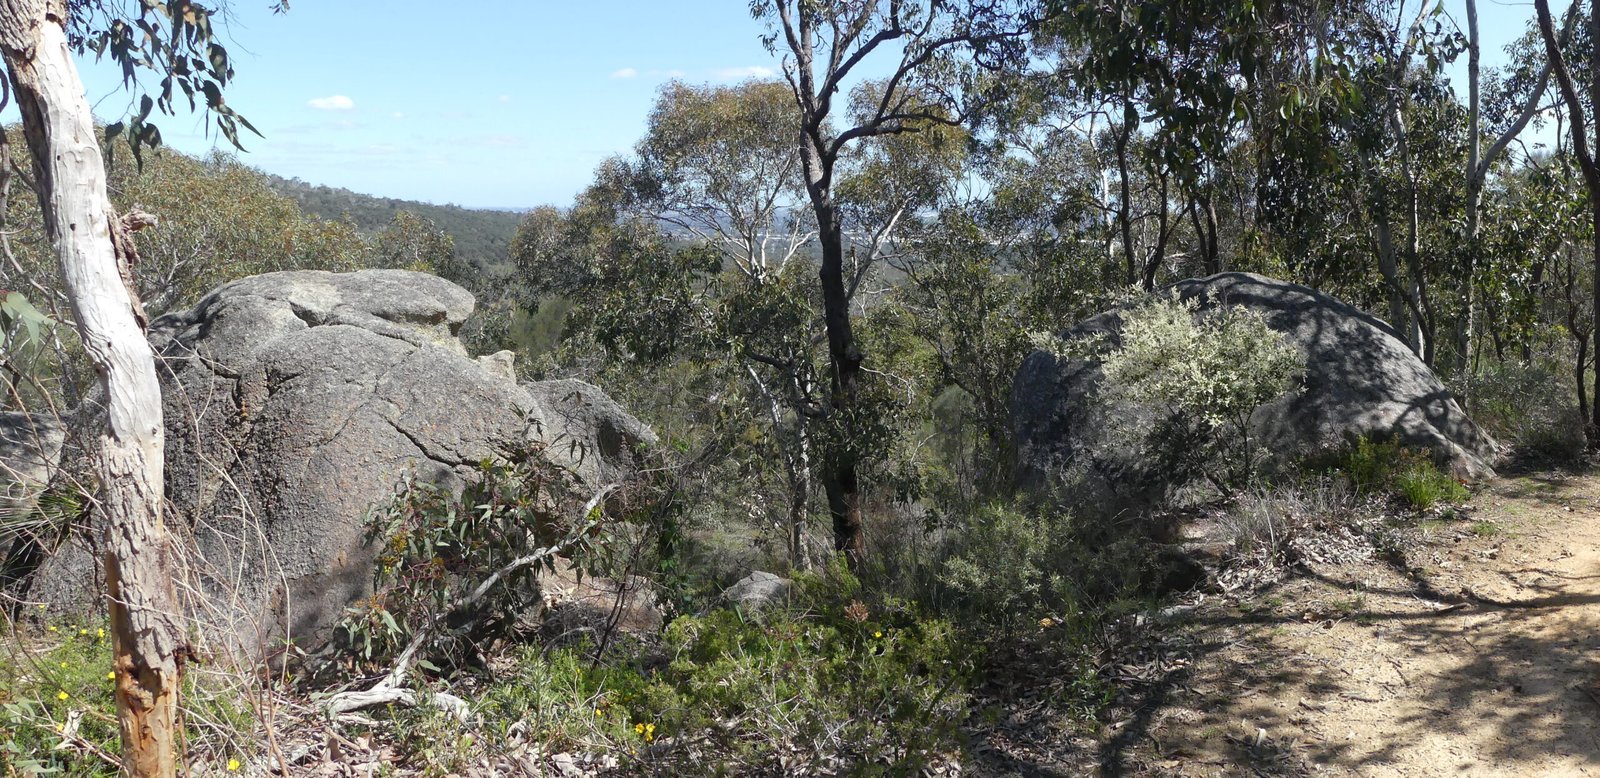
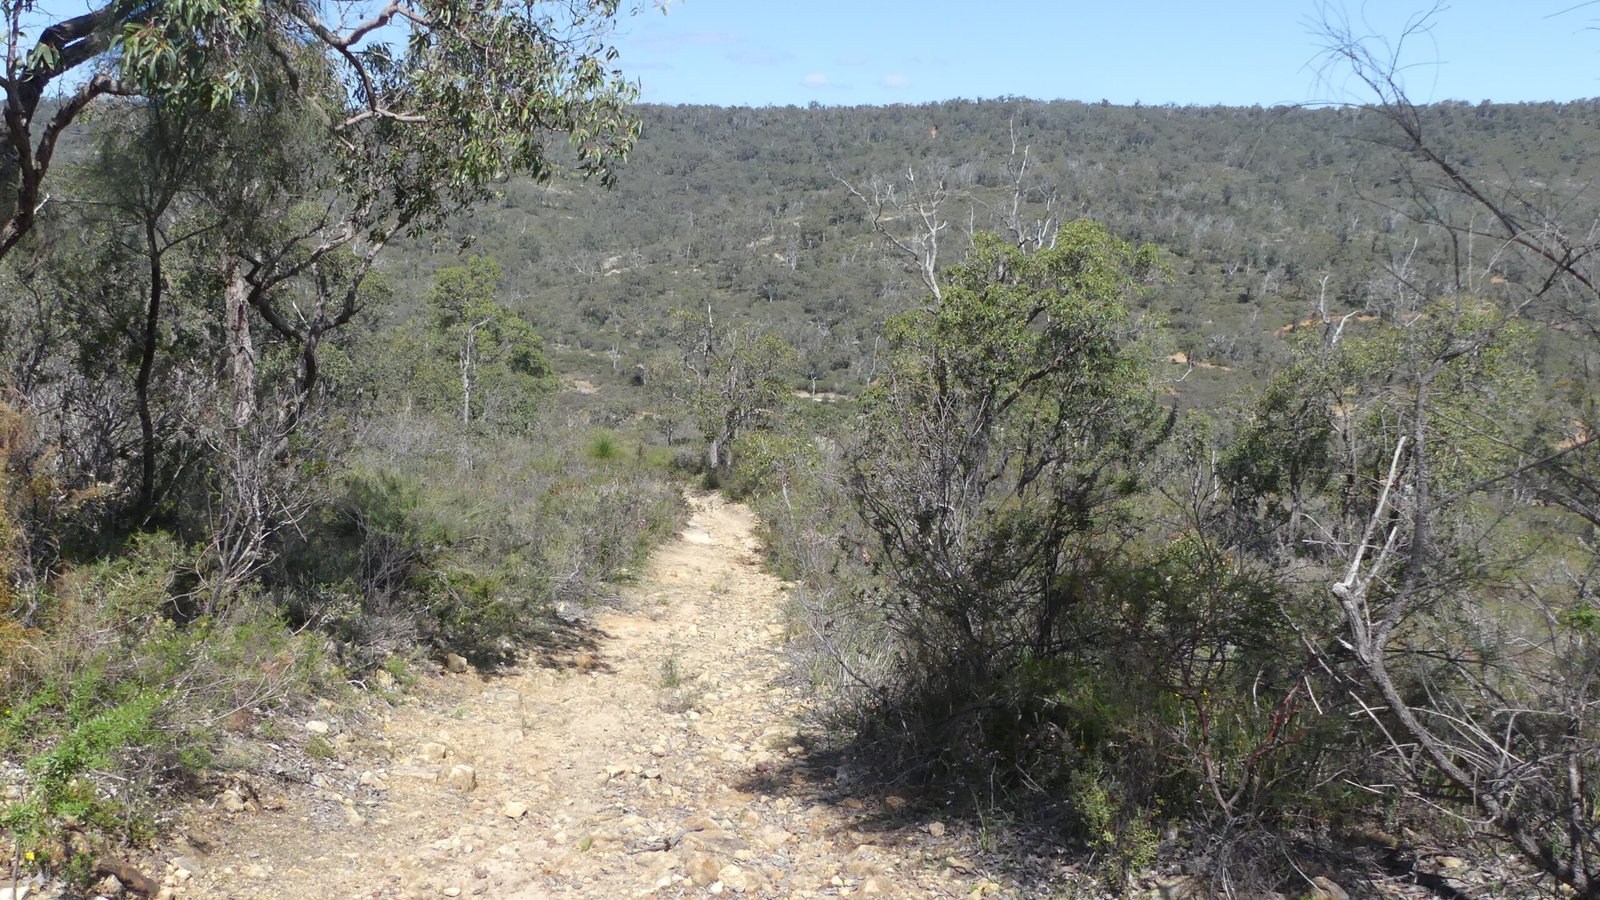
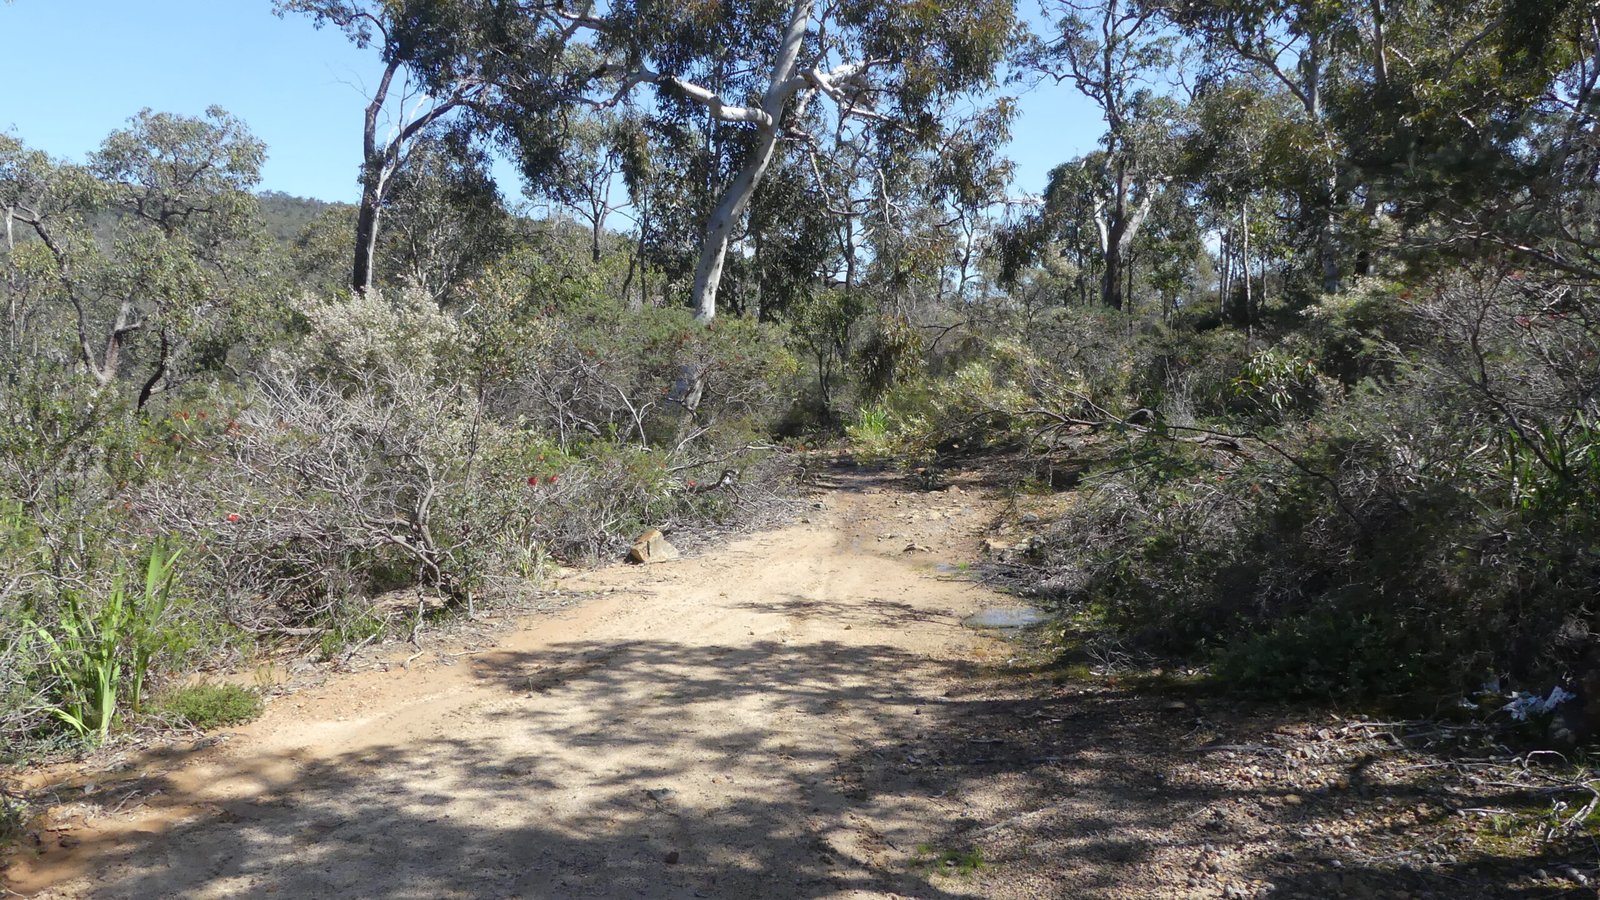
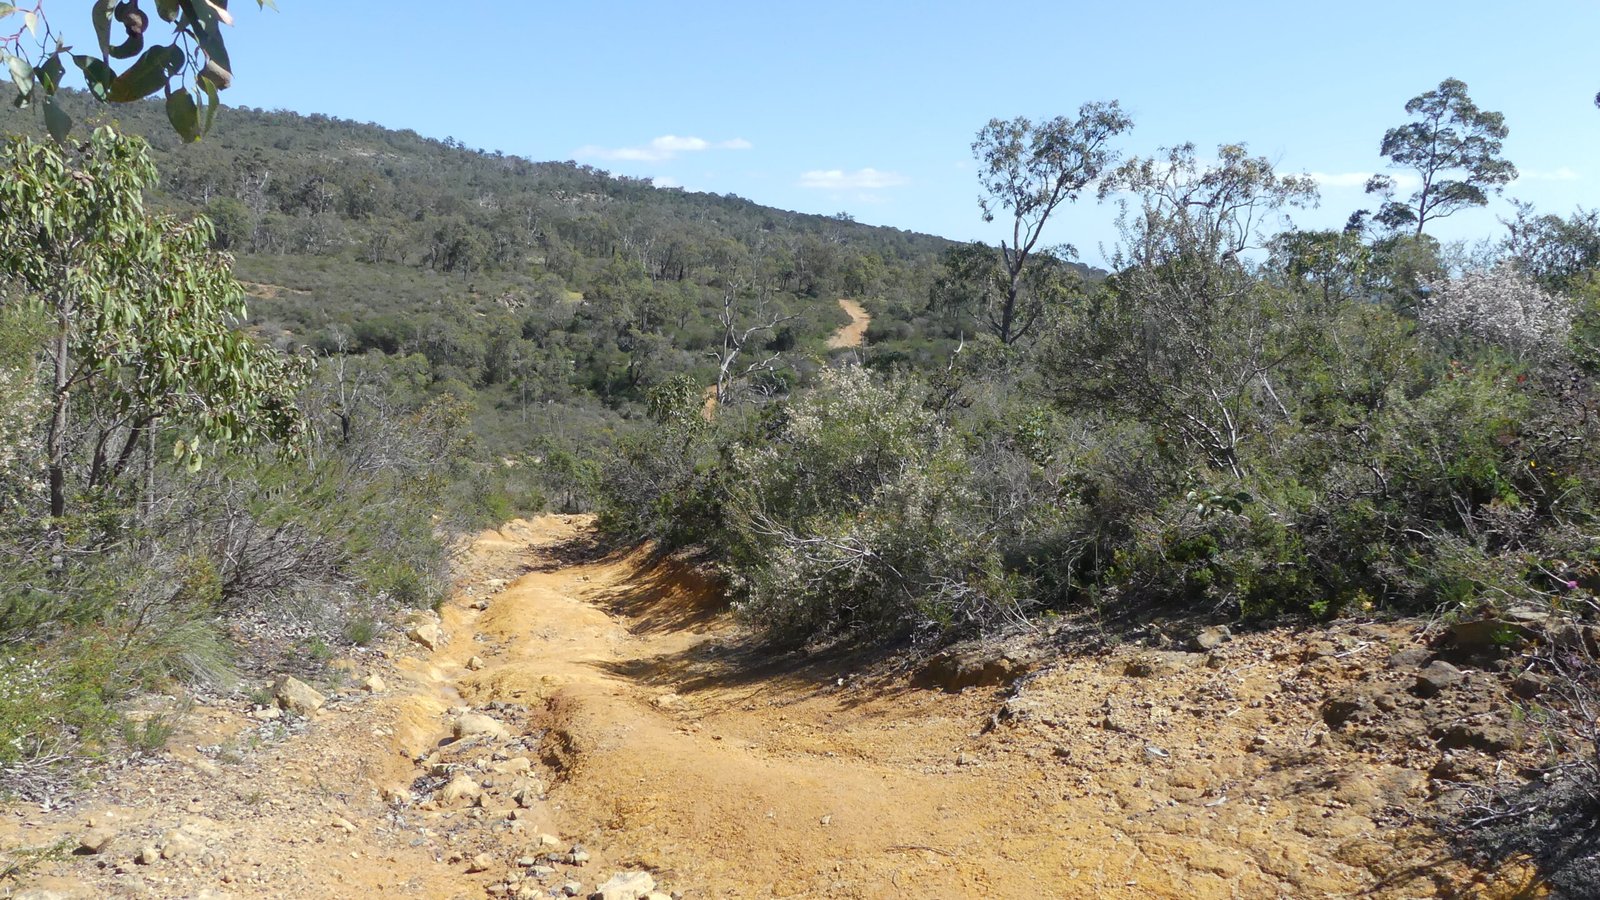
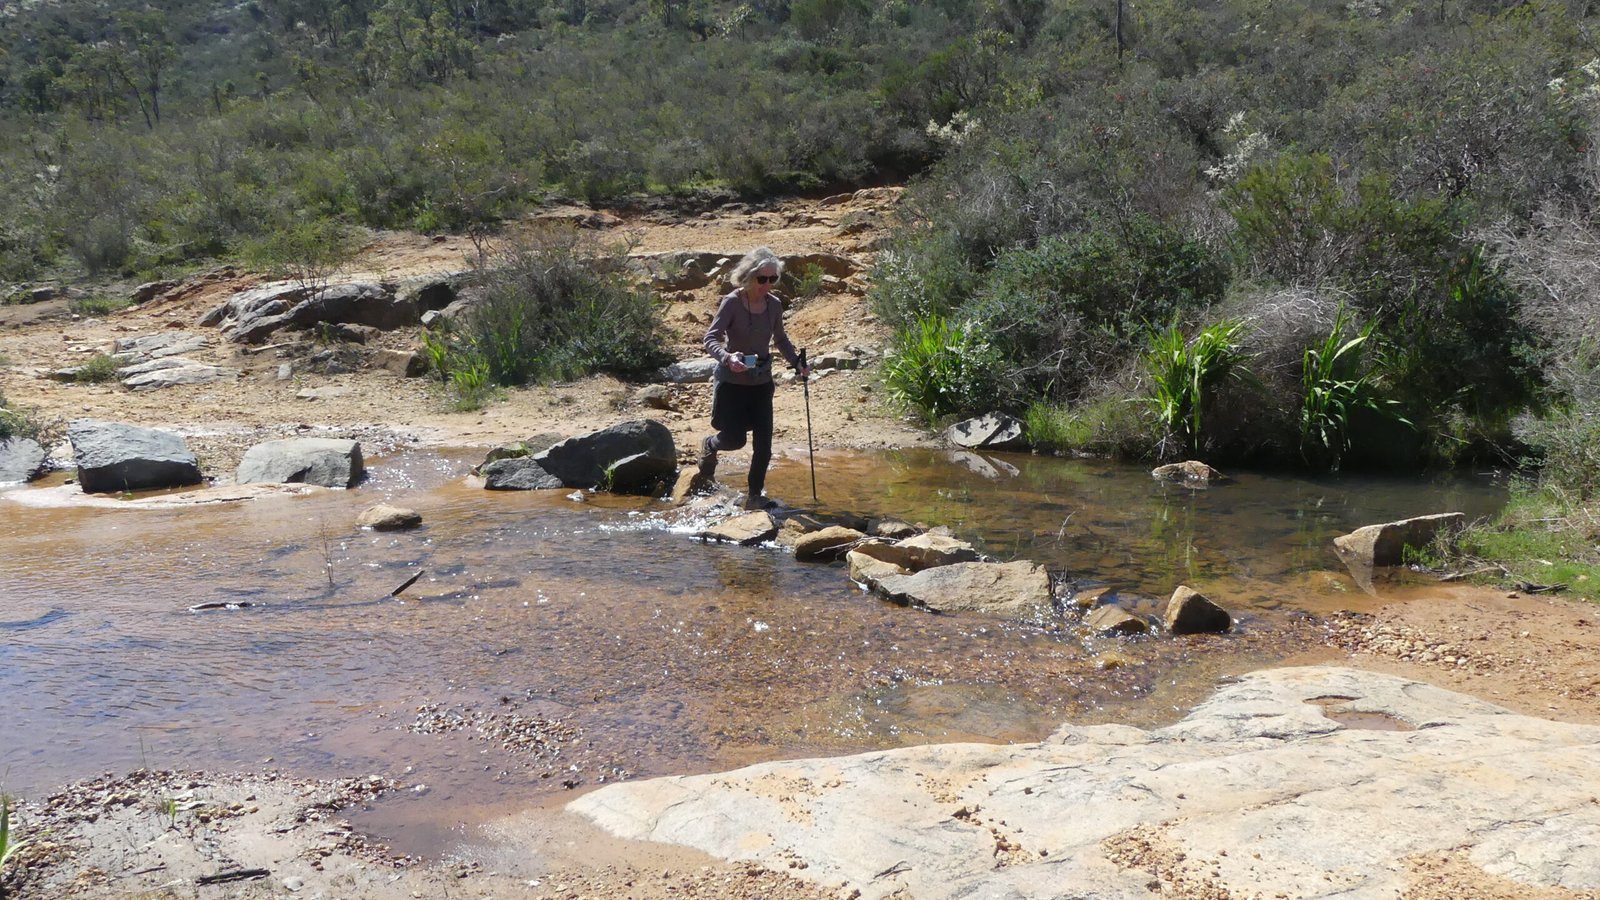
There are several walks in this area, but one is a loop of about 4.5km which again climbs the hillside to loop back. The surface, in general, is far more rocky than the previous and the walk is classified as a Category 4 so this time we took our walking poles for assistance.
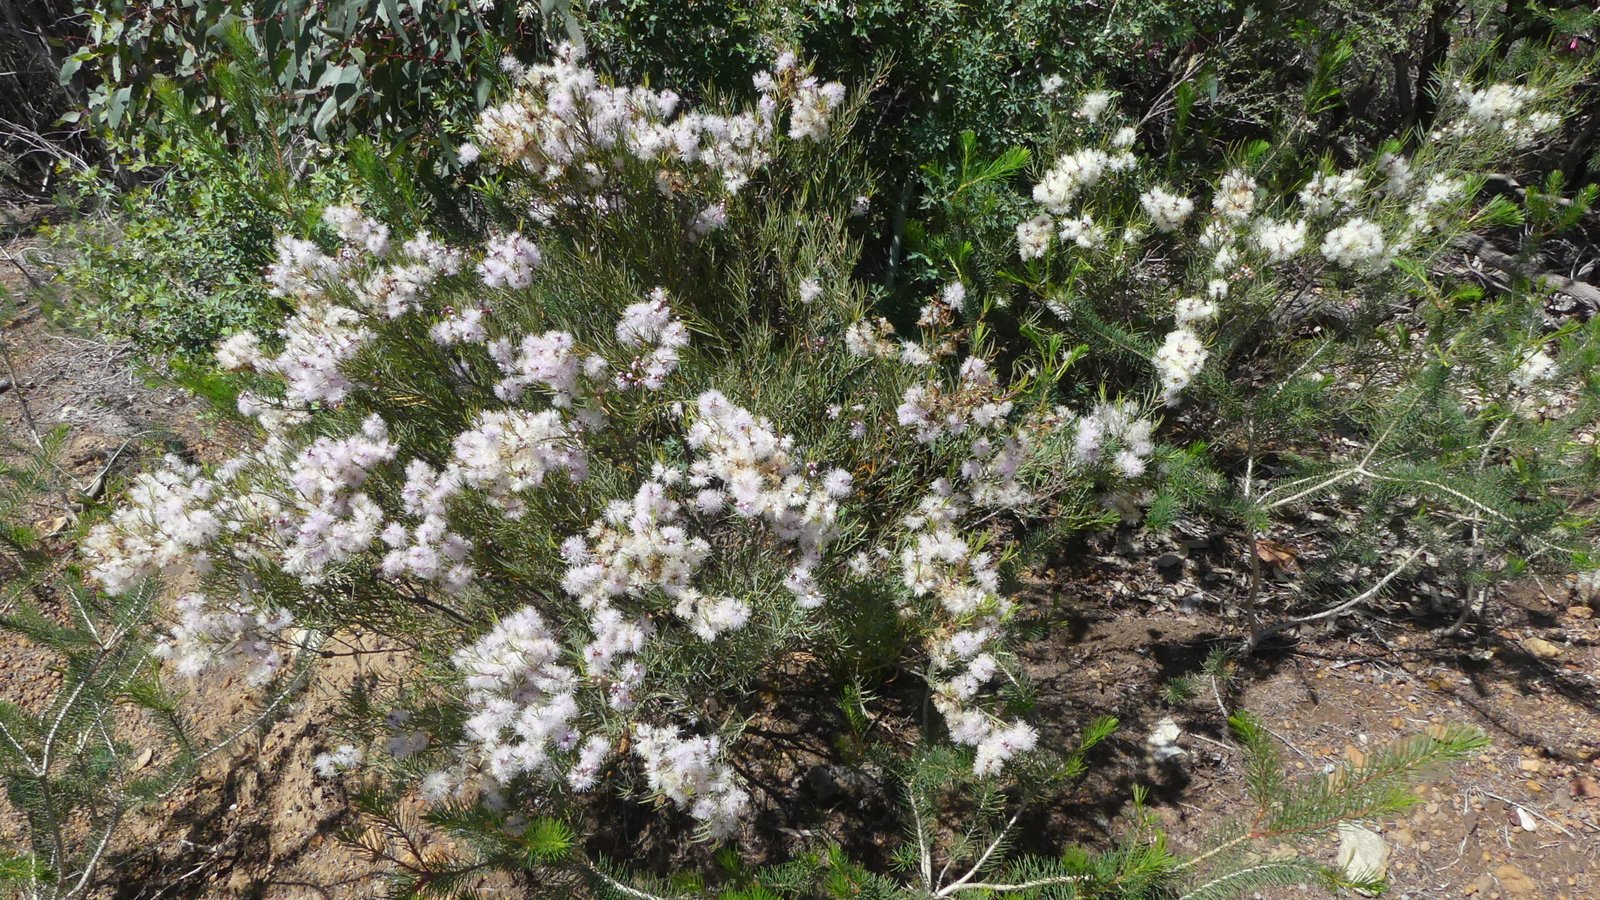
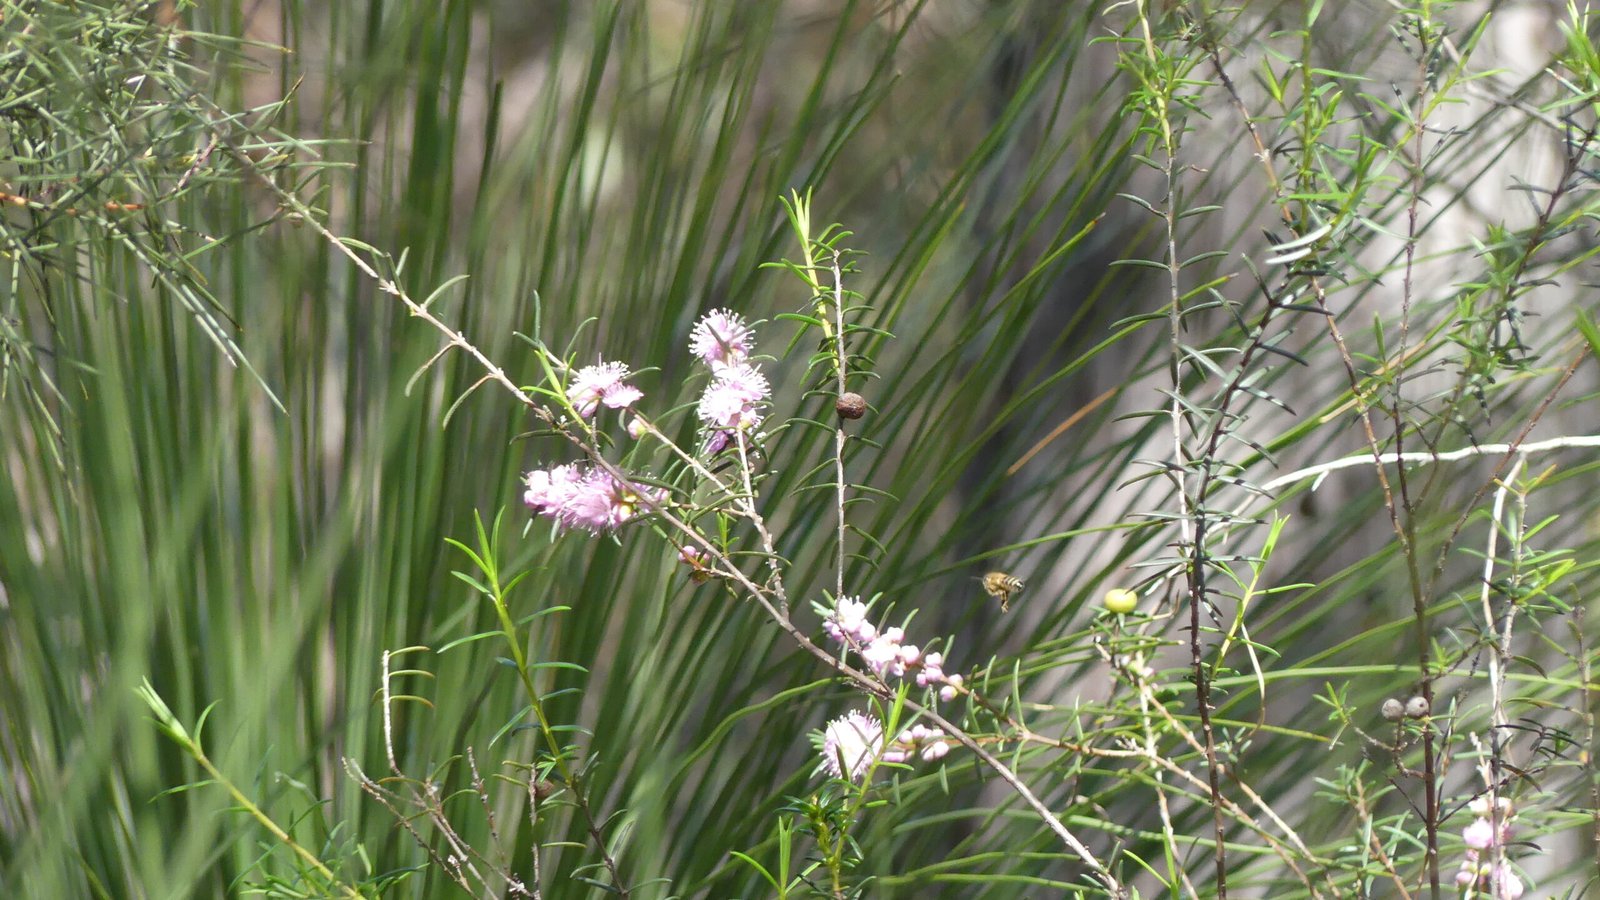
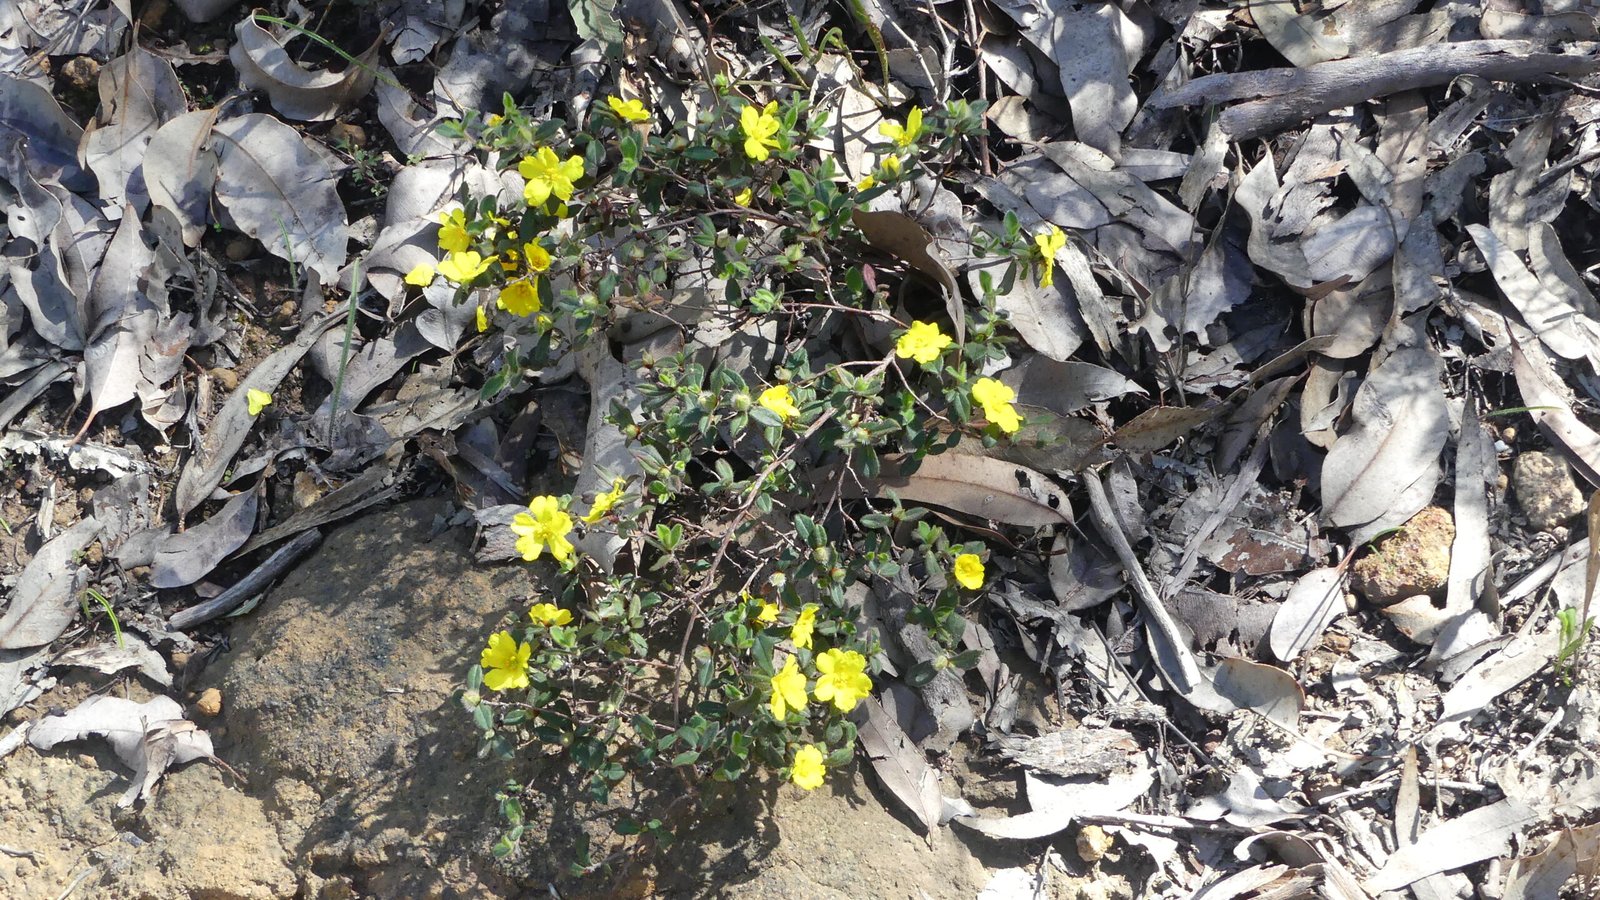
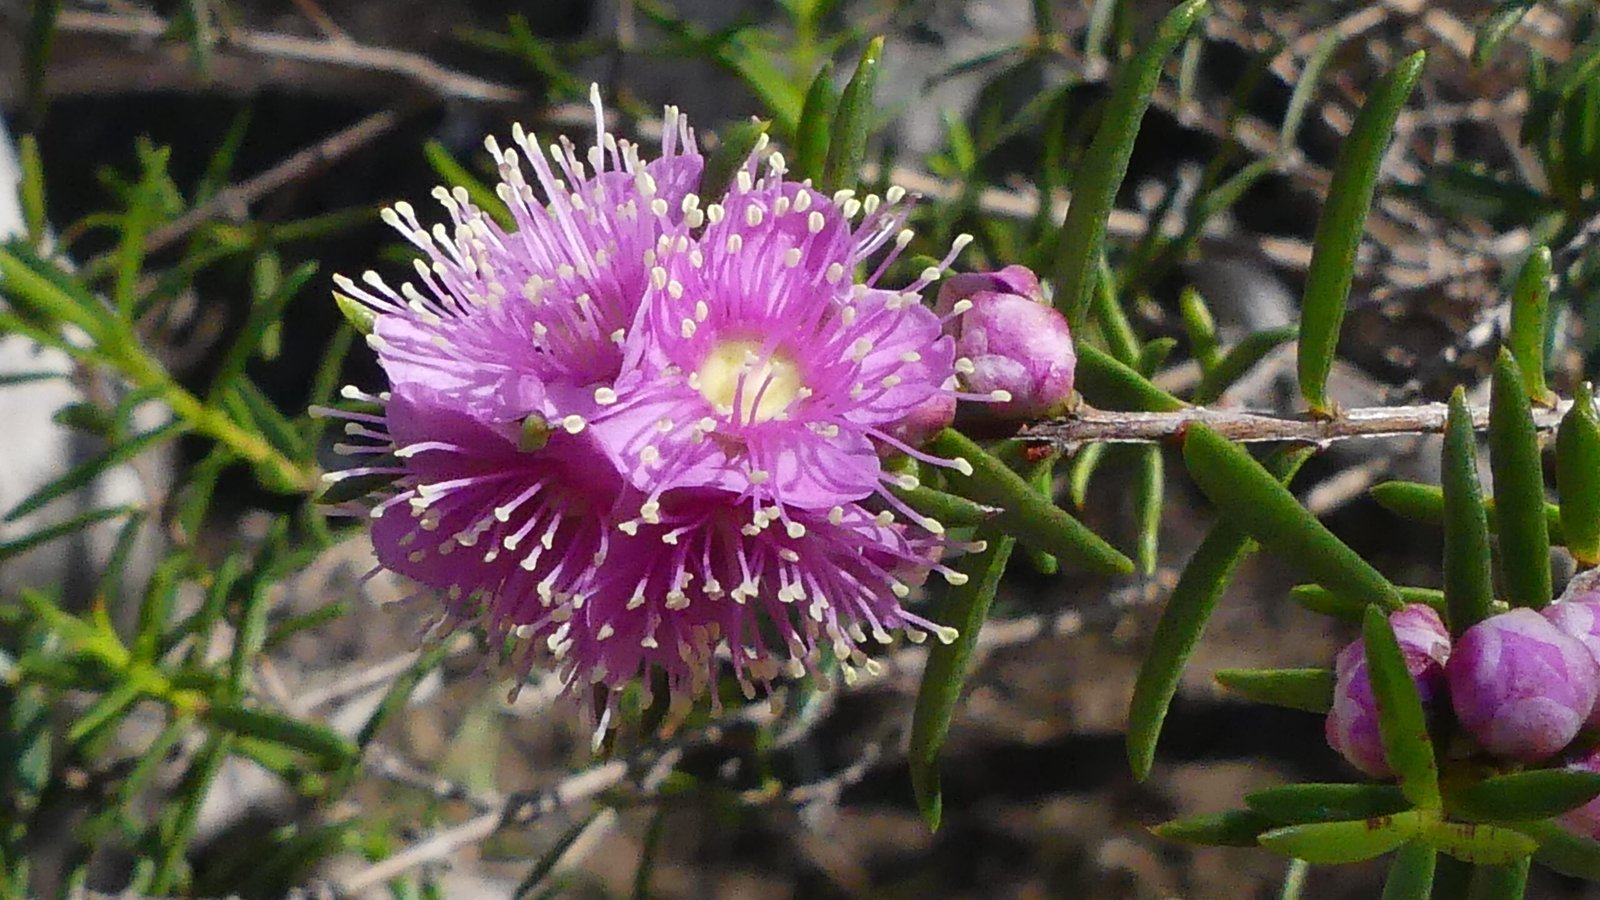
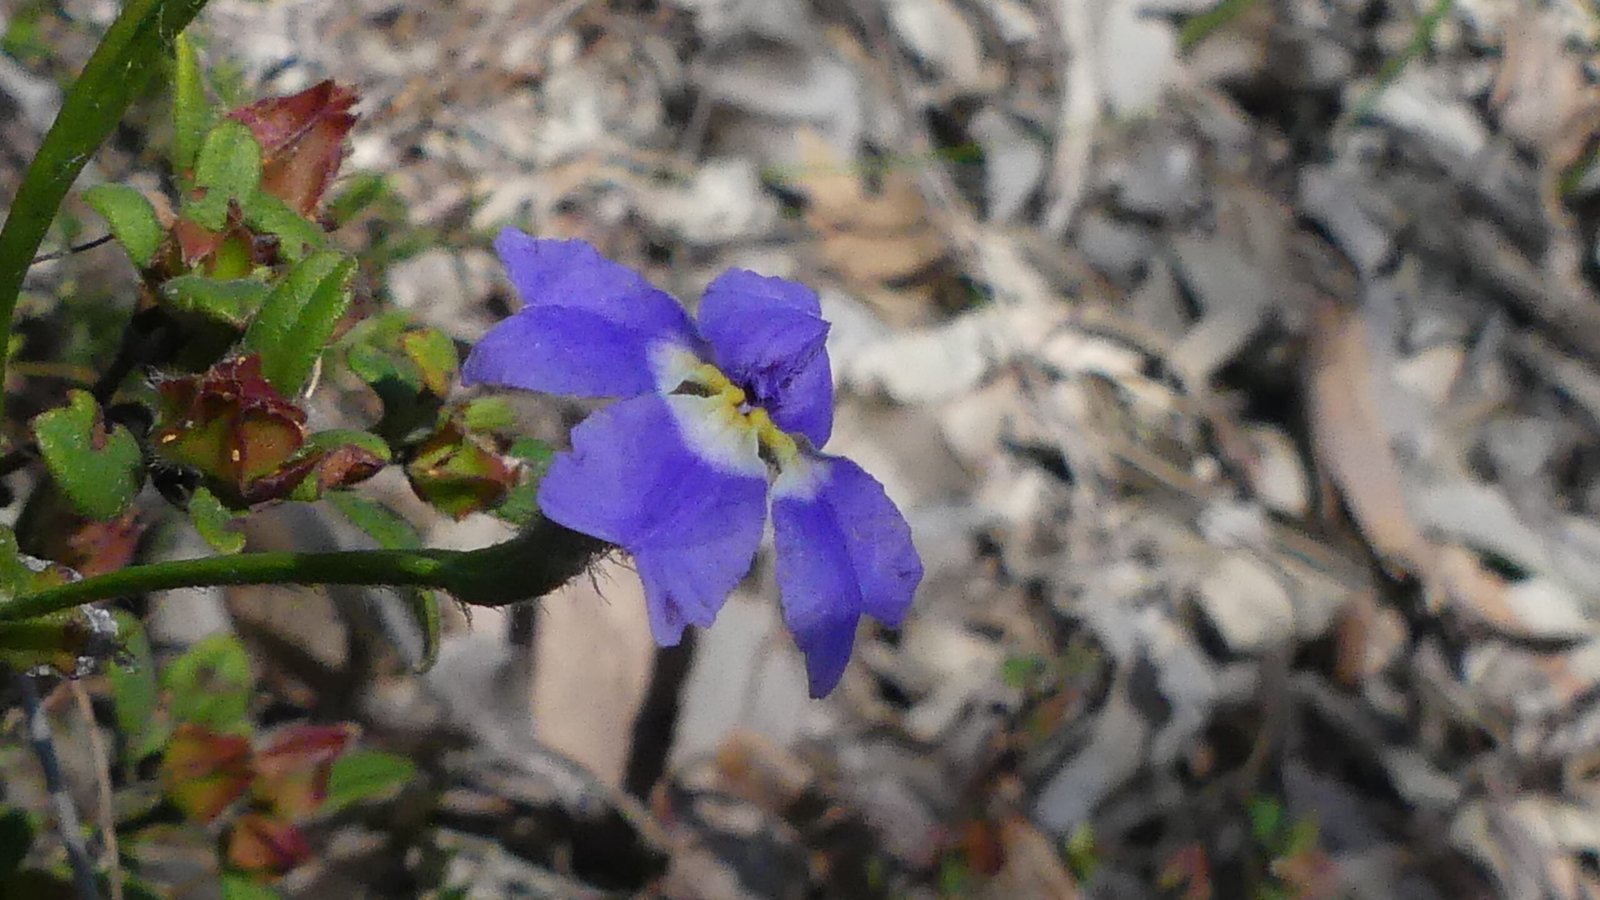
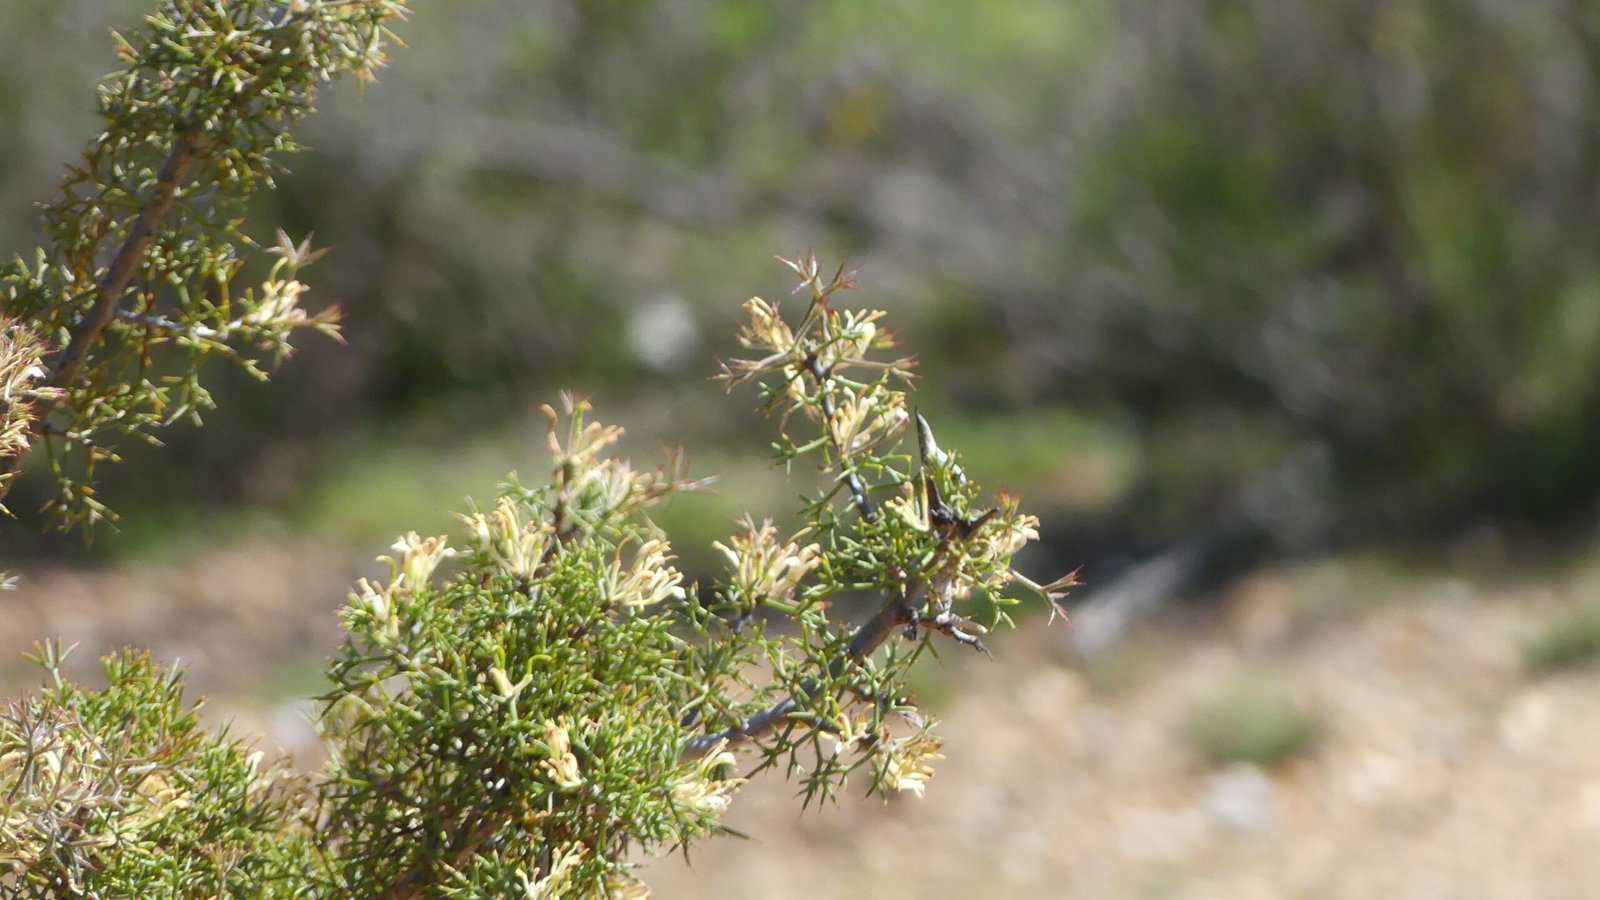
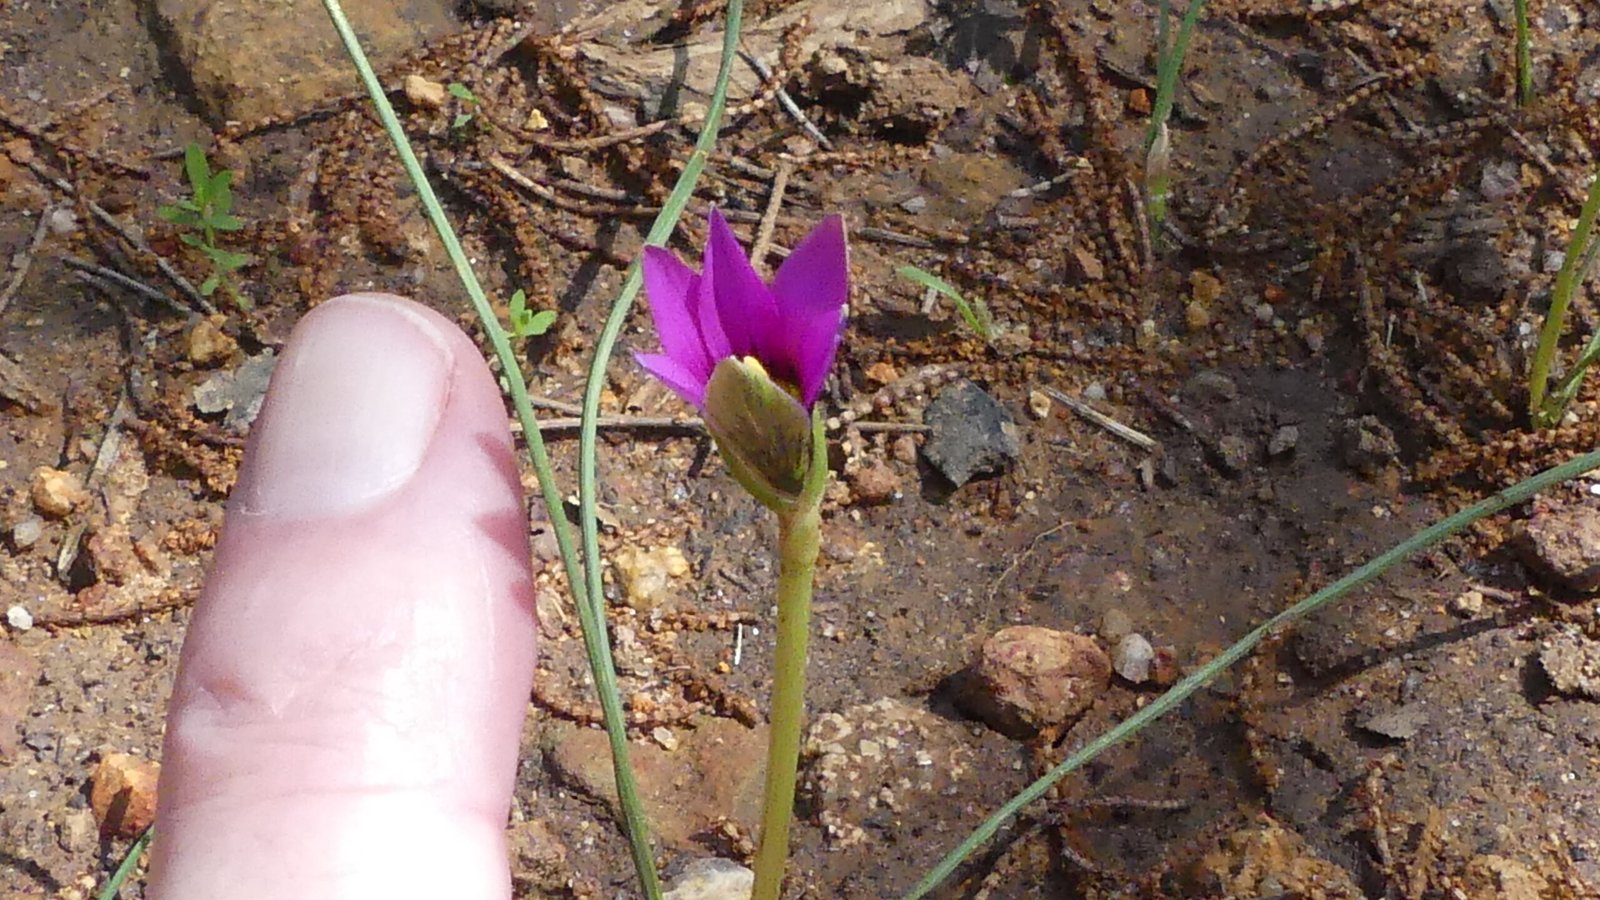
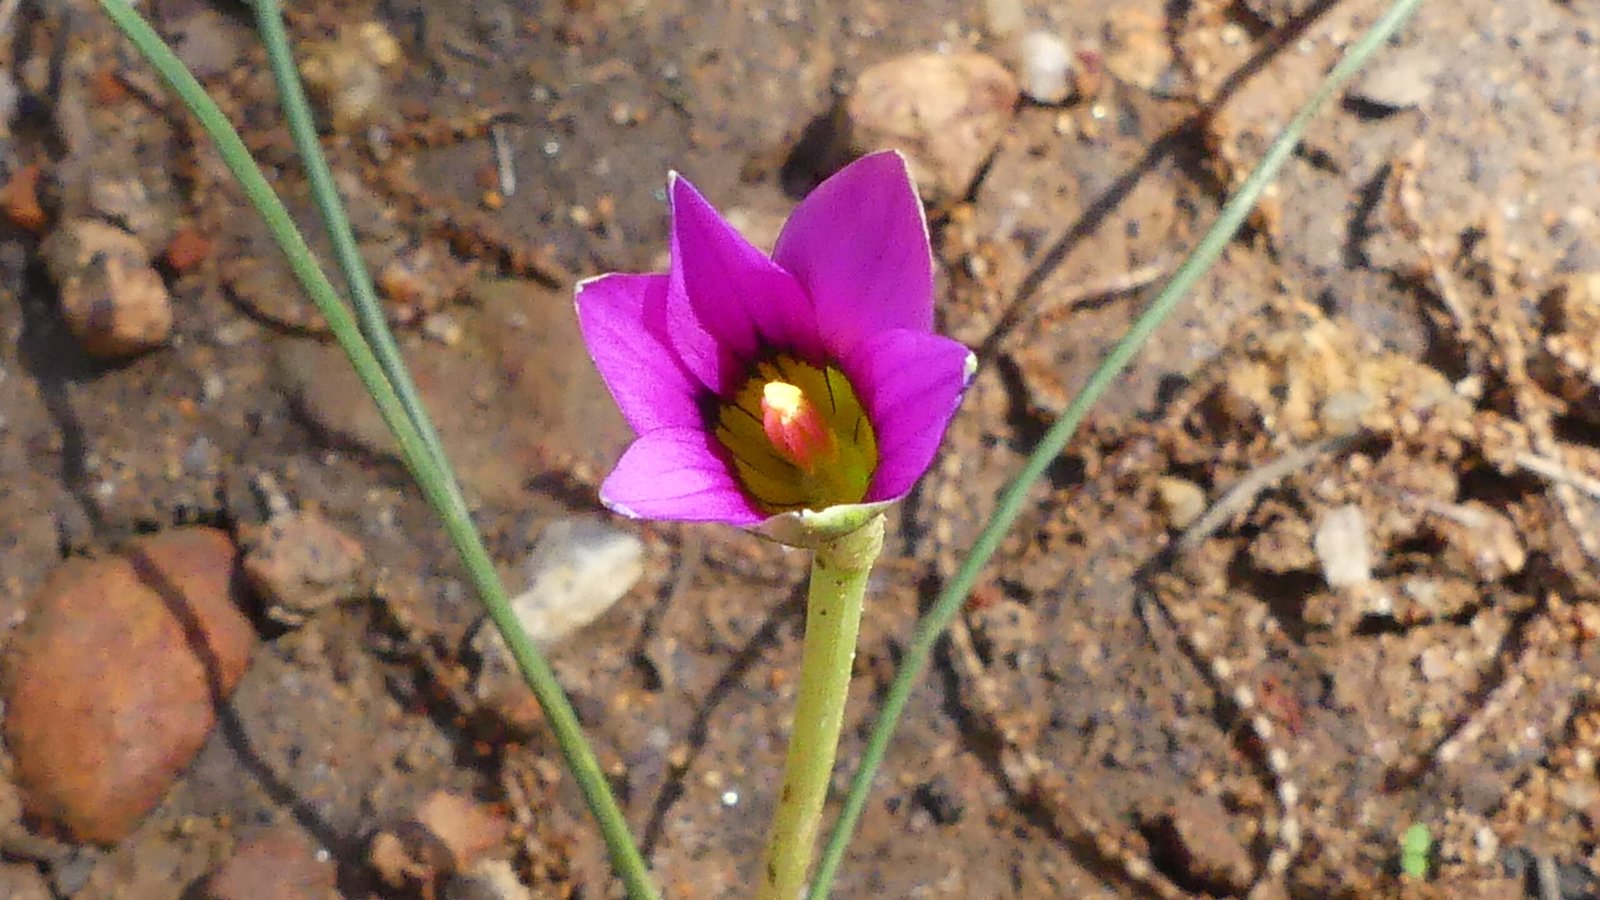
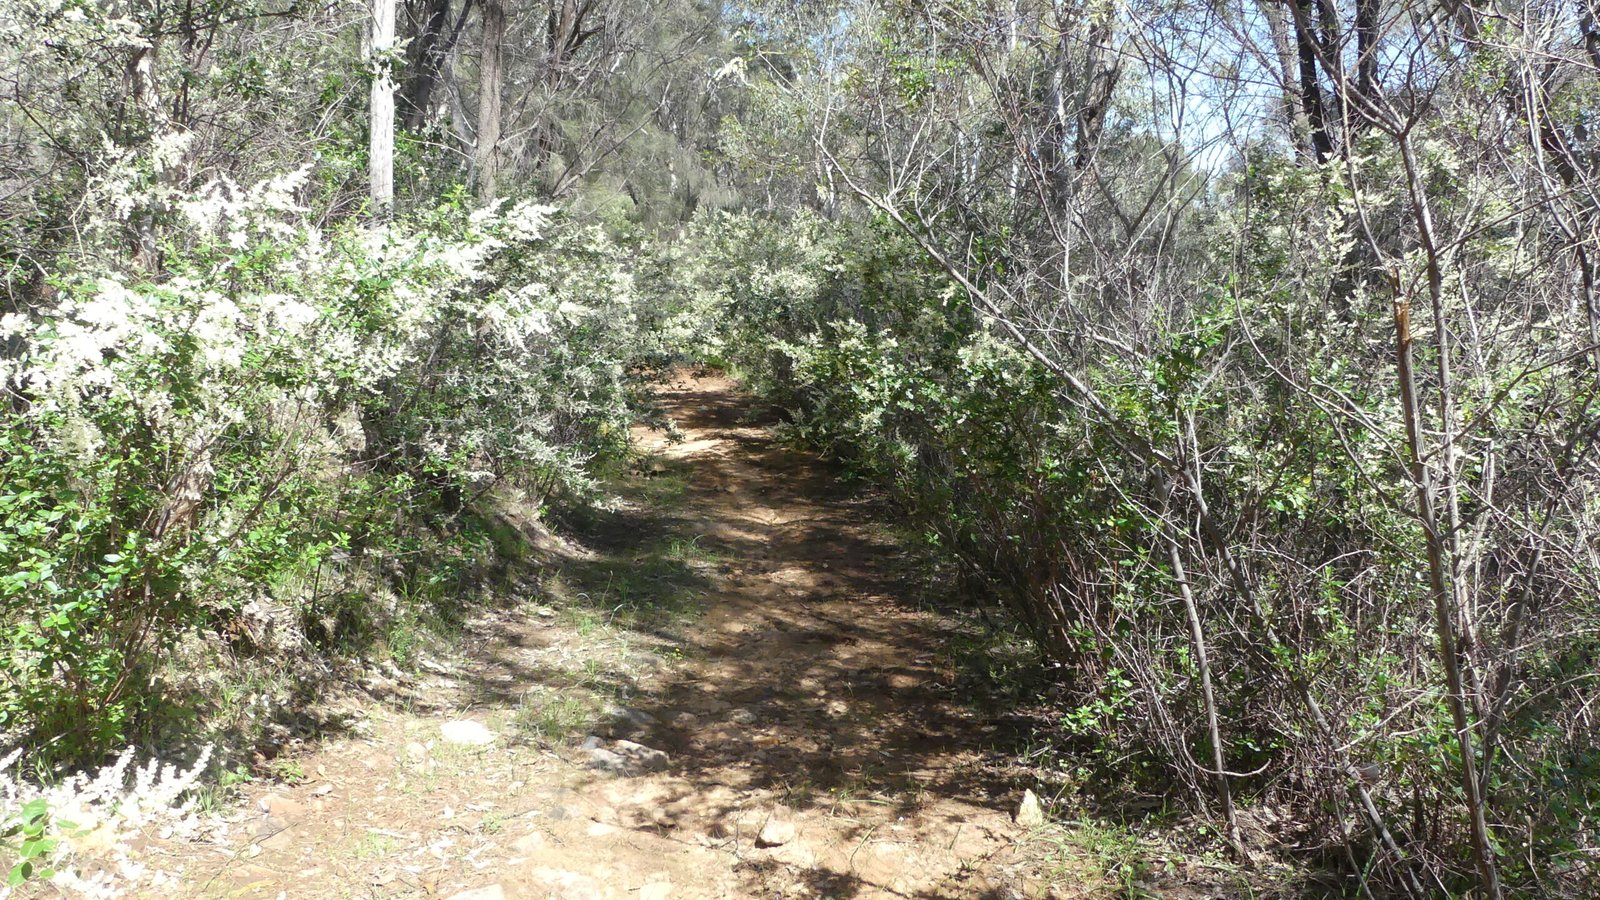
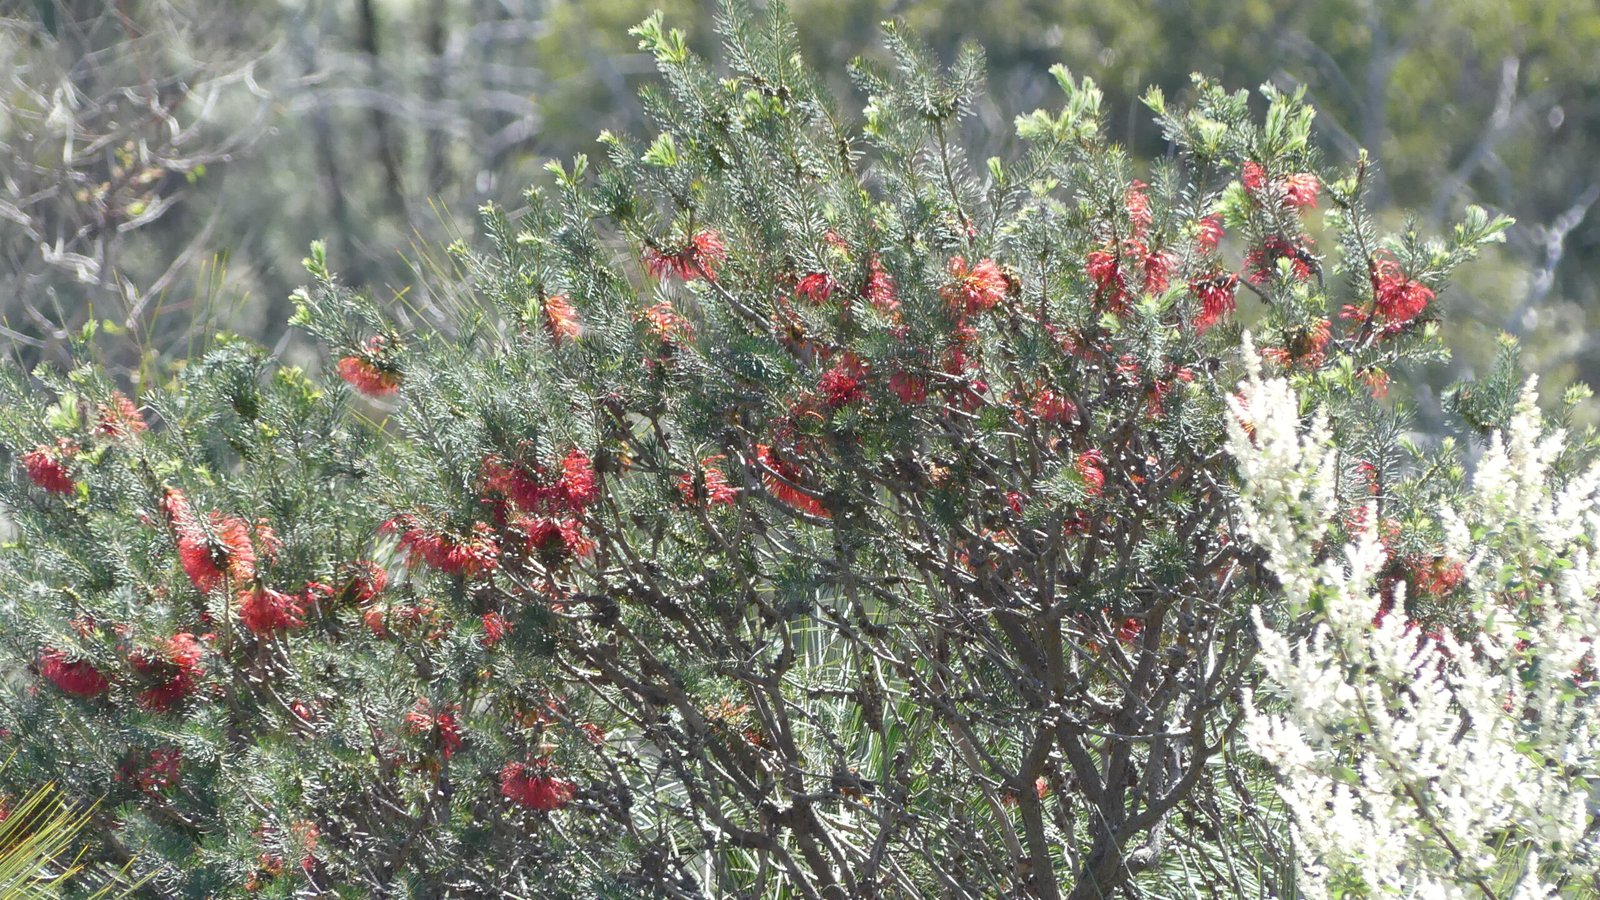
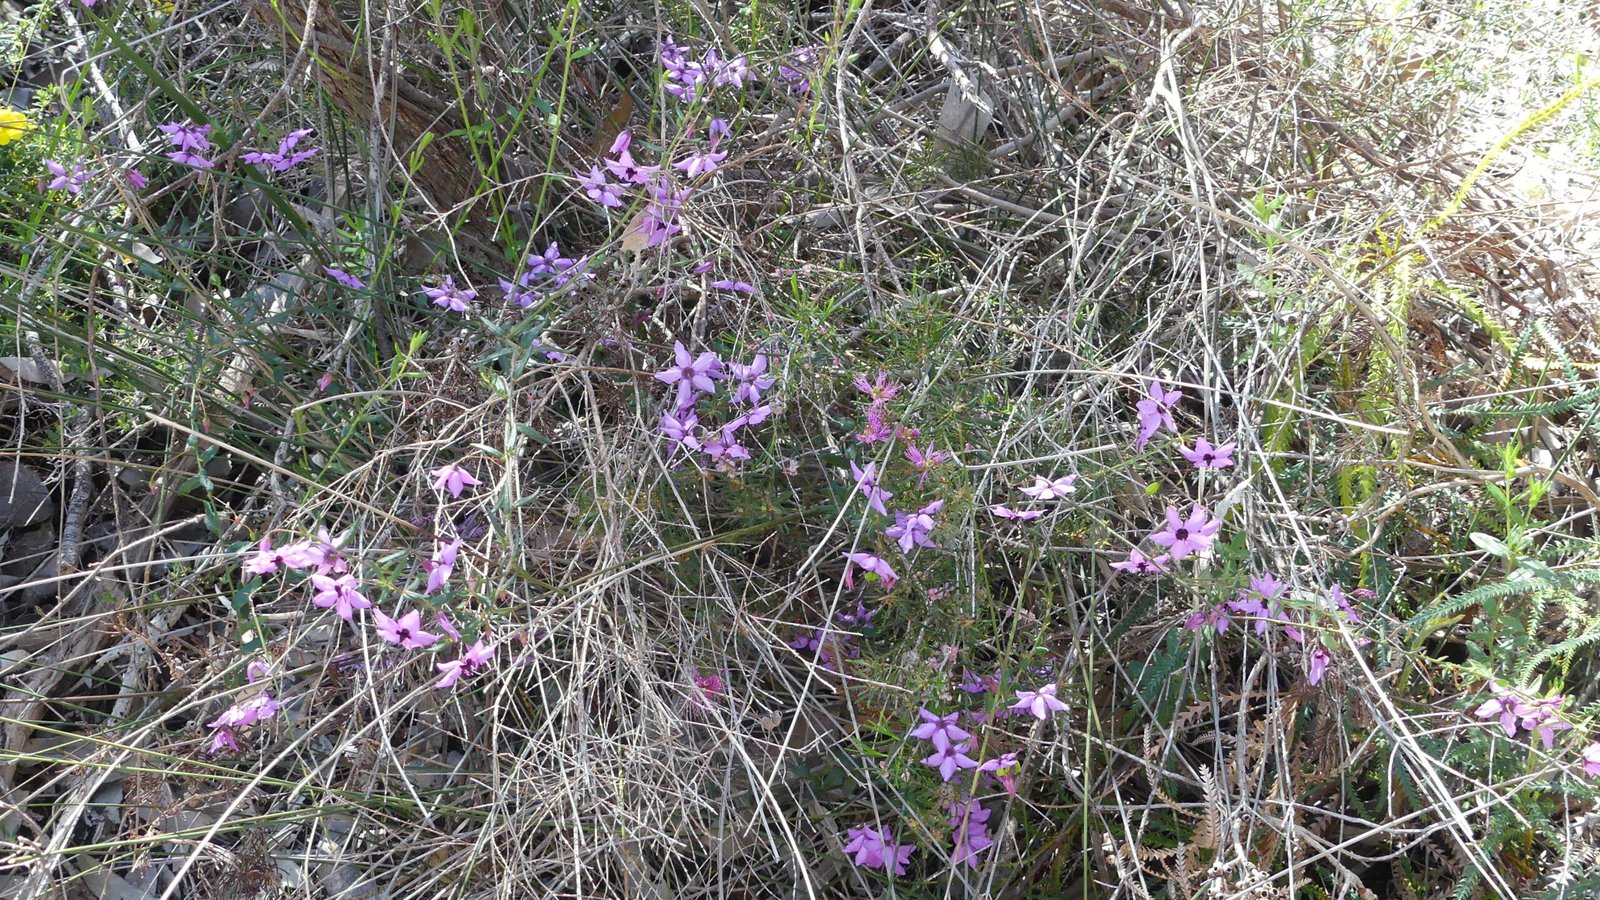
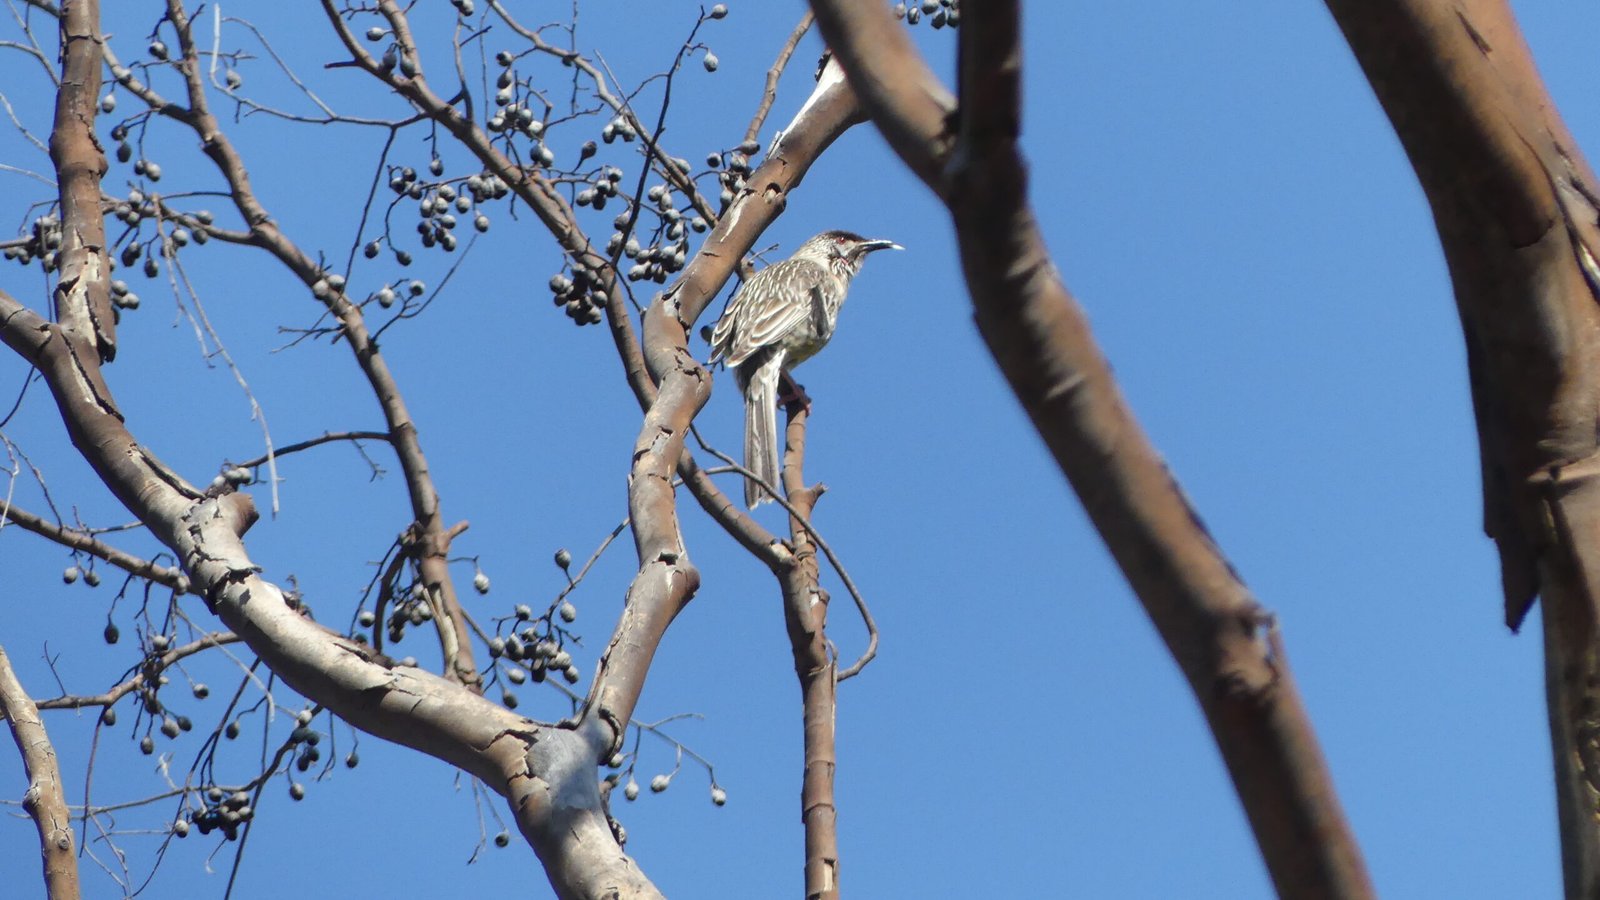
While the previous walk was on a Western facing slope and was relatively free of trees, this is on a more Southerly face and is more treed in general; the result is a lesser spread of wild flowers and some variations.
![](https://alloveraustralia.com/wp-content/uploads/2023/09/Bickley-Reservoir-Walk-001-P1070251-1600x900.jpg)
![](https://alloveraustralia.com/wp-content/uploads/2023/09/Bickley-Reservoir-Walk-003-P1070253-1600x900.jpg)
![](https://alloveraustralia.com/wp-content/uploads/2023/09/Bickley-Reservoir-Walk-005-P1070255-1600x900.jpg)
![](https://alloveraustralia.com/wp-content/uploads/2023/09/Bickley-Reservoir-Walk-006-P1070256-1600x900.jpg)
![](https://alloveraustralia.com/wp-content/uploads/2023/09/Bickley-Reservoir-Walk-007-P1070257-1600x900.jpg)
![](https://alloveraustralia.com/wp-content/uploads/2023/09/Bickley-Reservoir-Walk-010-P1070260-1600x900.jpg)
![](https://alloveraustralia.com/wp-content/uploads/2023/09/Bickley-Reservoir-Walk-012-P1070262-1600x900.jpg)
![](https://alloveraustralia.com/wp-content/uploads/2023/09/Bickley-Reservoir-Walk-014-P1070264-1600x900.jpg)
![](https://alloveraustralia.com/wp-content/uploads/2023/09/Bickley-Reservoir-Walk-018-P1070268-1600x900.jpg)
![](https://alloveraustralia.com/wp-content/uploads/2023/09/Bickley-Reservoir-Walk-015-P1070265-1600x900.jpg)
![](https://alloveraustralia.com/wp-content/uploads/2023/09/Bickley-Reservoir-Walk-016-P1070266-1600x900.jpg)
![](https://alloveraustralia.com/wp-content/uploads/2023/09/Bickley-Reservoir-Walk-019-P1070269-1600x900.jpg)
![](https://alloveraustralia.com/wp-content/uploads/2023/09/Bickley-Reservoir-Walk-020-P1070270-1600x900.jpg)
![](https://alloveraustralia.com/wp-content/uploads/2023/09/Bickley-Reservoir-Walk-021-P1070271-1600x900.jpg)
![](https://alloveraustralia.com/wp-content/uploads/2023/09/Bickley-Reservoir-Walk-023-P1070273-1600x900.jpg)
![](https://alloveraustralia.com/wp-content/uploads/2023/09/Bickley-Reservoir-Walk-024-P1070275-1600x900.jpg)
![](https://alloveraustralia.com/wp-content/uploads/2023/09/Bickley-Reservoir-Walk-025-P1070276-1600x900.jpg)
![](https://alloveraustralia.com/wp-content/uploads/2023/09/Bickley-Reservoir-Walk-026-P1070277-1600x900.jpg)
![](https://alloveraustralia.com/wp-content/uploads/2023/09/Bickley-Reservoir-Walk-027-P1070278-1600x900.jpg)
![](https://alloveraustralia.com/wp-content/uploads/2023/09/Bickley-Reservoir-Walk-029-P1070280-1600x900.jpg)
![](https://alloveraustralia.com/wp-content/uploads/2023/09/Bickley-Reservoir-Walk-030-P1070281-1600x900.jpg)
![](https://alloveraustralia.com/wp-content/uploads/2023/09/Bickley-Reservoir-Walk-032-P1070283-1600x900.jpg)
![](https://alloveraustralia.com/wp-content/uploads/2023/09/Bickley-Reservoir-Walk-034-P1070285-1600x900.jpg)
![](https://alloveraustralia.com/wp-content/uploads/2023/09/Bickley-Reservoir-Walk-035-P1070286-1600x900.jpg)
![](https://alloveraustralia.com/wp-content/uploads/2023/09/Bickley-Reservoir-Walk-037-P1070288-1600x900.jpg)
![](https://alloveraustralia.com/wp-content/uploads/2023/09/Bickley-Reservoir-Walk-039-P1070293-1600x900.jpg)
![](https://alloveraustralia.com/wp-content/uploads/2023/09/Bickley-Reservoir-Walk-041-P1070295-1600x900.jpg)
![](https://alloveraustralia.com/wp-content/uploads/2023/09/Bickley-Reservoir-Walk-044-P1070299-1600x900.jpg)
![](https://alloveraustralia.com/wp-content/uploads/2023/09/Bickley-Reservoir-Walk-046-P1070303-1600x900.jpg)
![](https://alloveraustralia.com/wp-content/uploads/2023/09/Bickley-Reservoir-Walk-052-P1070315-1600x900.jpg)
![](https://alloveraustralia.com/wp-content/uploads/2023/09/Bickley-Reservoir-Walk-054-P1070318-1600x900.jpg)
![](https://alloveraustralia.com/wp-content/uploads/2023/09/Bickley-Reservoir-Walk-055-P1070319-1600x900.jpg)
![](https://alloveraustralia.com/wp-content/uploads/2023/09/Bickley-Reservoir-Walk-056-P1070320-1600x900.jpg)
![](https://alloveraustralia.com/wp-content/uploads/2023/09/Bickley-Reservoir-Walk-065-P1070330-1600x900.jpg)
![](https://alloveraustralia.com/wp-content/uploads/2023/09/Bickley-Reservoir-Walk-063-P1070328-1600x900.jpg)
![](https://alloveraustralia.com/wp-content/uploads/2023/09/Bickley-Reservoir-Walk-068-P1070333-1600x900.jpg)
![](https://alloveraustralia.com/wp-content/uploads/2023/09/Bickley-Reservoir-Walk-071-P1070336-1600x900.jpg)
![](https://alloveraustralia.com/wp-content/uploads/2023/09/Bickley-Reservoir-Walk-077-P1070346-1600x900.jpg)
![](https://alloveraustralia.com/wp-content/uploads/2023/09/Bickley-Reservoir-Walk-078-P1070347-1600x900.jpg)
![](https://alloveraustralia.com/wp-content/uploads/2023/09/Bickley-Reservoir-Walk-081-P1070350-1600x900.jpg)
![](https://alloveraustralia.com/wp-content/uploads/2023/09/Bickley-Reservoir-Walk-082-P1070352-1600x900.jpg)
![](https://alloveraustralia.com/wp-content/uploads/2023/09/Bickley-Reservoir-Walk-083-P1070353-1600x900.jpg)
![](https://alloveraustralia.com/wp-content/uploads/2023/09/Bickley-Reservoir-Walk-084-P1070354-1600x900.jpg)
![](https://alloveraustralia.com/wp-content/uploads/2023/09/Bickley-Reservoir-Walk-086-P1070356-1600x900.jpg)
![](https://alloveraustralia.com/wp-content/uploads/2023/09/Bickley-Reservoir-Walk-088-P1070358-1600x777.jpg)
![](https://alloveraustralia.com/wp-content/uploads/2023/09/Bickley-Reservoir-Walk-089-P1070359-1600x900.jpg)
![](https://alloveraustralia.com/wp-content/uploads/2023/09/Bickley-Reservoir-Walk-092-P1070362-1600x900.jpg)
![](https://alloveraustralia.com/wp-content/uploads/2023/09/Bickley-Reservoir-Walk-097-P1070367-1600x900.jpg)
![](https://alloveraustralia.com/wp-content/uploads/2023/09/Bickley-Reservoir-Walk-100-P1070371-1600x900.jpg)
![](https://alloveraustralia.com/wp-content/uploads/2023/09/Bickley-Reservoir-Walk-103-P1070375-1600x900.jpg)
![](https://alloveraustralia.com/wp-content/uploads/2023/09/Bickley-Reservoir-Walk-106-P1070378-1600x900.jpg)
![](https://alloveraustralia.com/wp-content/uploads/2023/09/Bickley-Reservoir-Walk-109-P1070383-1600x900.jpg)
![](https://alloveraustralia.com/wp-content/uploads/2023/09/Bickley-Reservoir-Walk-111-P1070386-1600x900.jpg)
![](https://alloveraustralia.com/wp-content/uploads/2023/09/Bickley-Reservoir-Walk-112-P1070387-1600x900.jpg)