May 12, 2024
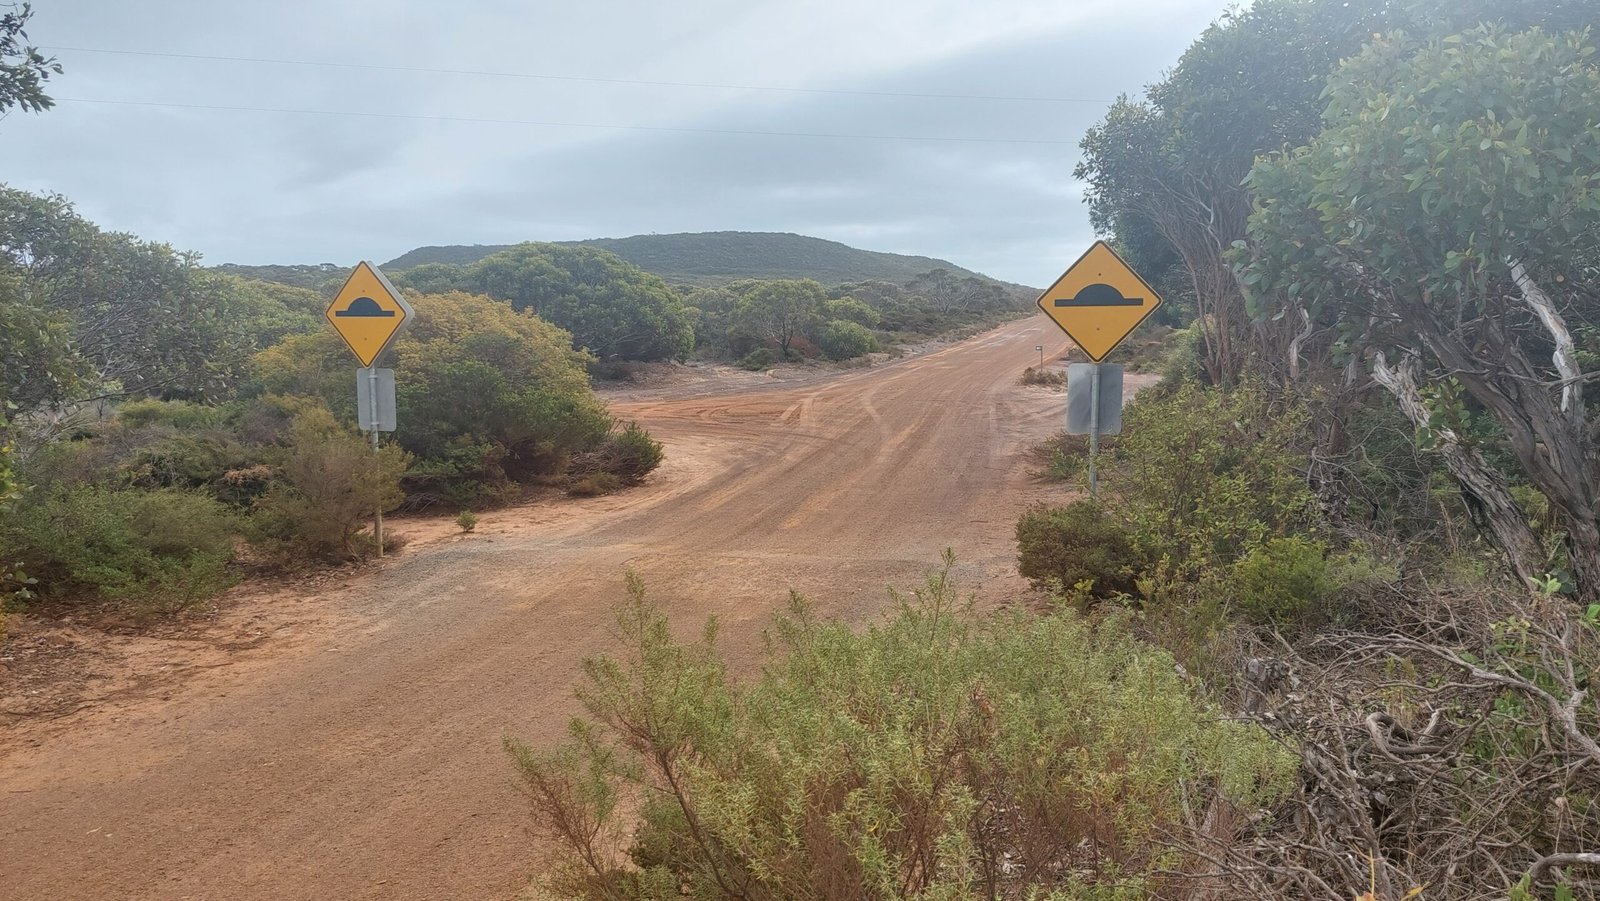
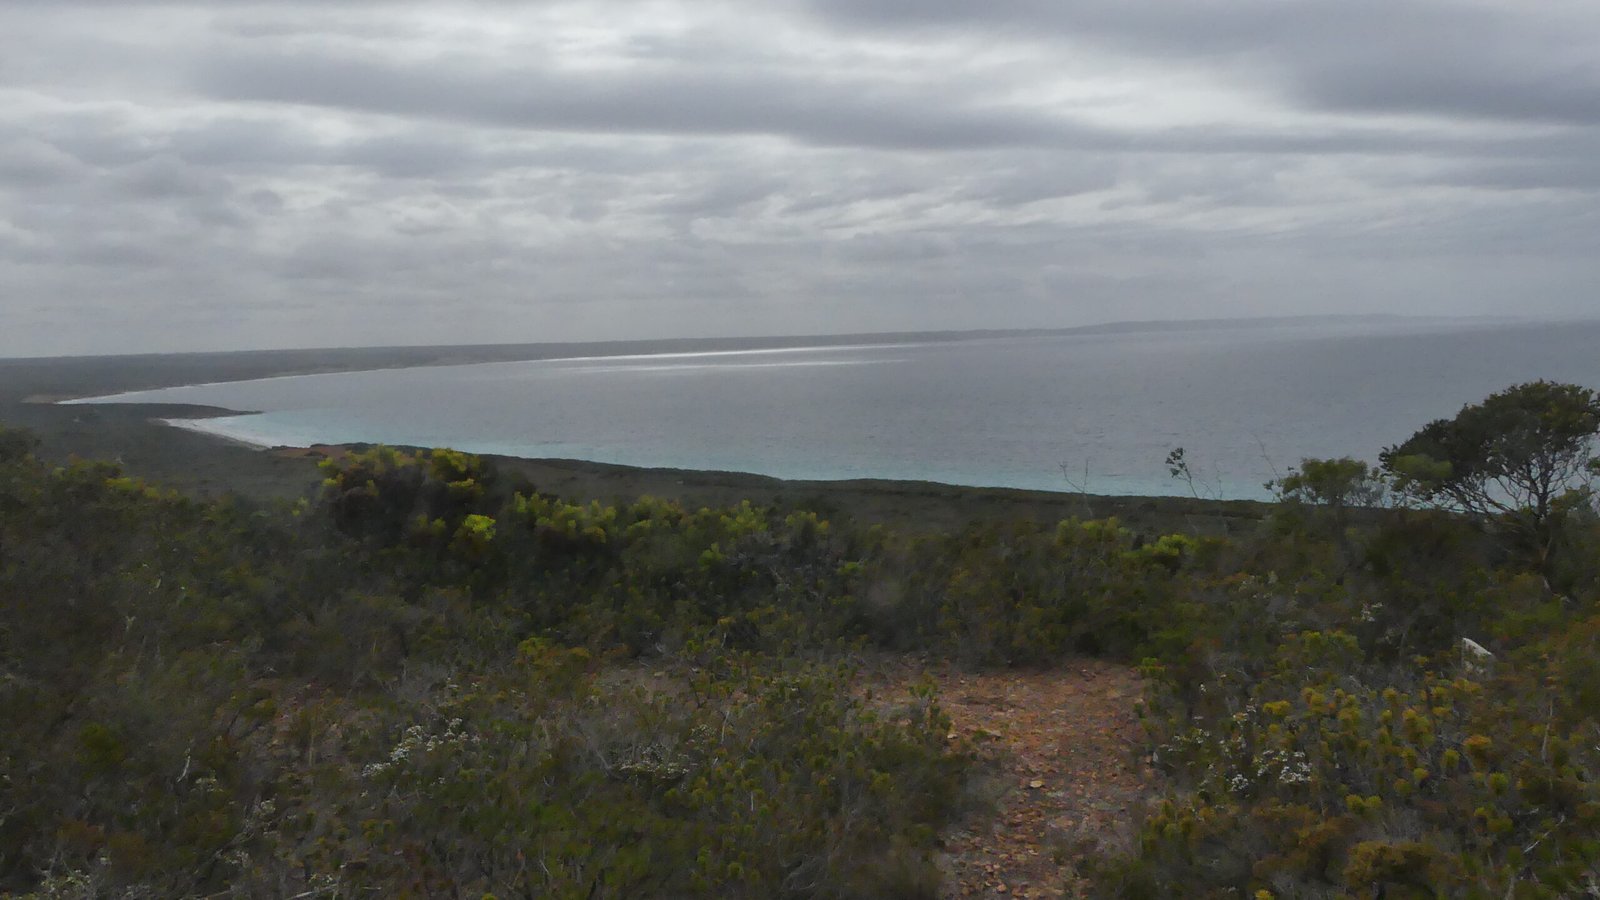
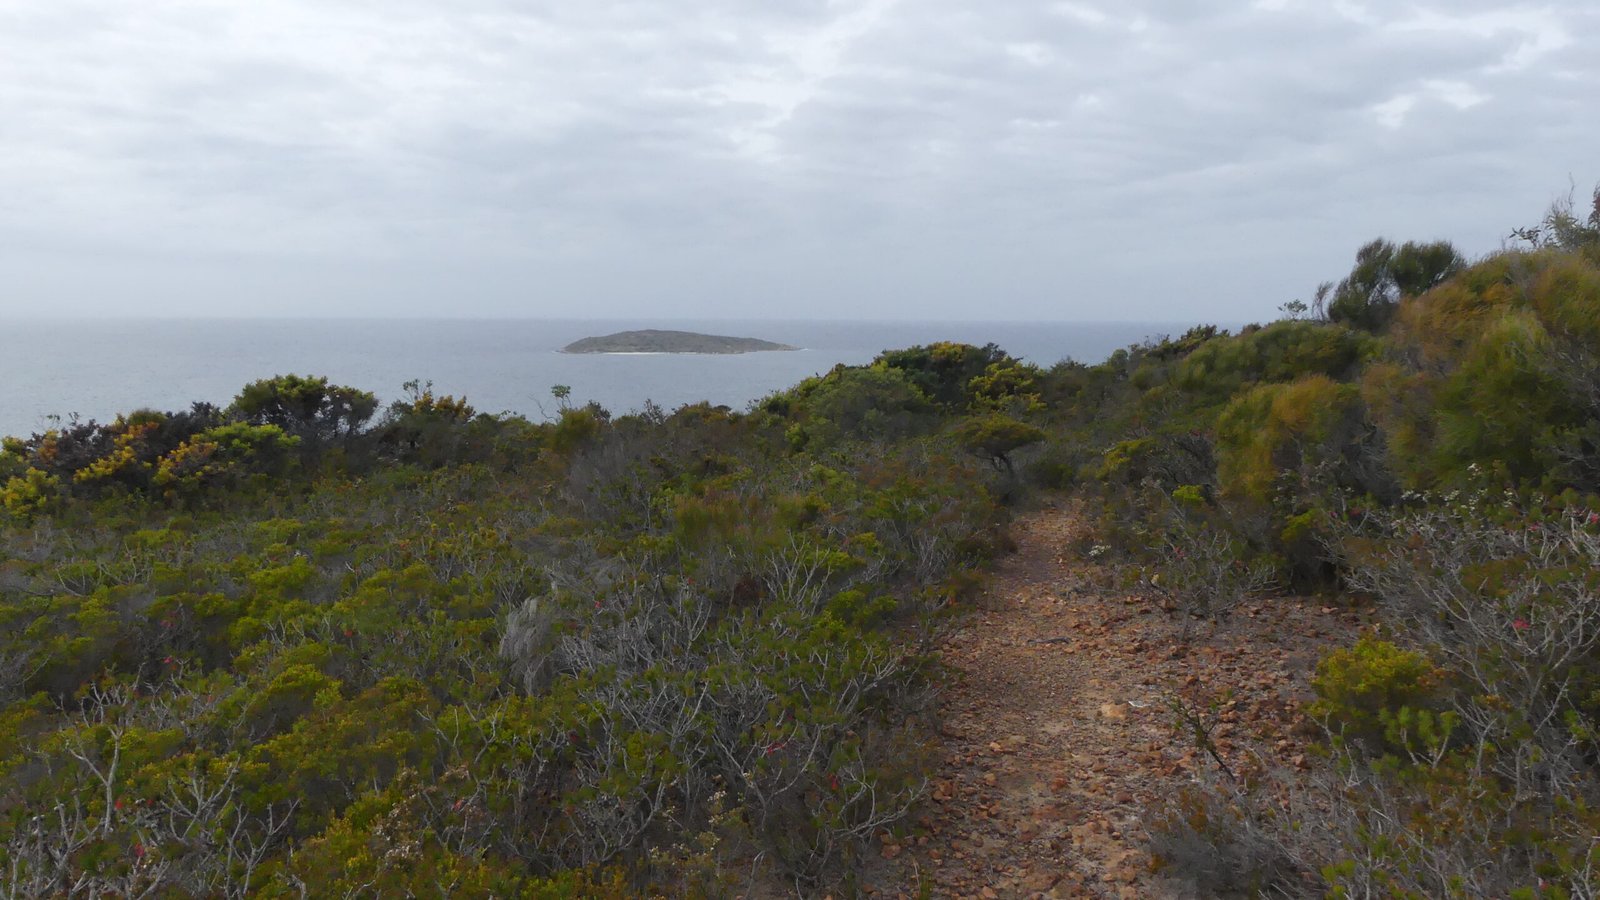
Cape Riche and Albany both have a Mount Melville and we have already climbed the Albany one last year on our first visit having stayed close by. The one at Cape Riche overlooks the area and coastline and is an easy climb from the road. A cloudy day but around 19 degrees with a warmish wind, no heavy jumpers needed.
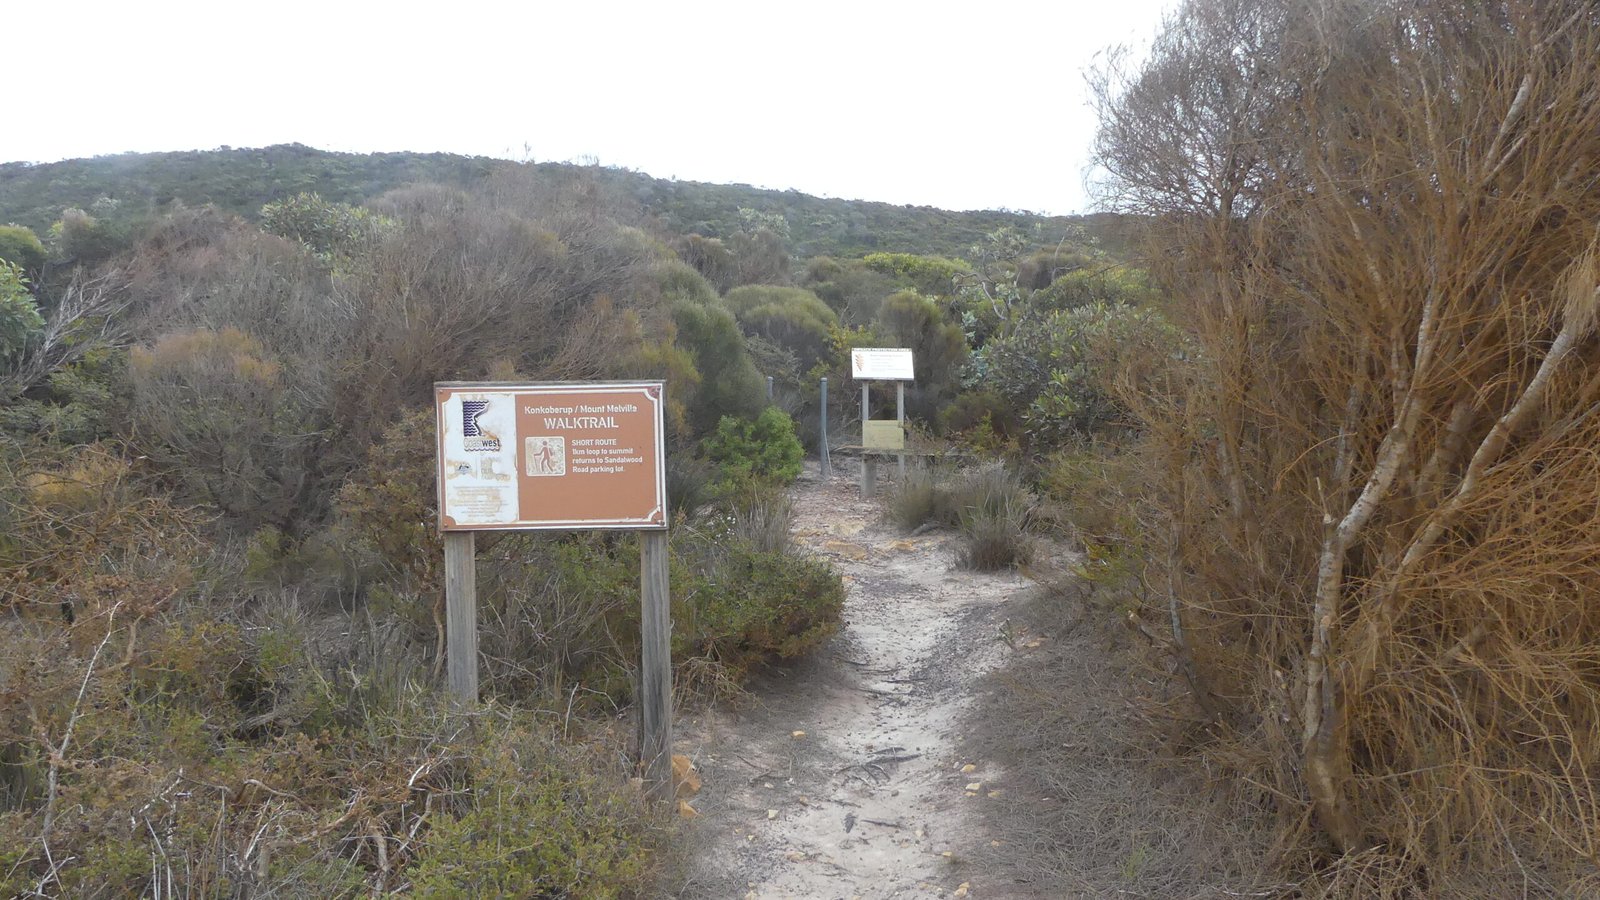
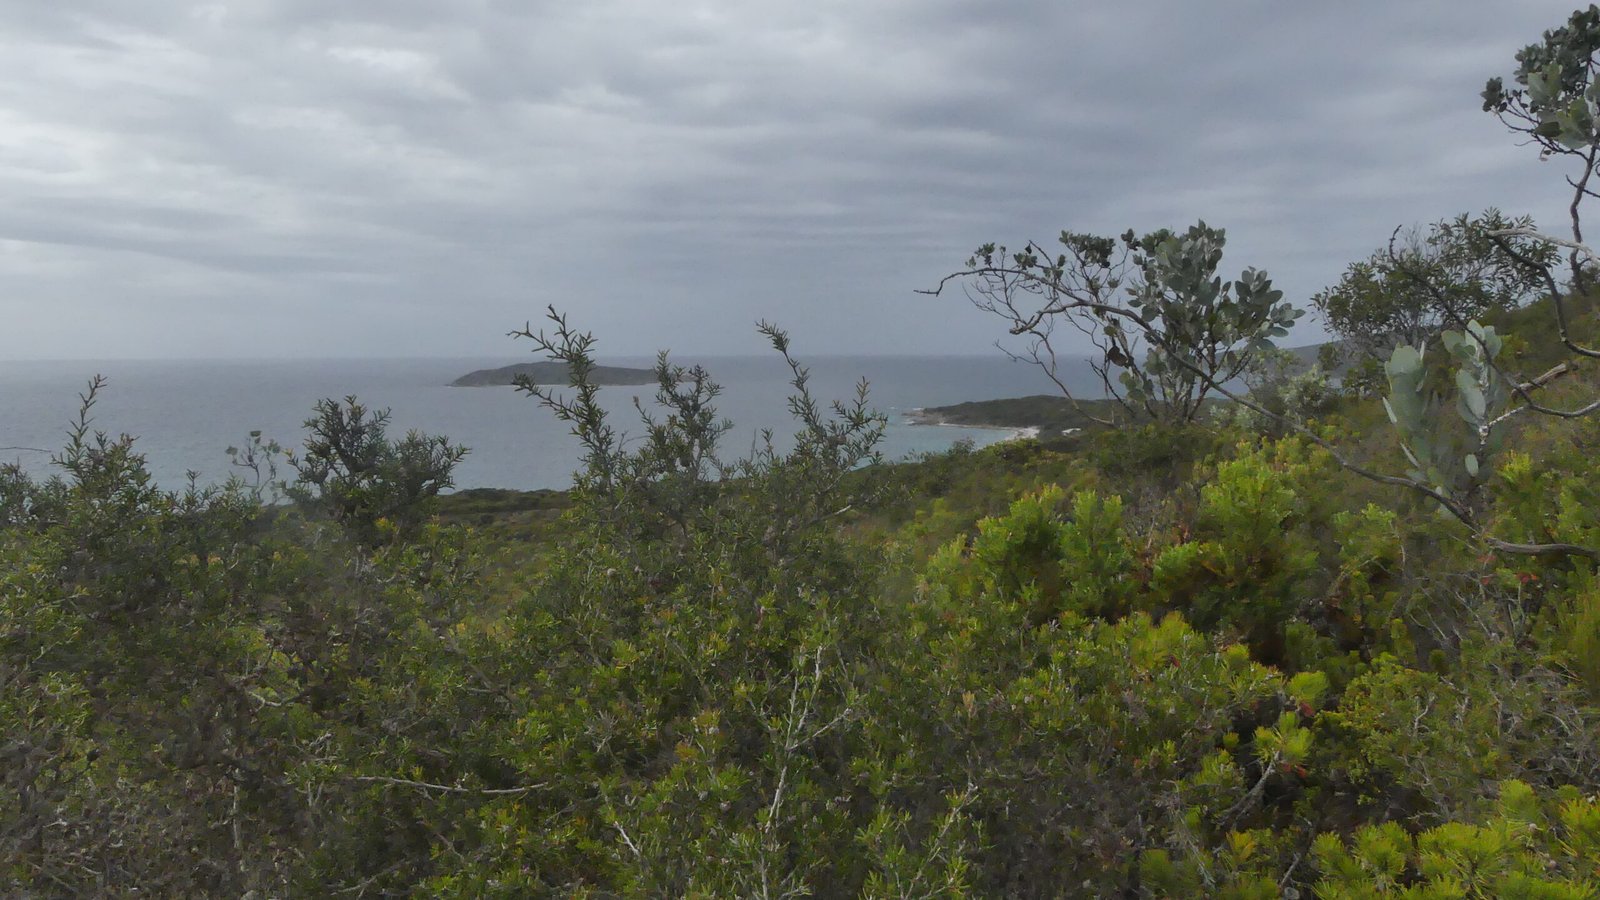
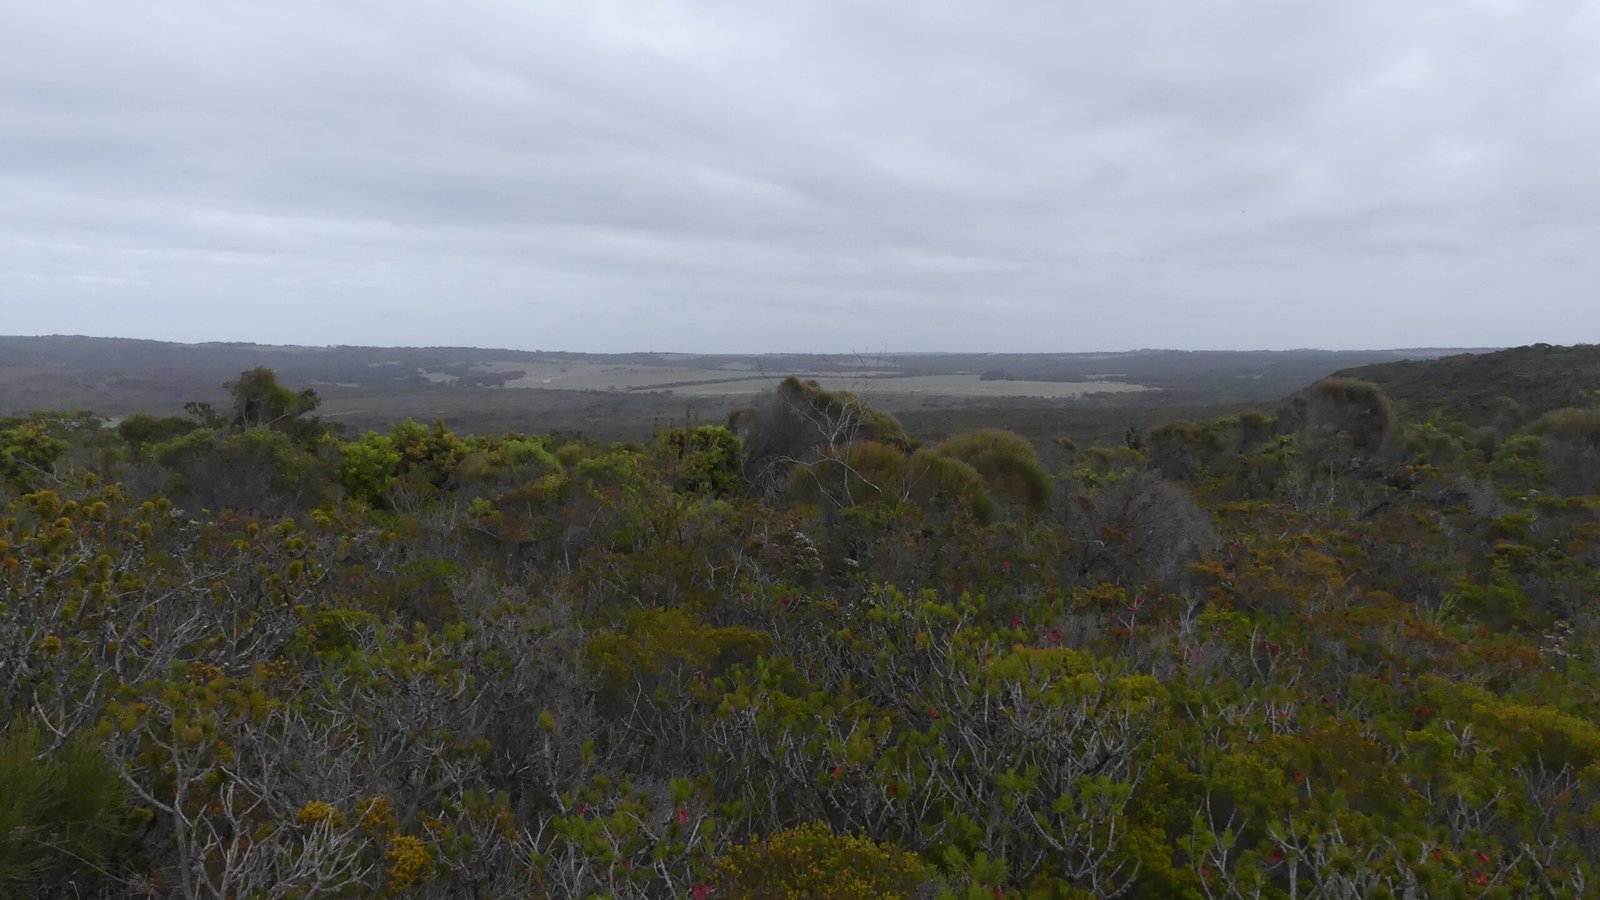
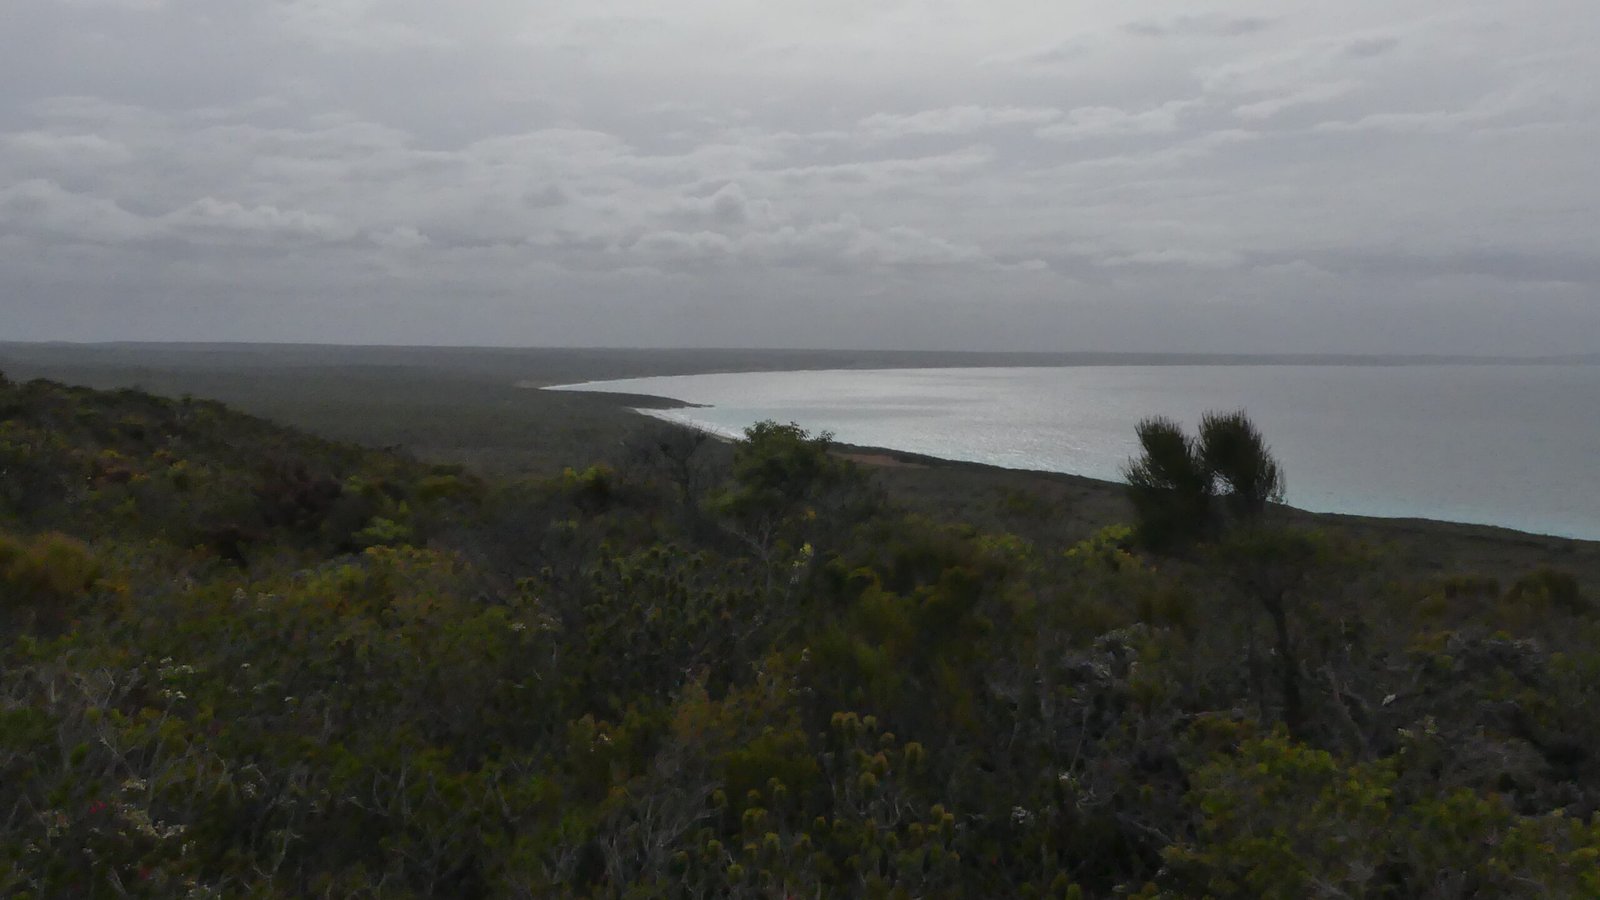
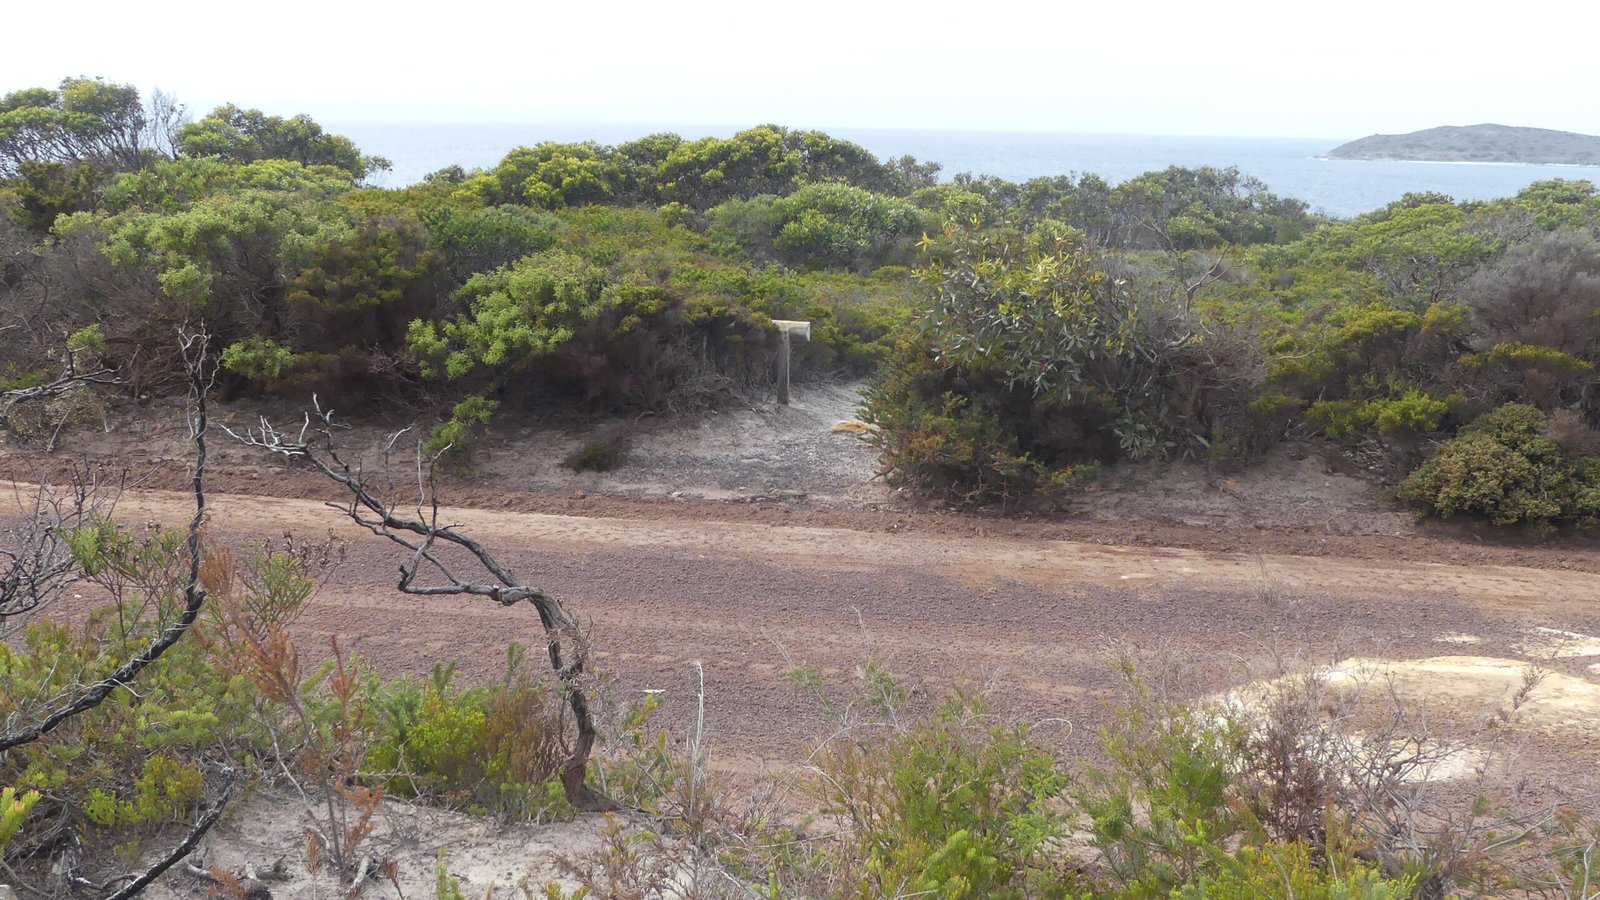
We walked the loop clockwise and headed out on an old track looking for the alternate descent but found only a lookout point across to the Eyre River, and so doubled back.
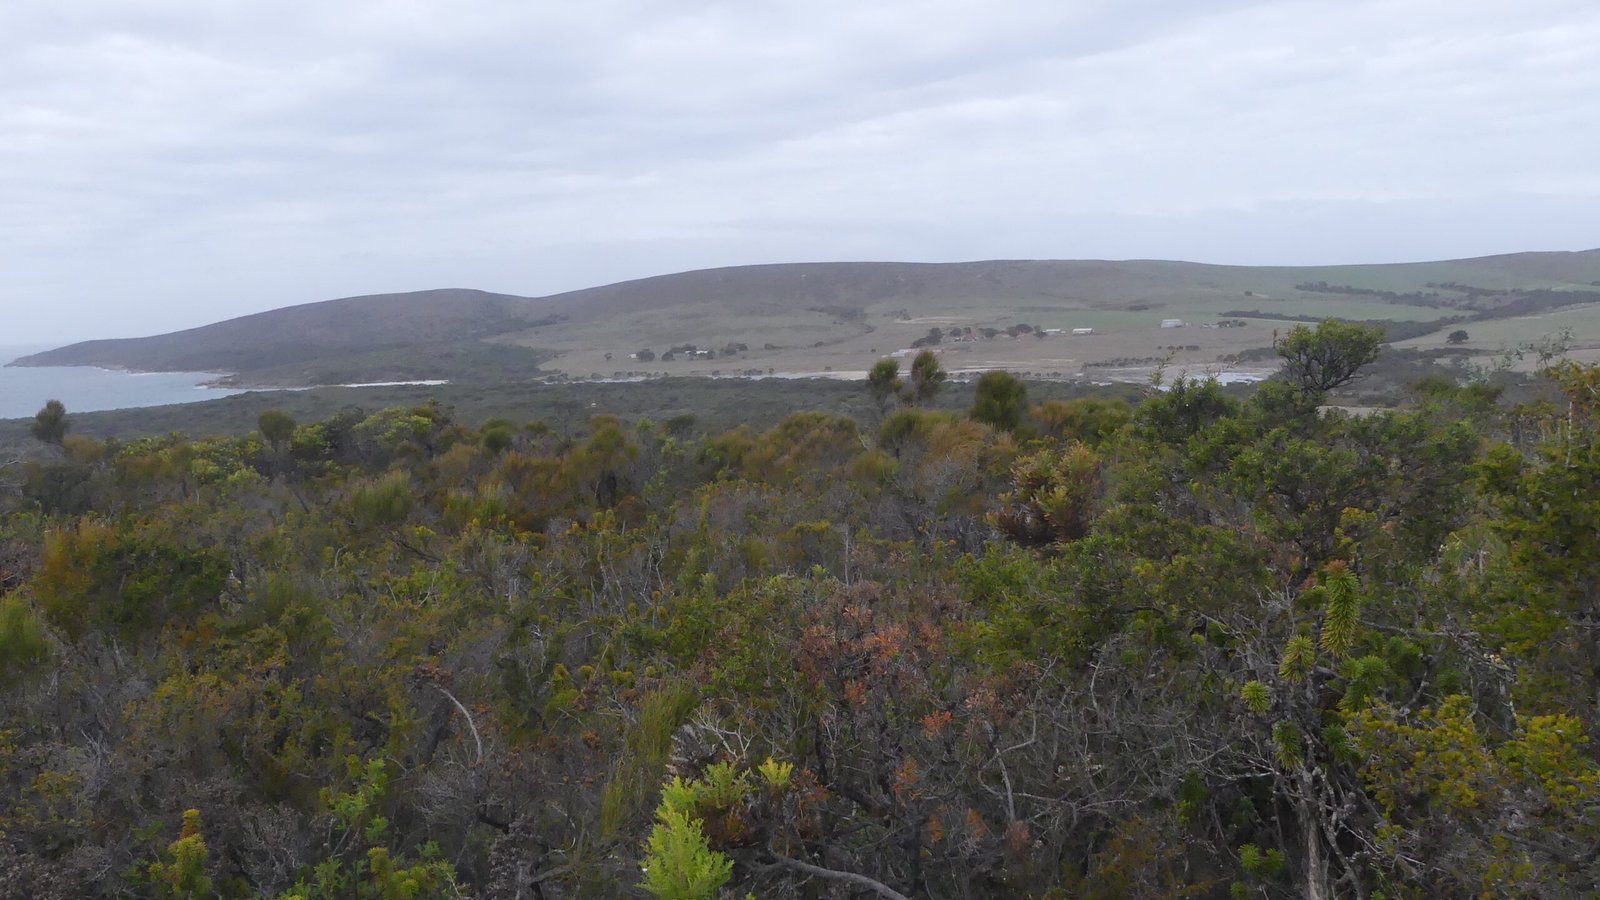
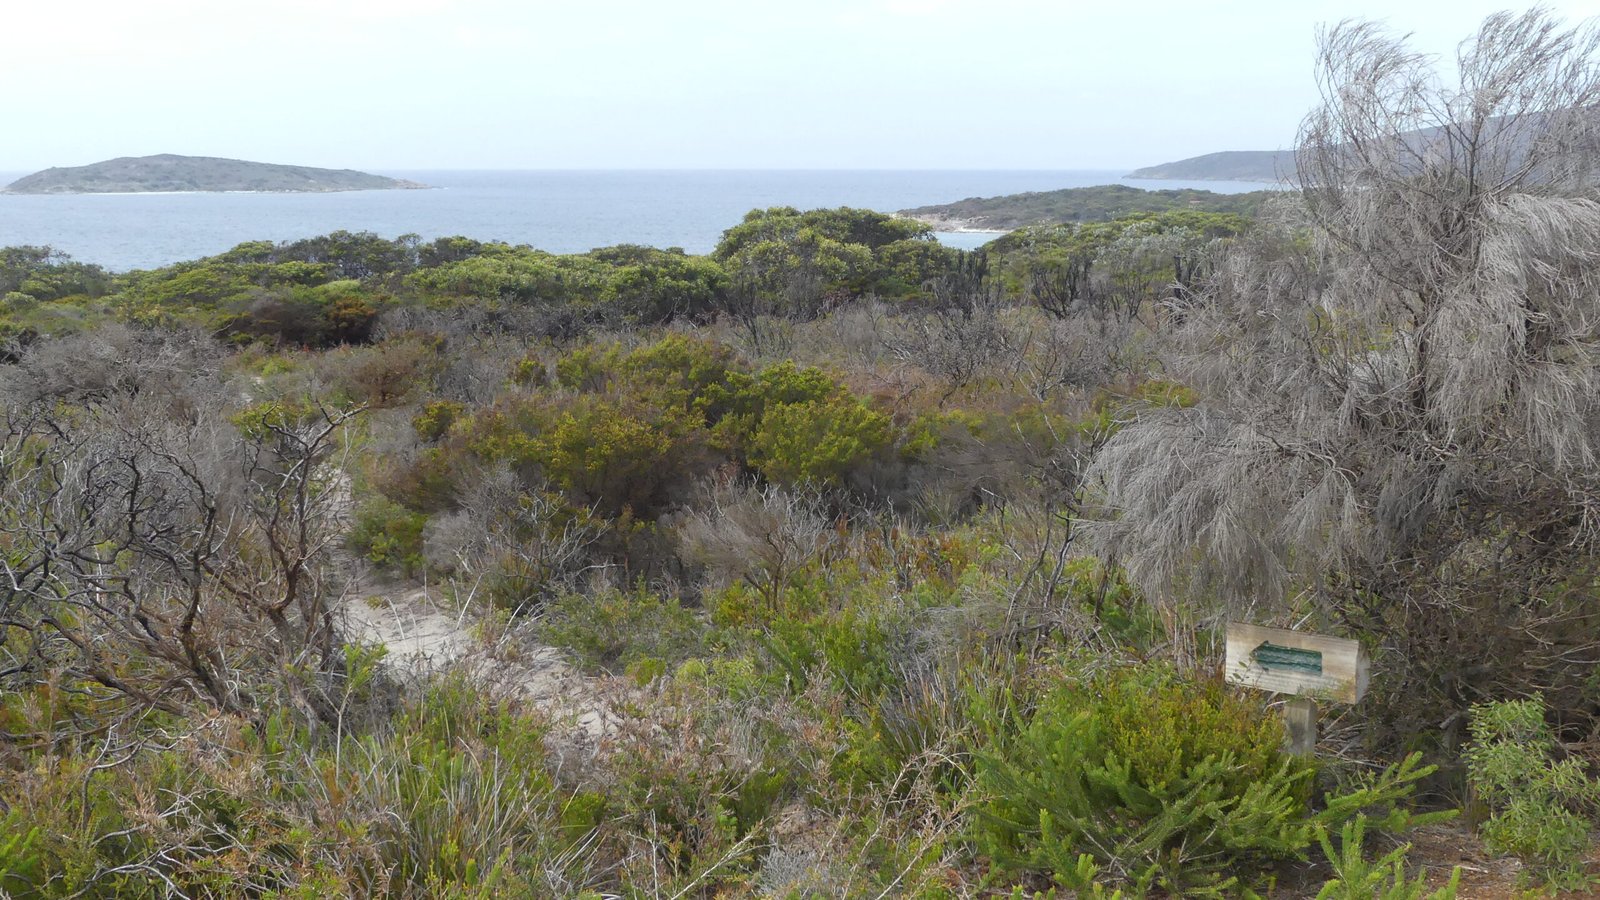
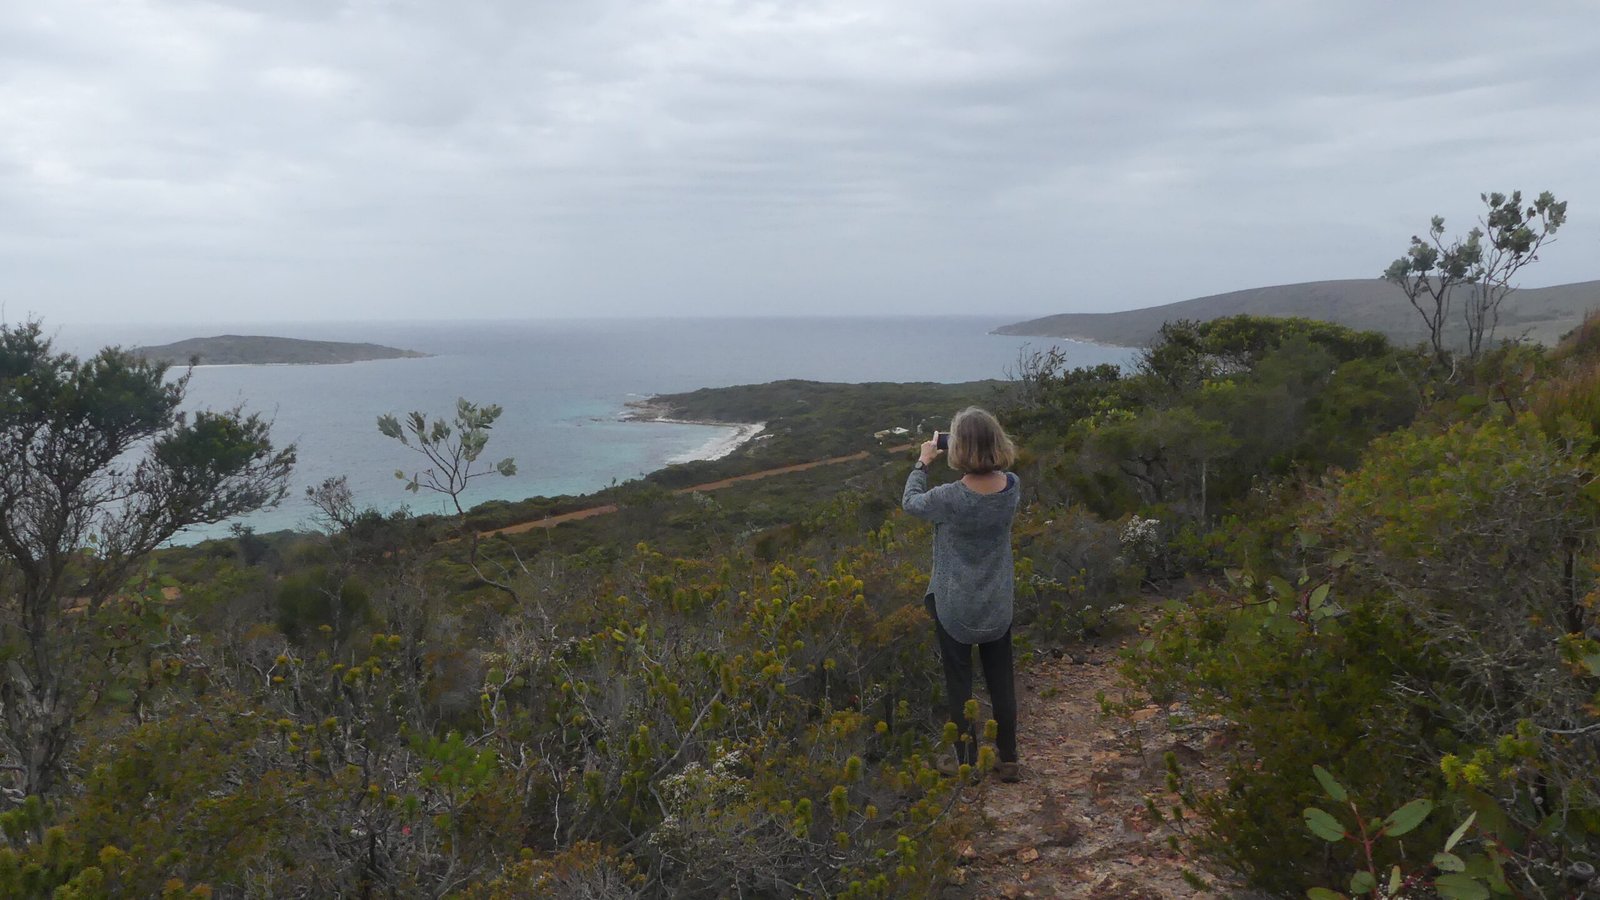
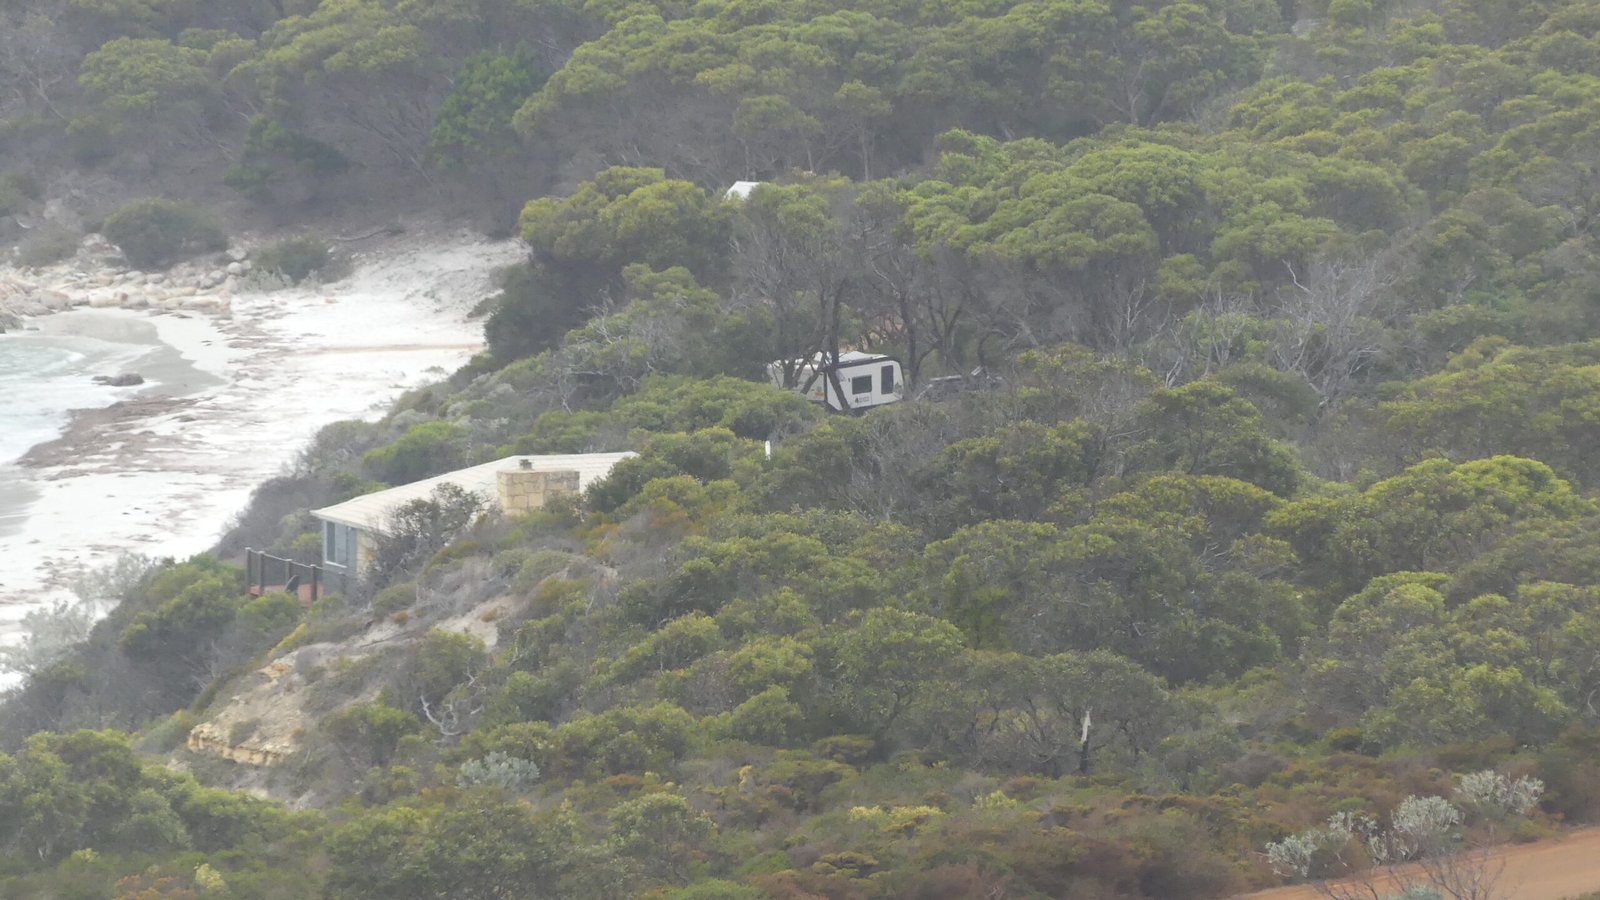
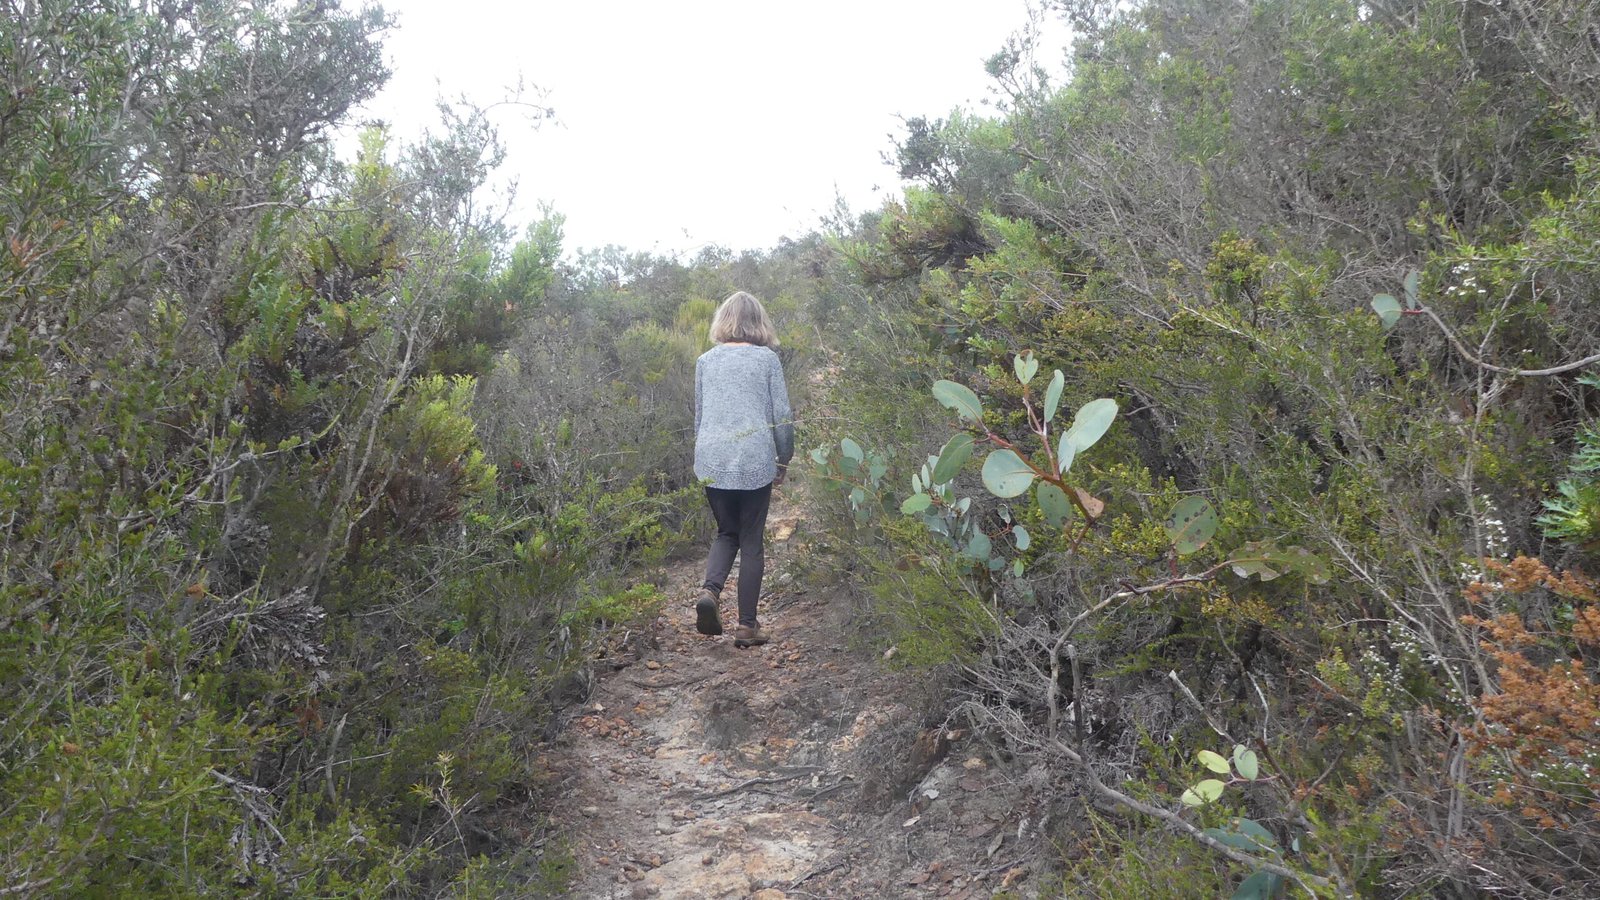
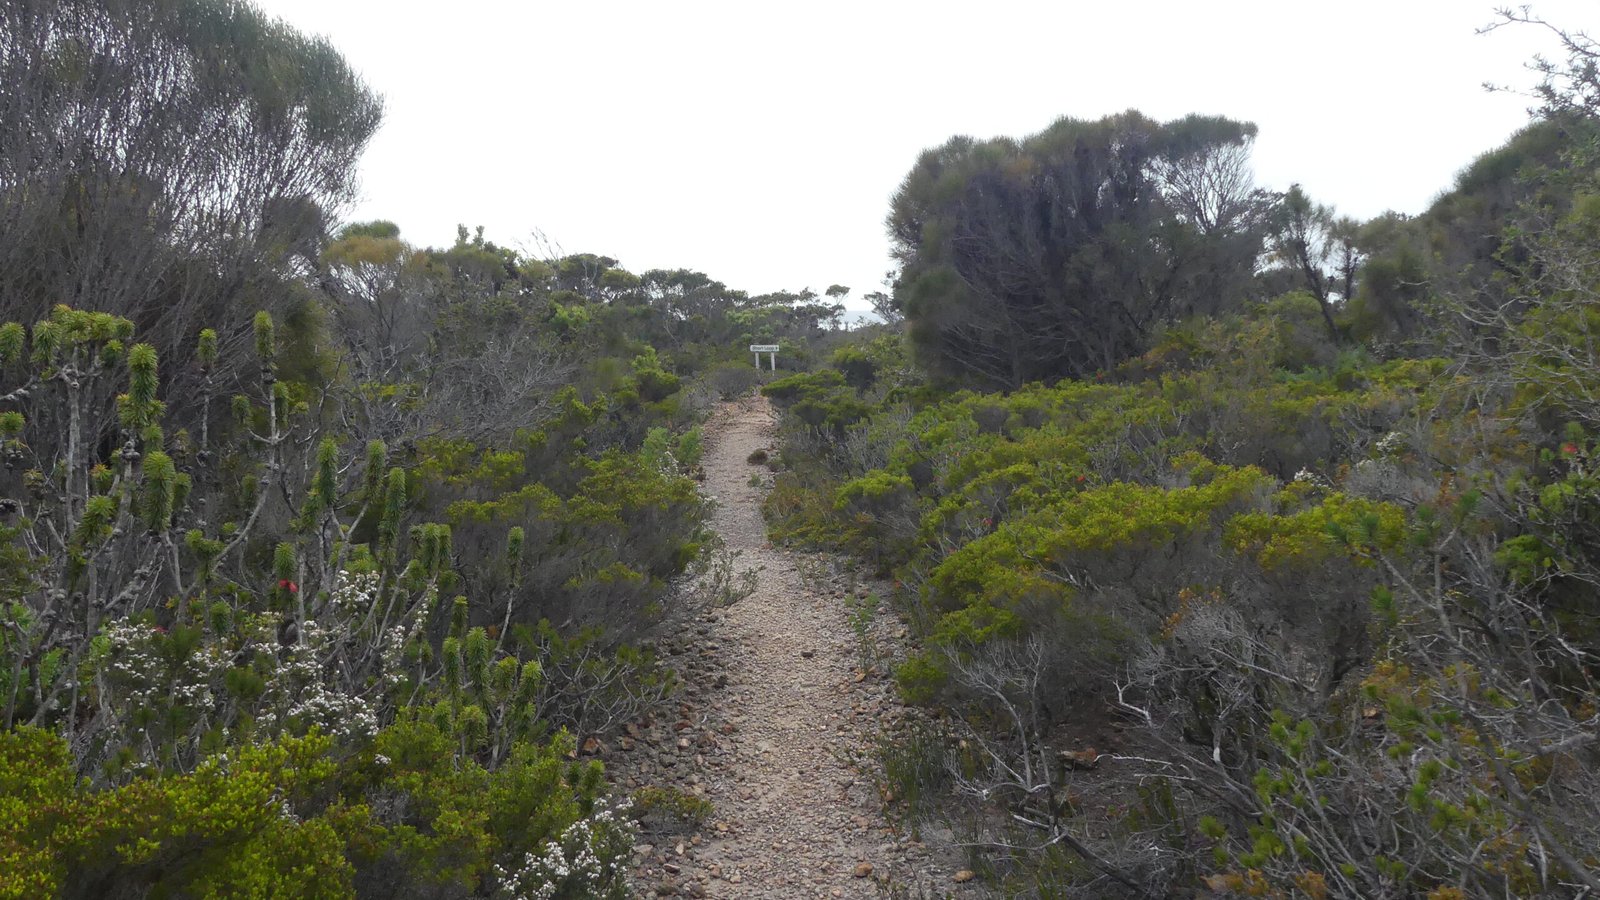
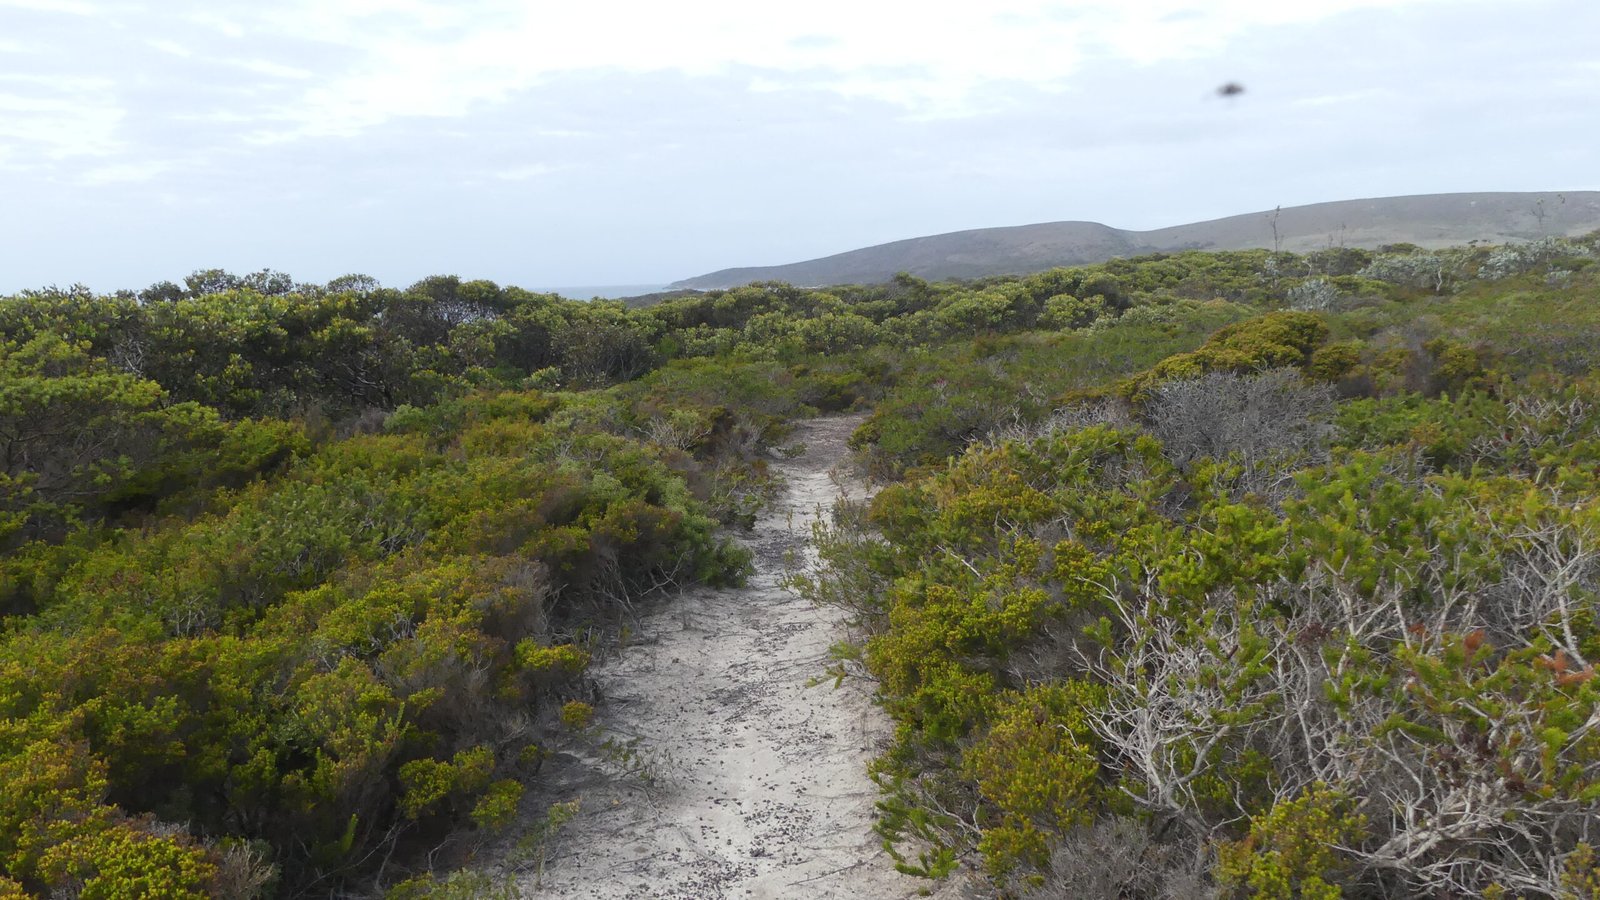
The Walk, about 3.4km round trip:
![](https://alloveraustralia.com/wp-content/uploads/2024/05/Mount-Melville-Cape-Riche-001-20240512-141657-1598x900.jpg)
![](https://alloveraustralia.com/wp-content/uploads/2024/05/Mount-Melville-Cape-Riche-005-P1220191-1600x900.jpg)
![](https://alloveraustralia.com/wp-content/uploads/2024/05/Mount-Melville-Cape-Riche-007-P1220193-1600x900.jpg)
![](https://alloveraustralia.com/wp-content/uploads/2024/05/Mount-Melville-Cape-Riche-008-P1220194-1600x900.jpg)
![](https://alloveraustralia.com/wp-content/uploads/2024/05/Mount-Melville-Cape-Riche-010-P1220196-1600x900.jpg)
![](https://alloveraustralia.com/wp-content/uploads/2024/05/Mount-Melville-Cape-Riche-012-P1220198-1600x900.jpg)
![](https://alloveraustralia.com/wp-content/uploads/2024/05/Mount-Melville-Cape-Riche-014-P1220200-1600x900.jpg)
![](https://alloveraustralia.com/wp-content/uploads/2024/05/Mount-Melville-Cape-Riche-015-P1220201-1600x900.jpg)
![](https://alloveraustralia.com/wp-content/uploads/2024/05/Mount-Melville-Cape-Riche-019-P1220205-1600x900.jpg)
![](https://alloveraustralia.com/wp-content/uploads/2024/05/Mount-Melville-Cape-Riche-021-P1220207-1600x900.jpg)
![](https://alloveraustralia.com/wp-content/uploads/2024/05/Mount-Melville-Cape-Riche-023-P1220209-1600x900.jpg)
![](https://alloveraustralia.com/wp-content/uploads/2024/05/Mount-Melville-Cape-Riche-025-P1220211-1600x900.jpg)
![](https://alloveraustralia.com/wp-content/uploads/2024/05/Mount-Melville-Cape-Riche-027-P1220215-1600x900.jpg)
![](https://alloveraustralia.com/wp-content/uploads/2024/05/Mount-Melville-Cape-Riche-028-P1220216-1600x900.jpg)
![](https://alloveraustralia.com/wp-content/uploads/2024/05/Mount-Melville-Cape-Riche-029-P1220217-1600x900.jpg)
![](https://alloveraustralia.com/wp-content/uploads/2024/05/Mount-Melville-Cape-Riche-031-P1220219-1600x900.jpg)
![](https://alloveraustralia.com/wp-content/uploads/2024/05/Mount-Melville-Cape-Riche-033-P1220221-1600x900.jpg)
![](https://alloveraustralia.com/wp-content/uploads/2024/05/Mount-Melville-Cape-Riche-034-P1220222-1600x900.jpg)
![](https://alloveraustralia.com/wp-content/uploads/2024/05/Mount-Melville-Cape-Riche-037-P1220225-1600x900.jpg)
![](https://alloveraustralia.com/wp-content/uploads/2024/05/Mount-Melville-Cape-Riche-039-P1220228-1600x900.jpg)
![](https://alloveraustralia.com/wp-content/uploads/2024/05/Mount-Melville-Cape-Riche-042-P1220231-1600x900.jpg)
![](https://alloveraustralia.com/wp-content/uploads/2024/05/Mount-Melville-Cape-Riche-043-P1220232-1600x900.jpg)
![](https://alloveraustralia.com/wp-content/uploads/2024/05/Mount-Melville-Cape-Riche-045-P1220234-1600x900.jpg)
![](https://alloveraustralia.com/wp-content/uploads/2024/05/Mount-Melville-Cape-Riche-047-P1220236-1600x900.jpg)
![](https://alloveraustralia.com/wp-content/uploads/2024/05/Mount-Melville-Cape-Riche-051-P1220240-1600x900.jpg)
![](https://alloveraustralia.com/wp-content/uploads/2024/05/Mount-Melville-Cape-Riche-055-P1220244-1600x900.jpg)
![](https://alloveraustralia.com/wp-content/uploads/2024/05/Mount-Melville-Cape-Riche-056-P1220245-1600x900.jpg)
![](https://alloveraustralia.com/wp-content/uploads/2024/05/Mount-Melville-Cape-Riche-058-P1220247-1600x900.jpg)
![](https://alloveraustralia.com/wp-content/uploads/2024/05/Mount-Melville-Cape-Riche-063-P1220252-1600x900.jpg)
![](https://alloveraustralia.com/wp-content/uploads/2024/05/Mount-Melville-Cape-Riche-064-P1220253-1600x900.jpg)
![](https://alloveraustralia.com/wp-content/uploads/2024/05/Mount-Melville-Cape-Riche-069-P1220258-1600x900.jpg)
![](https://alloveraustralia.com/wp-content/uploads/2024/05/Mount-Melville-Cape-Riche-072-P1220261-1600x900.jpg)
![](https://alloveraustralia.com/wp-content/uploads/2024/05/Mount-Melville-Cape-Riche-073-P1220262-1600x900.jpg)
![](https://alloveraustralia.com/wp-content/uploads/2024/05/Mount-Melville-Cape-Riche-074-P1220263-1600x900.jpg)
![](https://alloveraustralia.com/wp-content/uploads/2024/05/Mount-Melville-Cape-Riche-076-P1220268-1600x900.jpg)
![](https://alloveraustralia.com/wp-content/uploads/2024/05/Mount-Melville-Cape-Riche-078-P1220271-1600x900.jpg)
![](https://alloveraustralia.com/wp-content/uploads/2024/05/Mount-Melville-Cape-Riche-079-P1220272-1600x900.jpg)
![](https://alloveraustralia.com/wp-content/uploads/2024/05/Mount-Melville-Cape-Riche-080-P1220273-1600x900.jpg)
![](https://alloveraustralia.com/wp-content/uploads/2024/05/Mount-Melville-Cape-Riche-082-P1220275-1600x900.jpg)
![](https://alloveraustralia.com/wp-content/uploads/2024/05/Mount-Melville-Cape-Riche-084-P1220277-1600x900.jpg)
![](https://alloveraustralia.com/wp-content/uploads/2024/05/Mount-Melville-Cape-Riche-085-P1220278-1600x900.jpg)
![](https://alloveraustralia.com/wp-content/uploads/2024/05/Mount-Melville-Cape-Riche-086-P1220279-1600x900.jpg)
![](https://alloveraustralia.com/wp-content/uploads/2024/05/Mount-Melville-Cape-Riche-087-P1220280-1600x900.jpg)
![](https://alloveraustralia.com/wp-content/uploads/2024/05/Mount-Melville-Cape-Riche-088-P1220281-1600x900.jpg)
![](https://alloveraustralia.com/wp-content/uploads/2024/05/Mount-Melville-Cape-Riche-089-P1220282-1600x900.jpg)