March 23, 2024
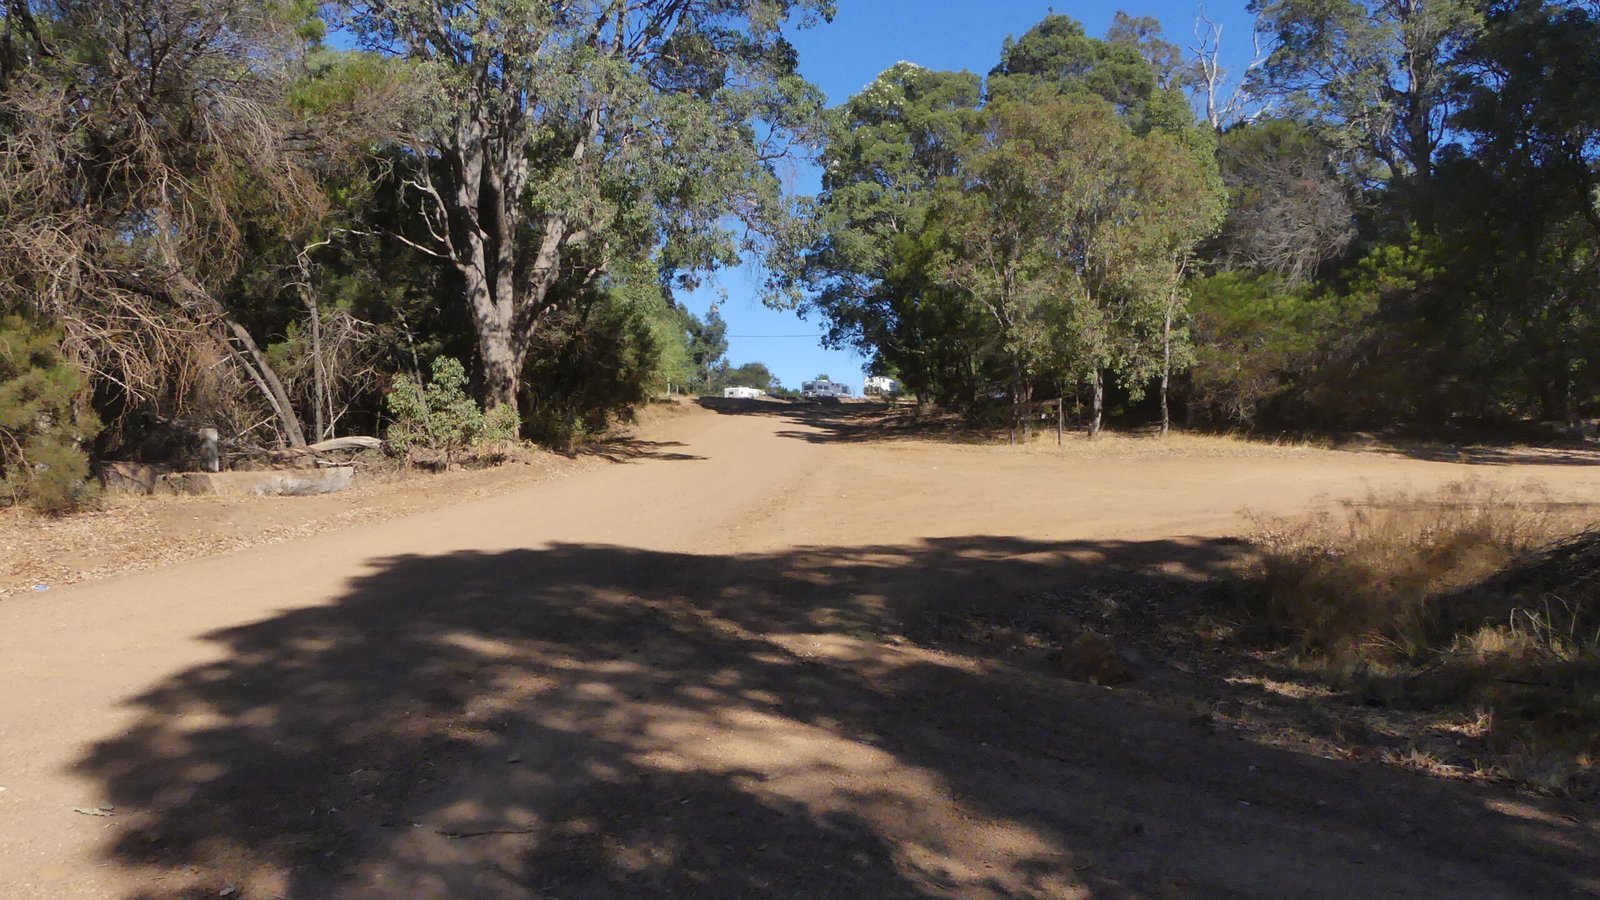
From our 4 day stay at Serpentine, it was only a 15km drive around the hills to Jarrahdale and the 72 hour free camp at the edge of town.
This is a very large area with no amenities, but does have water for tank filling plus a Dump Point and rubbish bins. At least a dozen vans here for most of our 3 days.
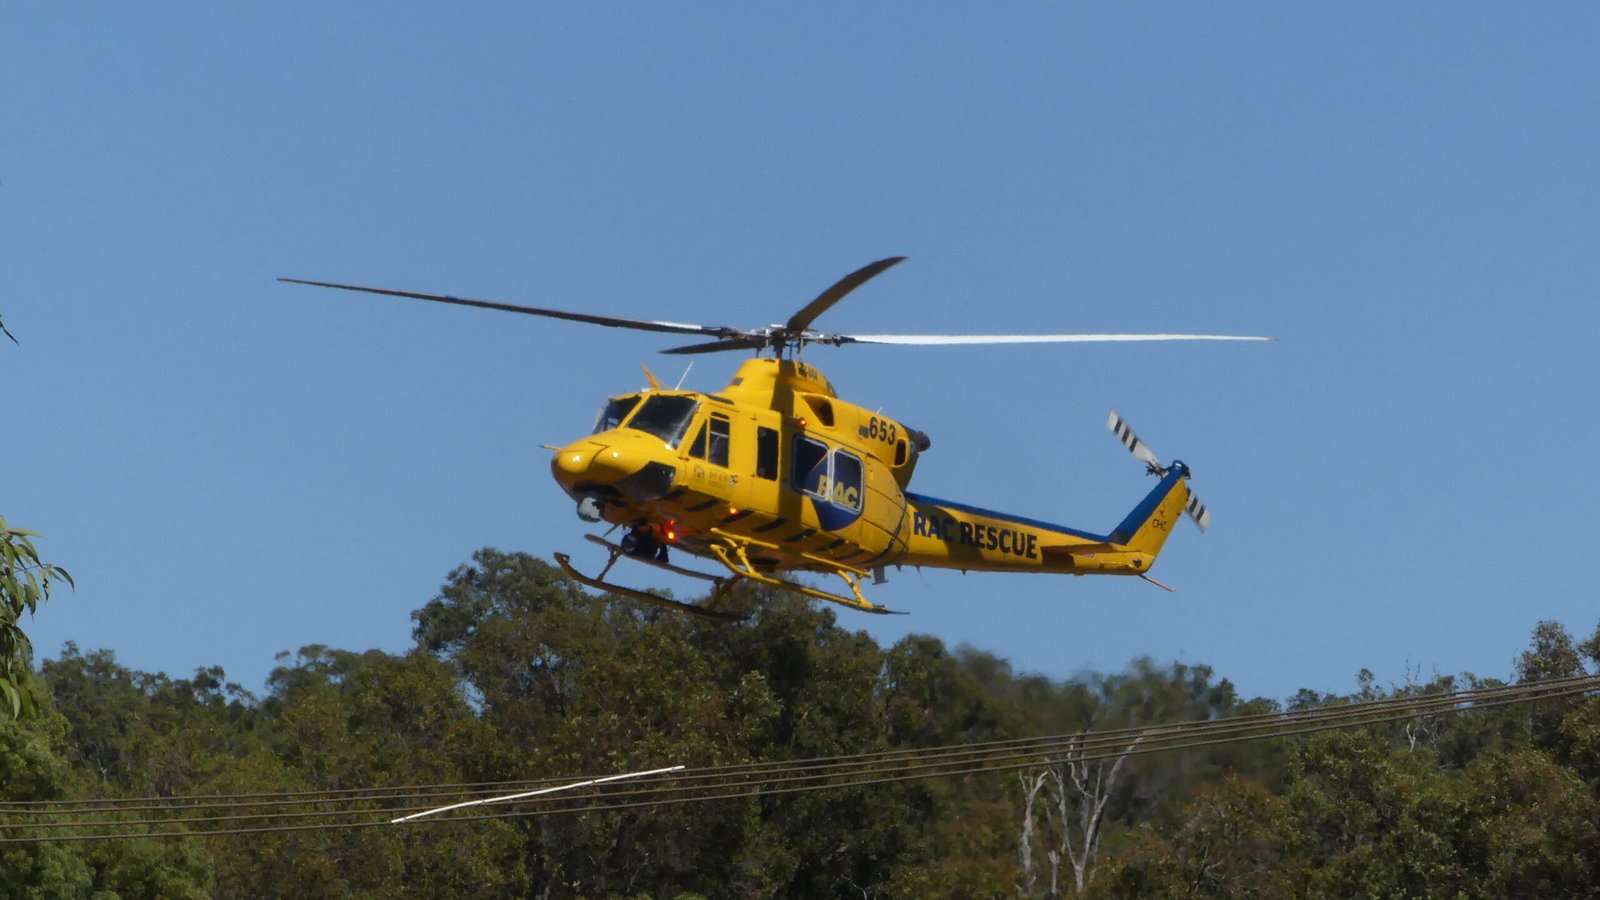
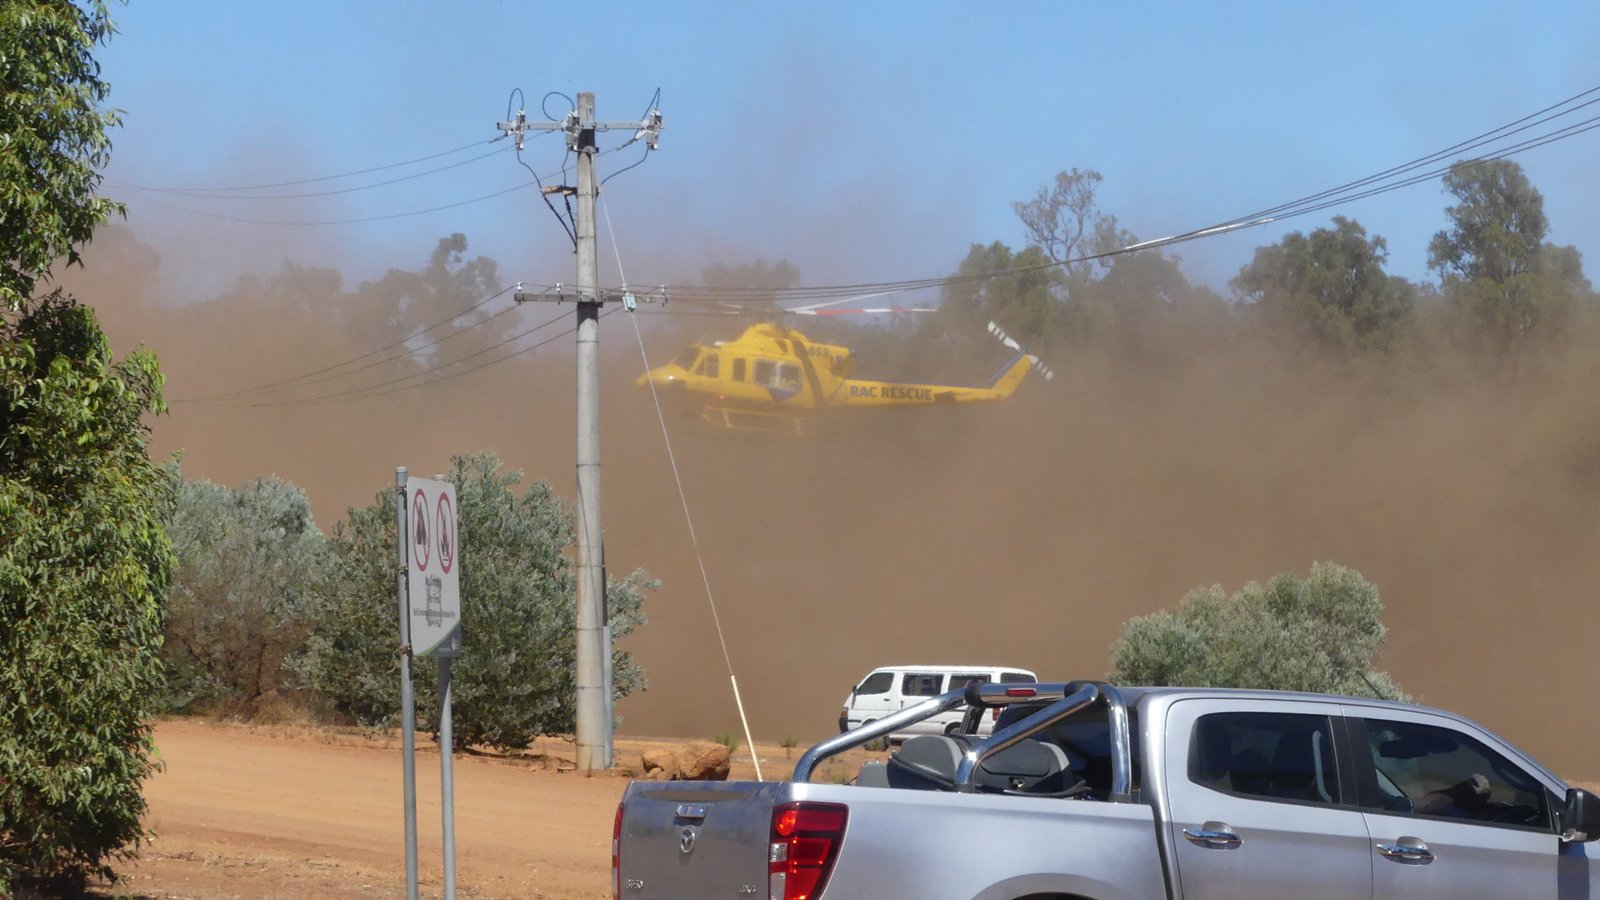
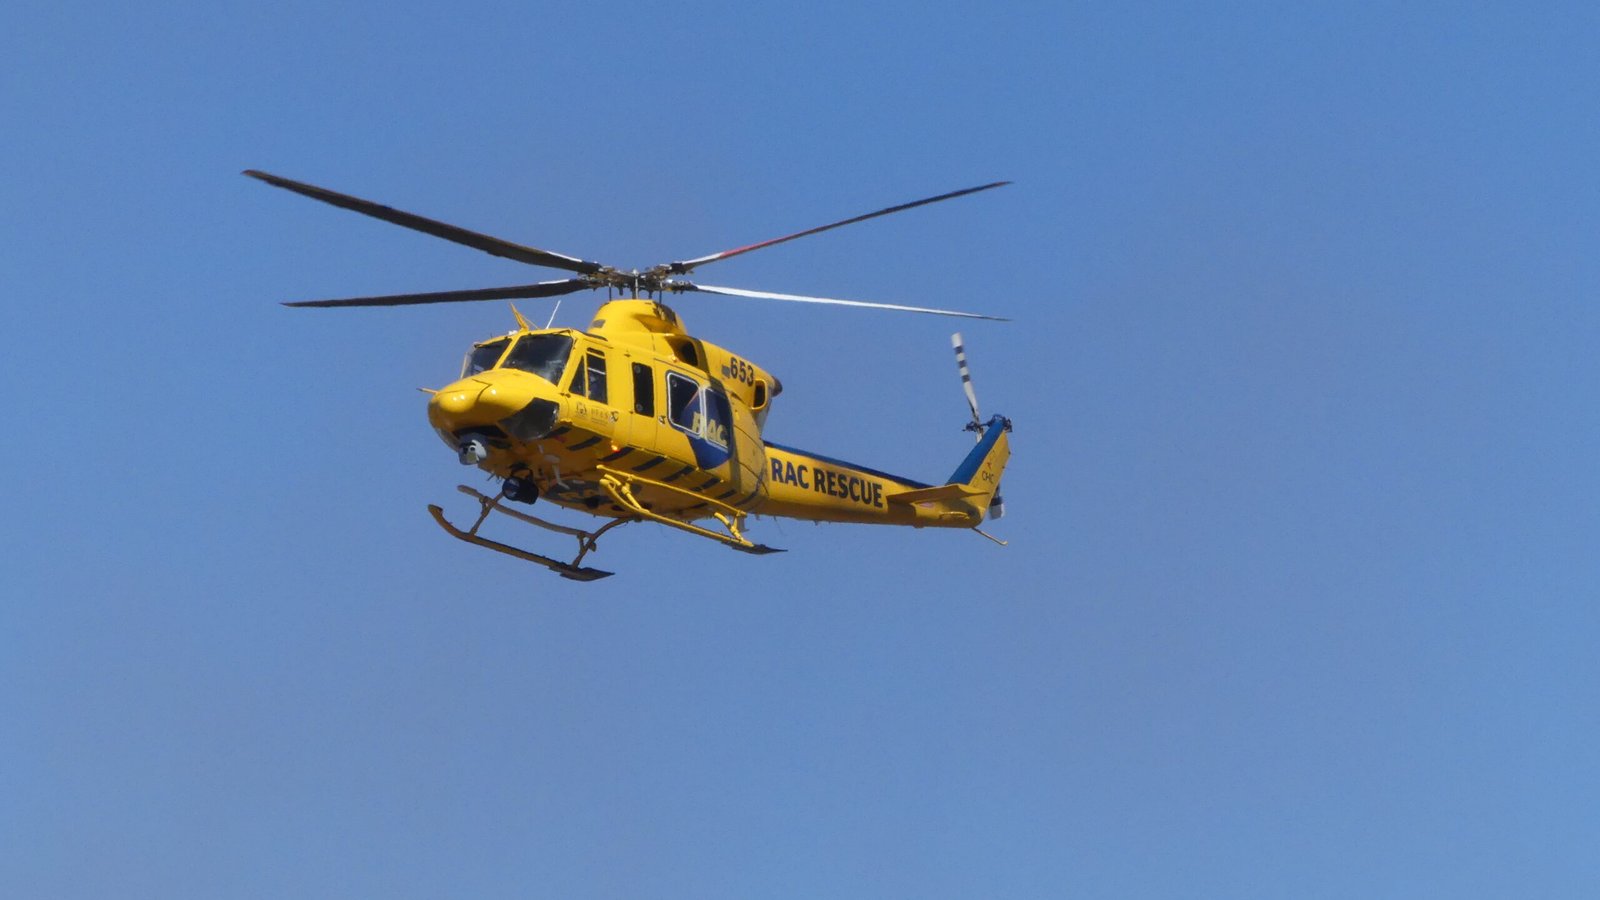
On Saturday afternoon we had a drop in from the RAC Rescue Chopper right next door on an open area to connect with the ambulance for a patient transfer and then take off again in a cloud of dust
![](https://alloveraustralia.com/wp-content/uploads/2024/03/Jarrahdale-and-Gooralong-Brook-Walk-106-P1190825-1600x900.jpg)
![](https://alloveraustralia.com/wp-content/uploads/2024/03/Jarrahdale-and-Gooralong-Brook-Walk-109-P1190828-1600x900.jpg)
![](https://alloveraustralia.com/wp-content/uploads/2024/03/Jarrahdale-and-Gooralong-Brook-Walk-112-P1190832-1600x900.jpg)
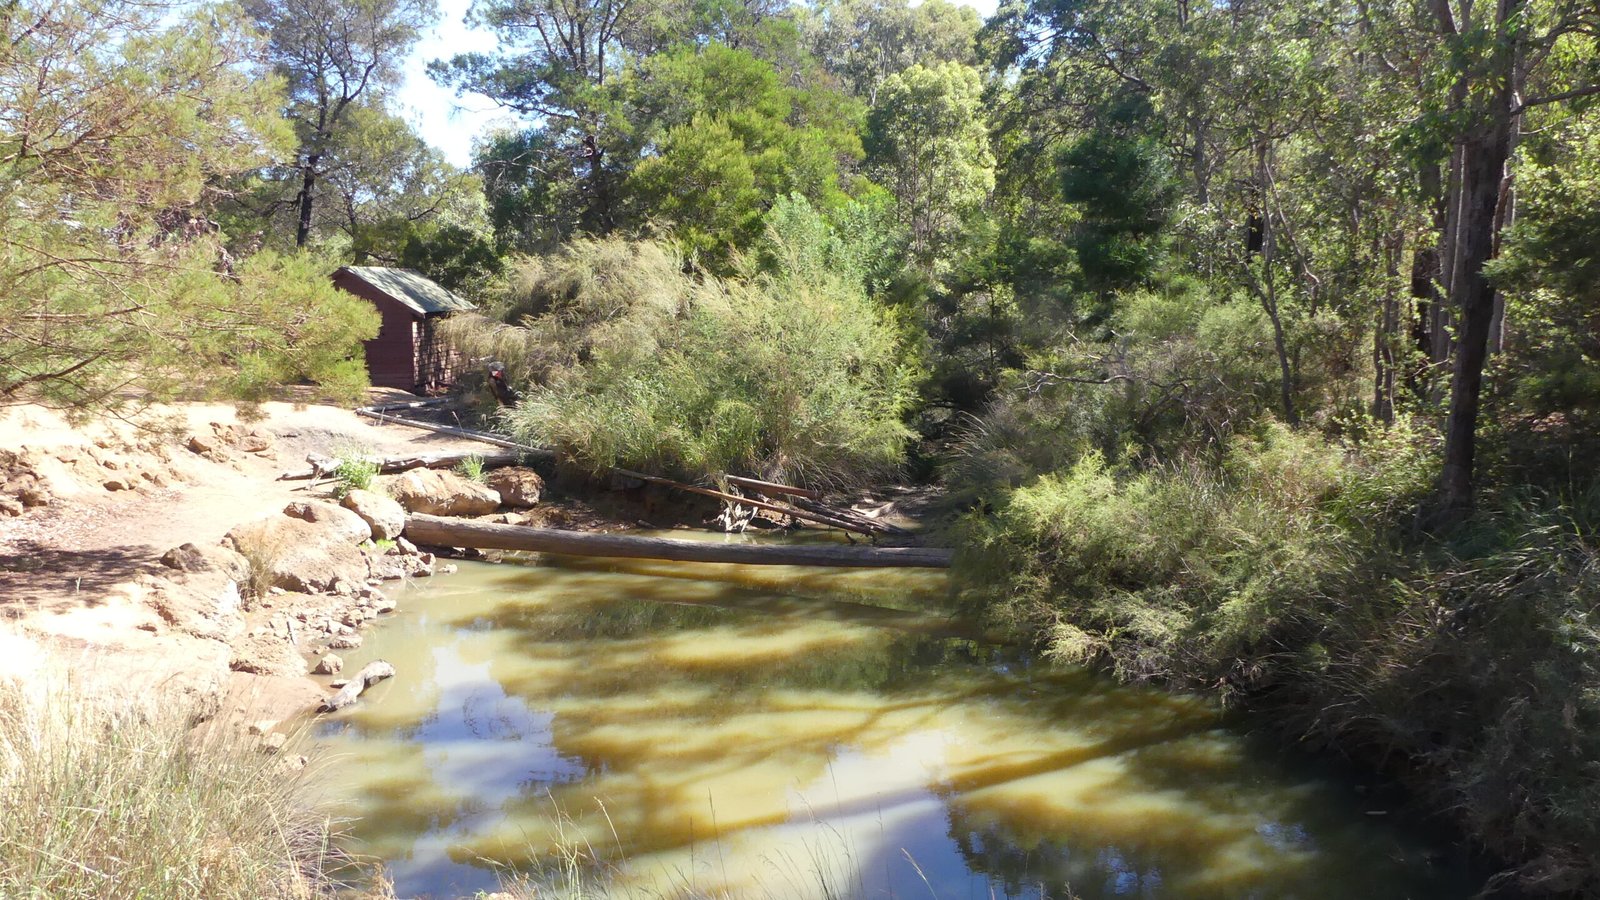
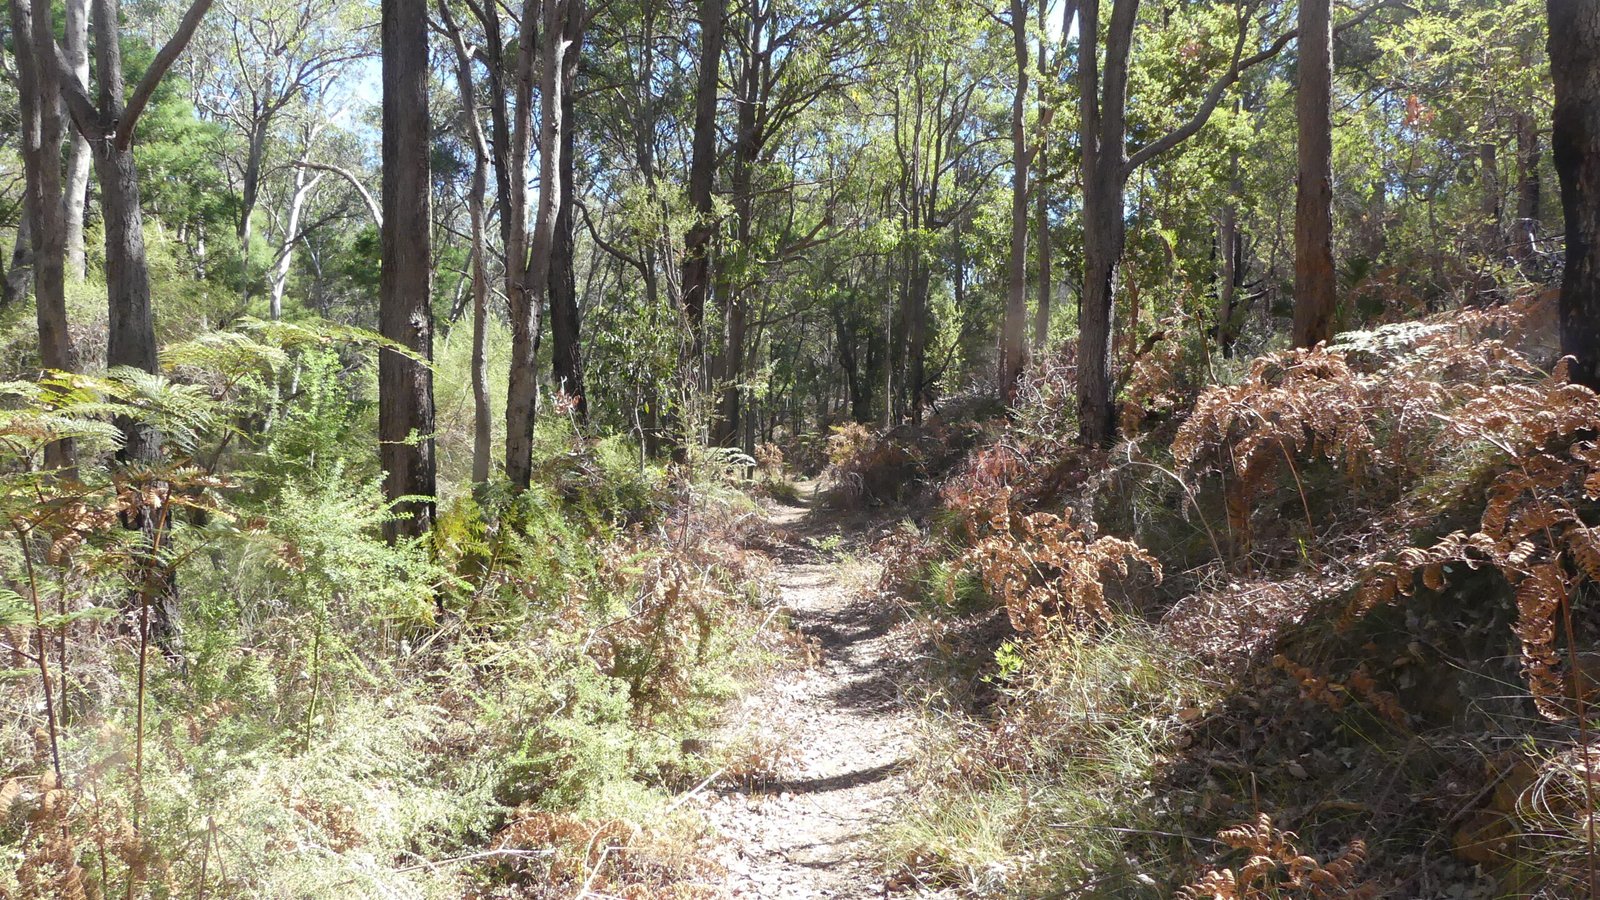
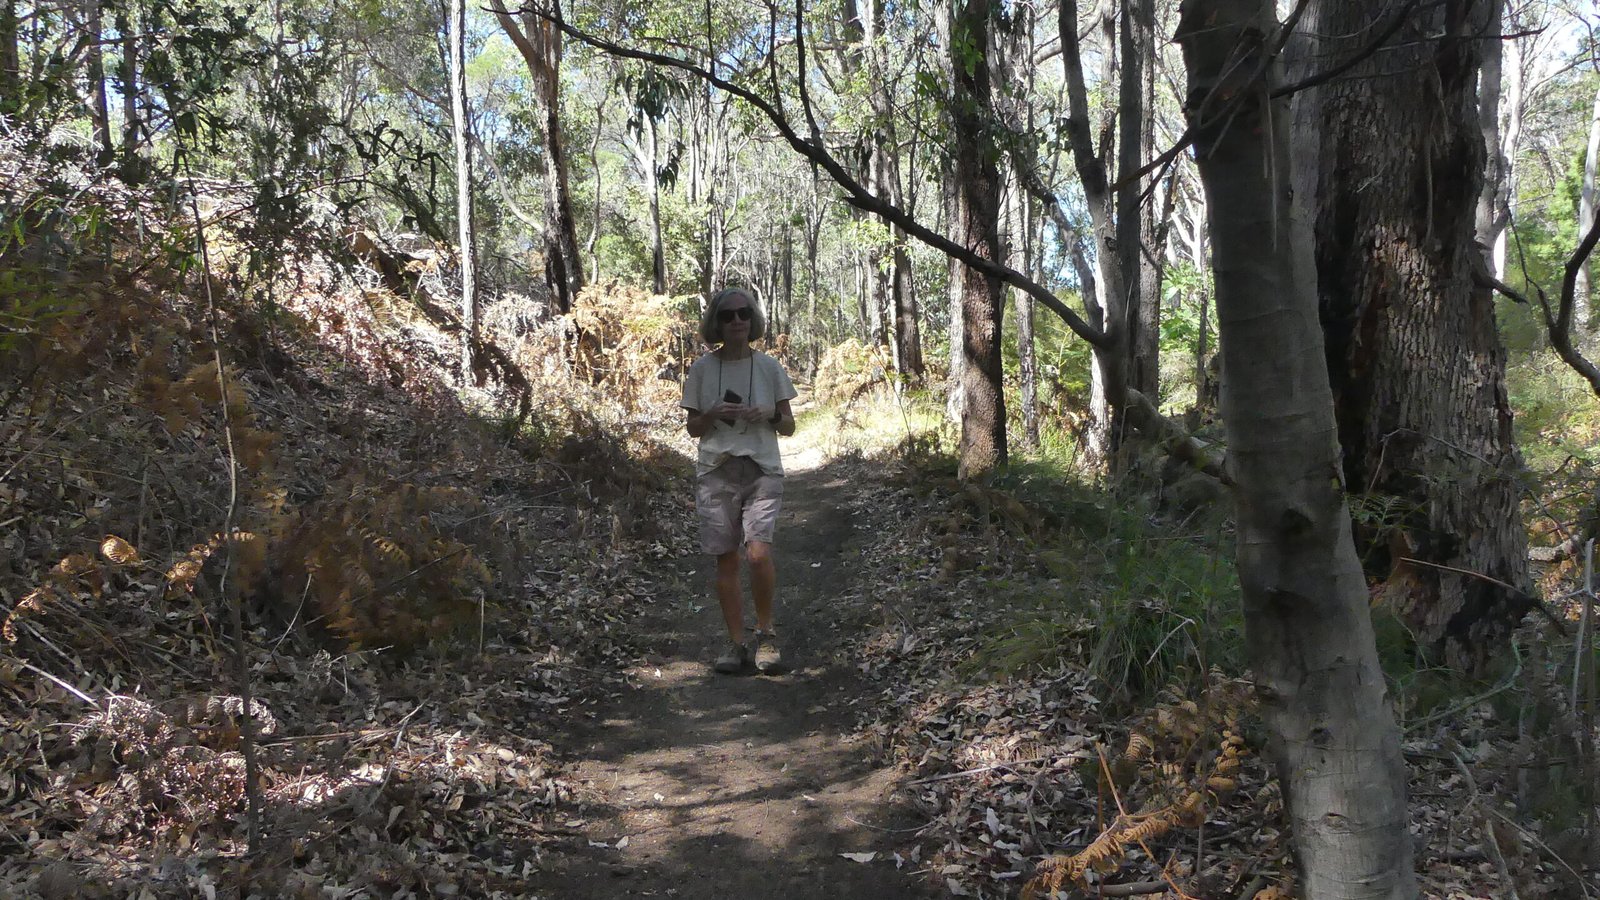
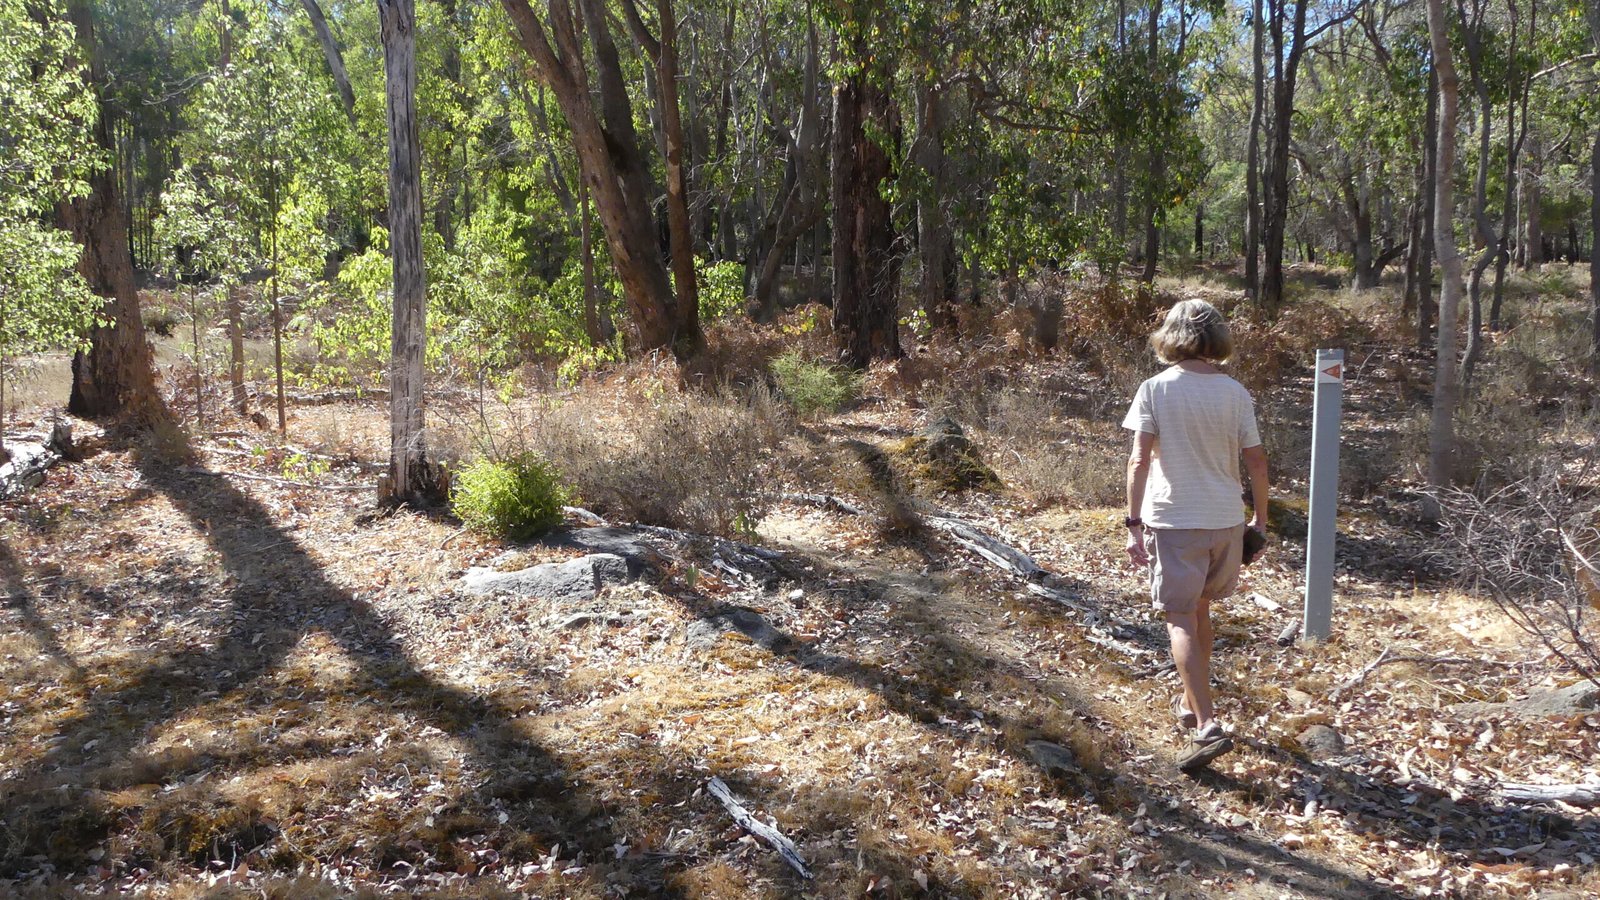
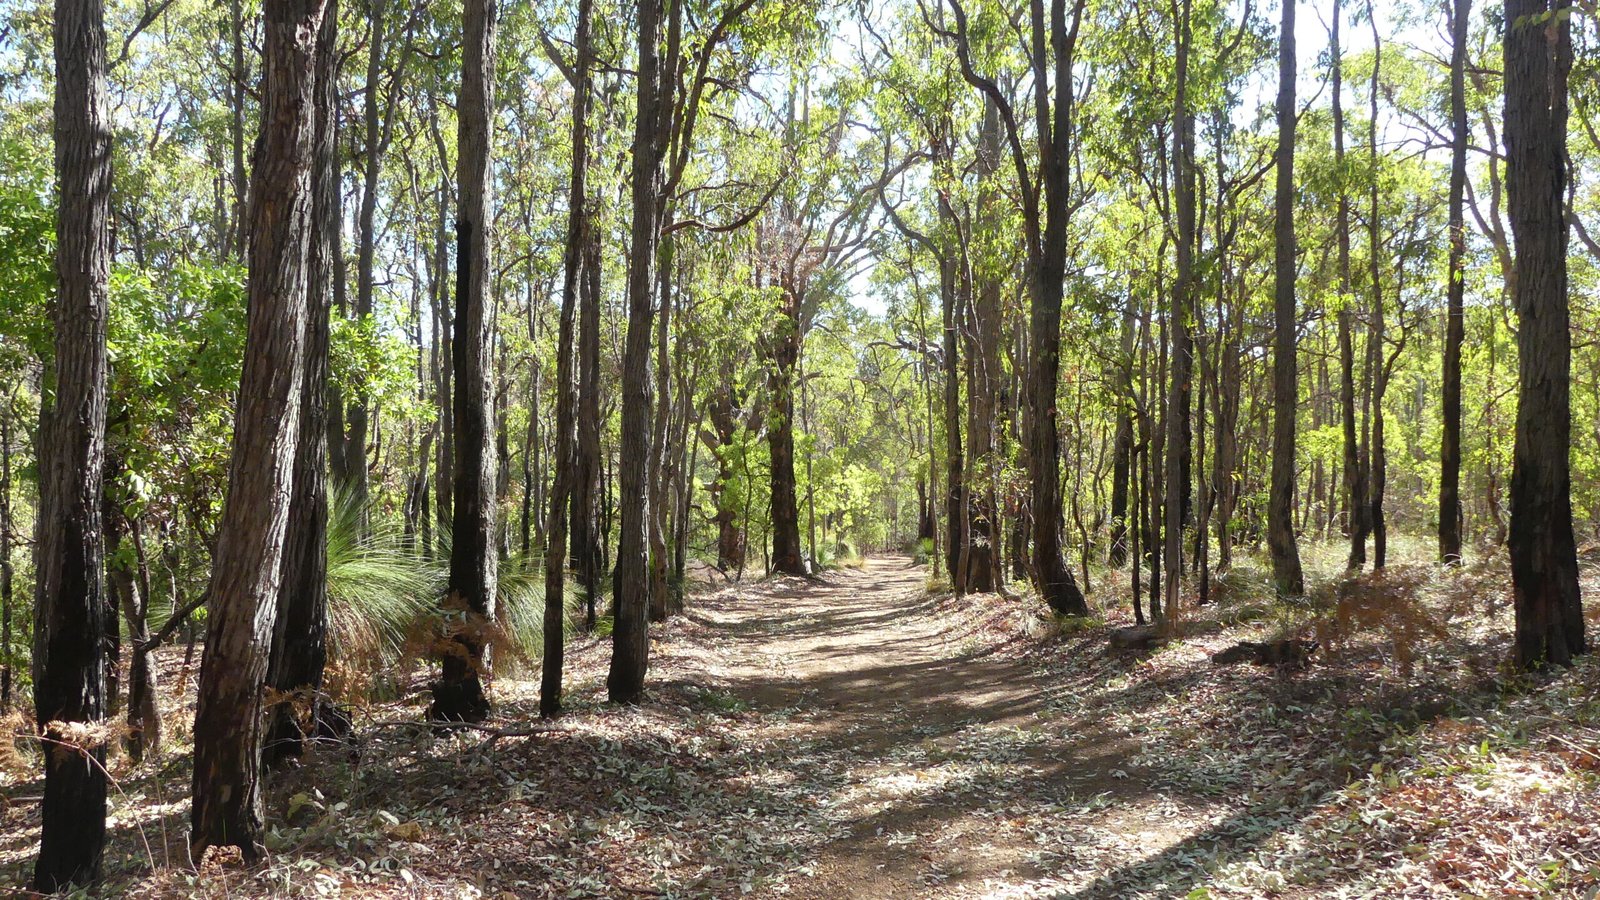
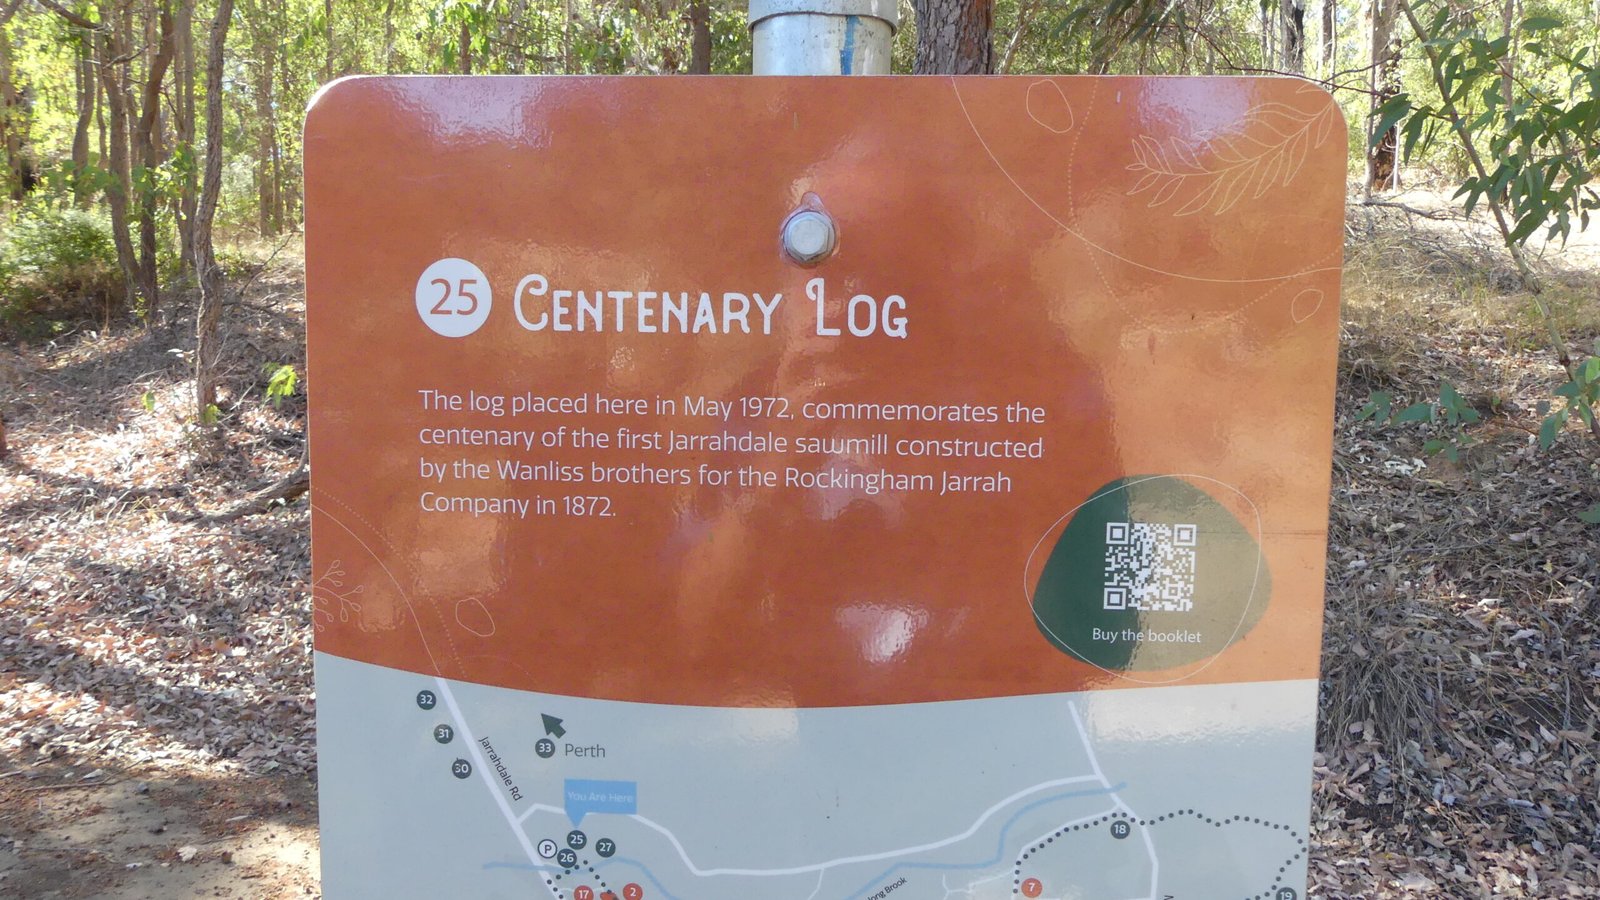
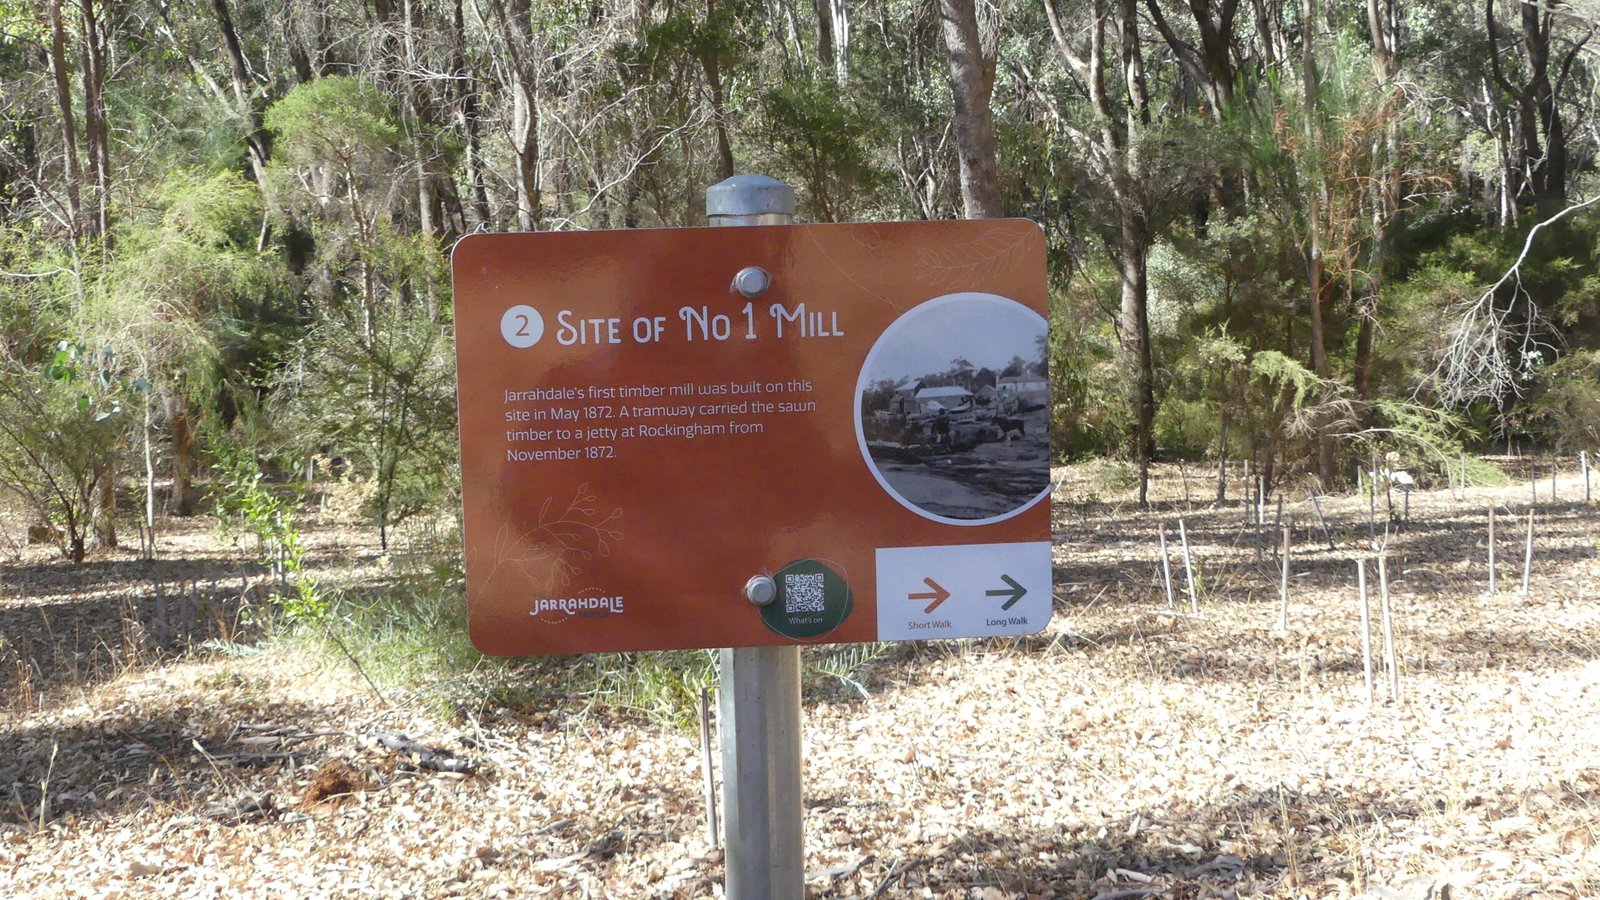
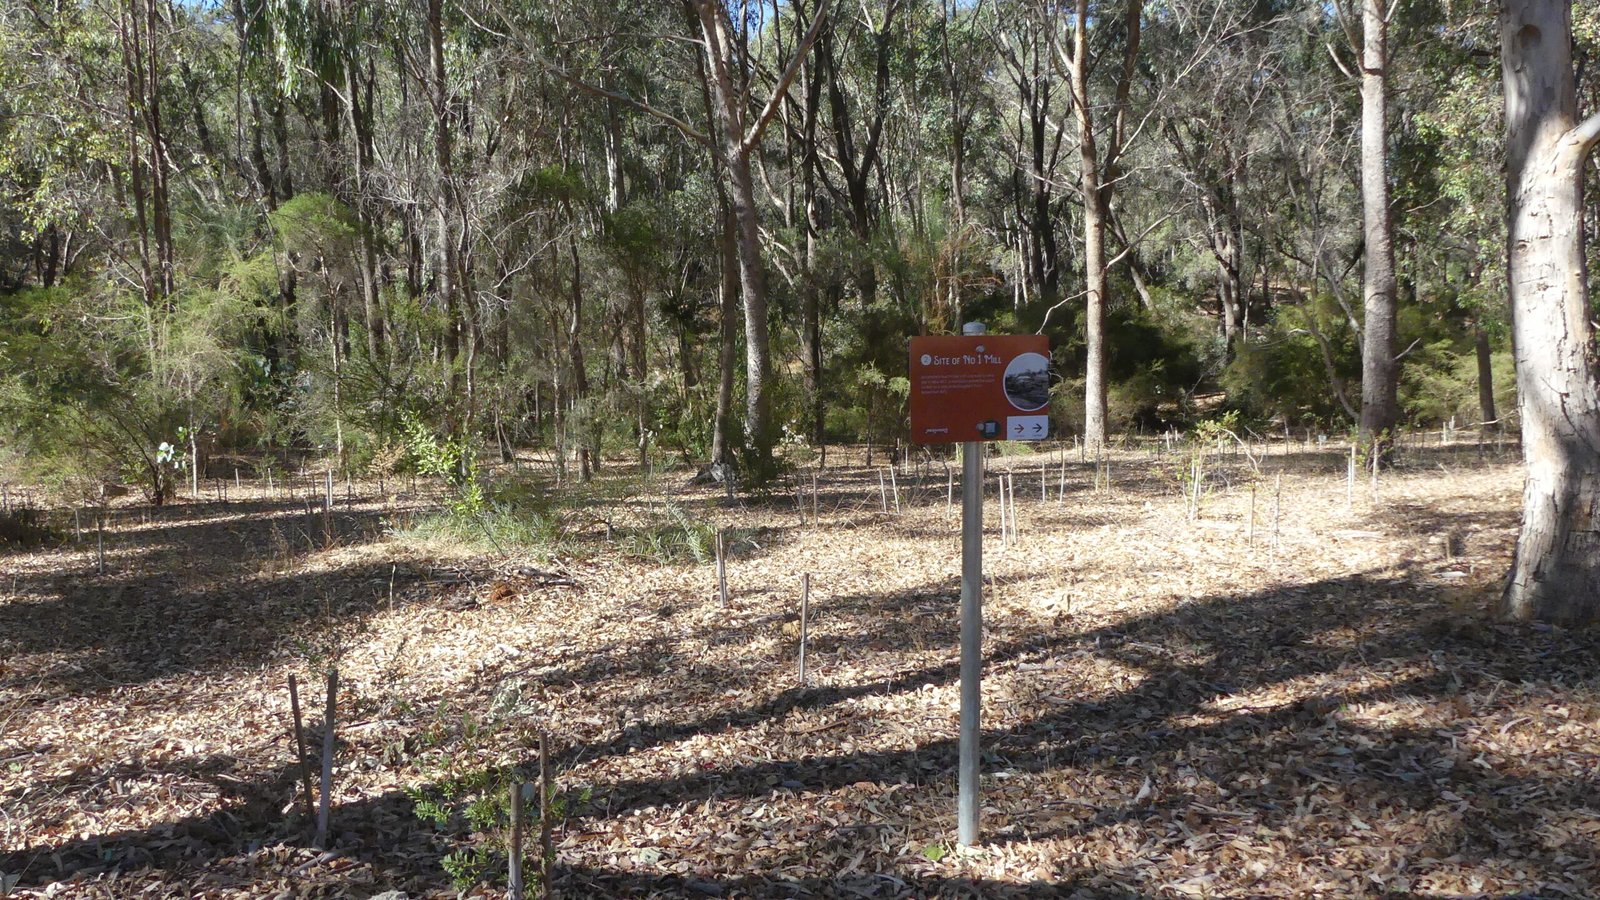
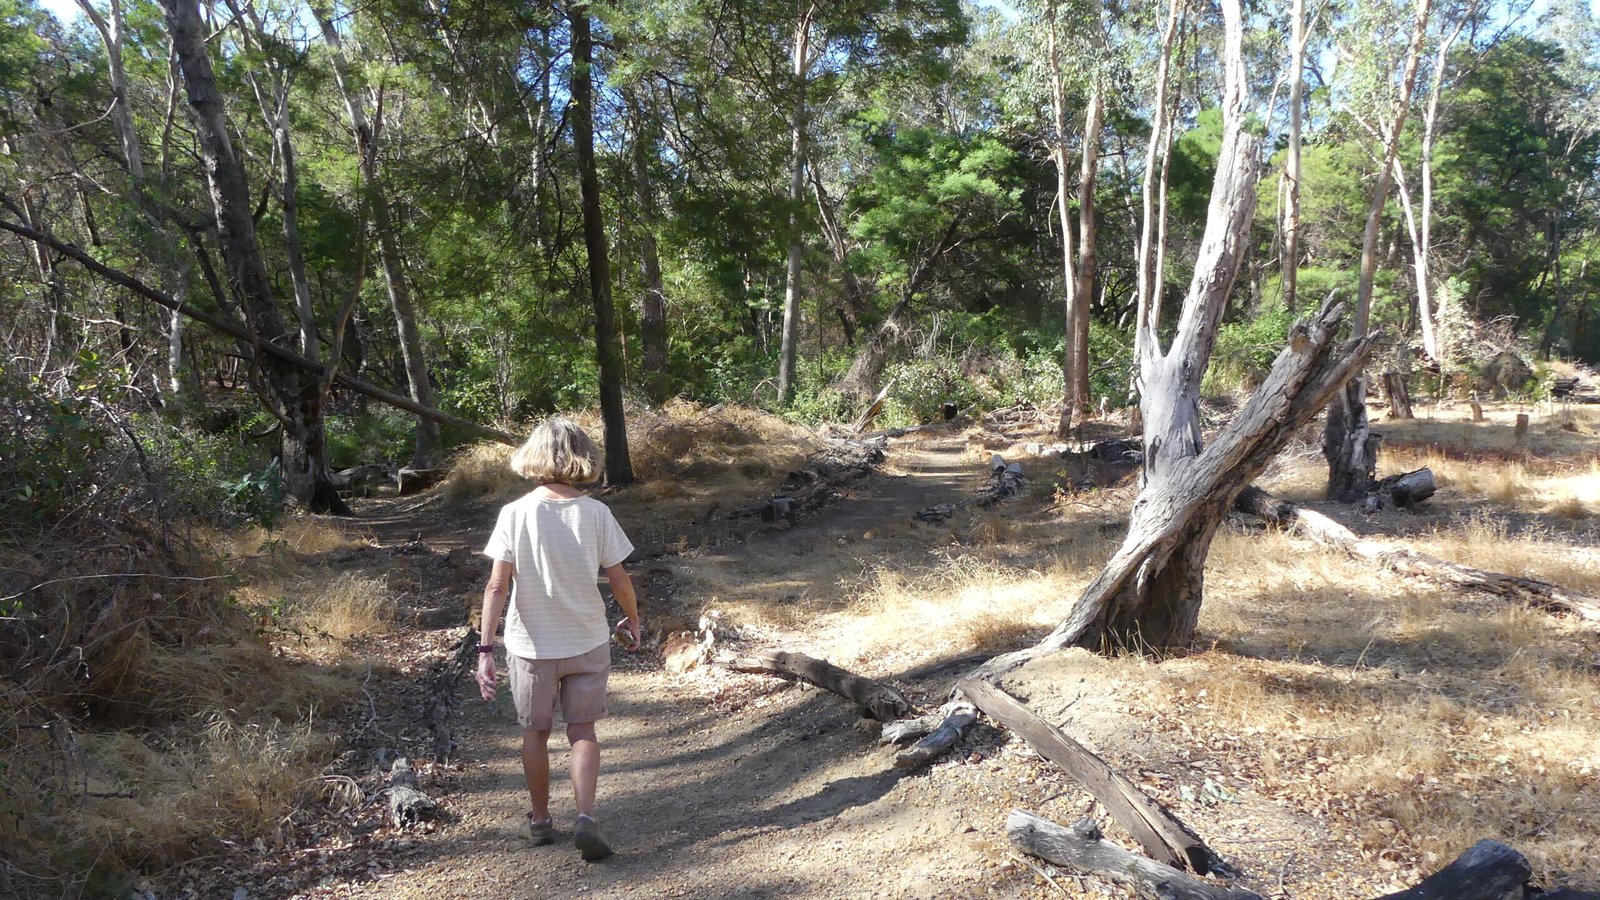
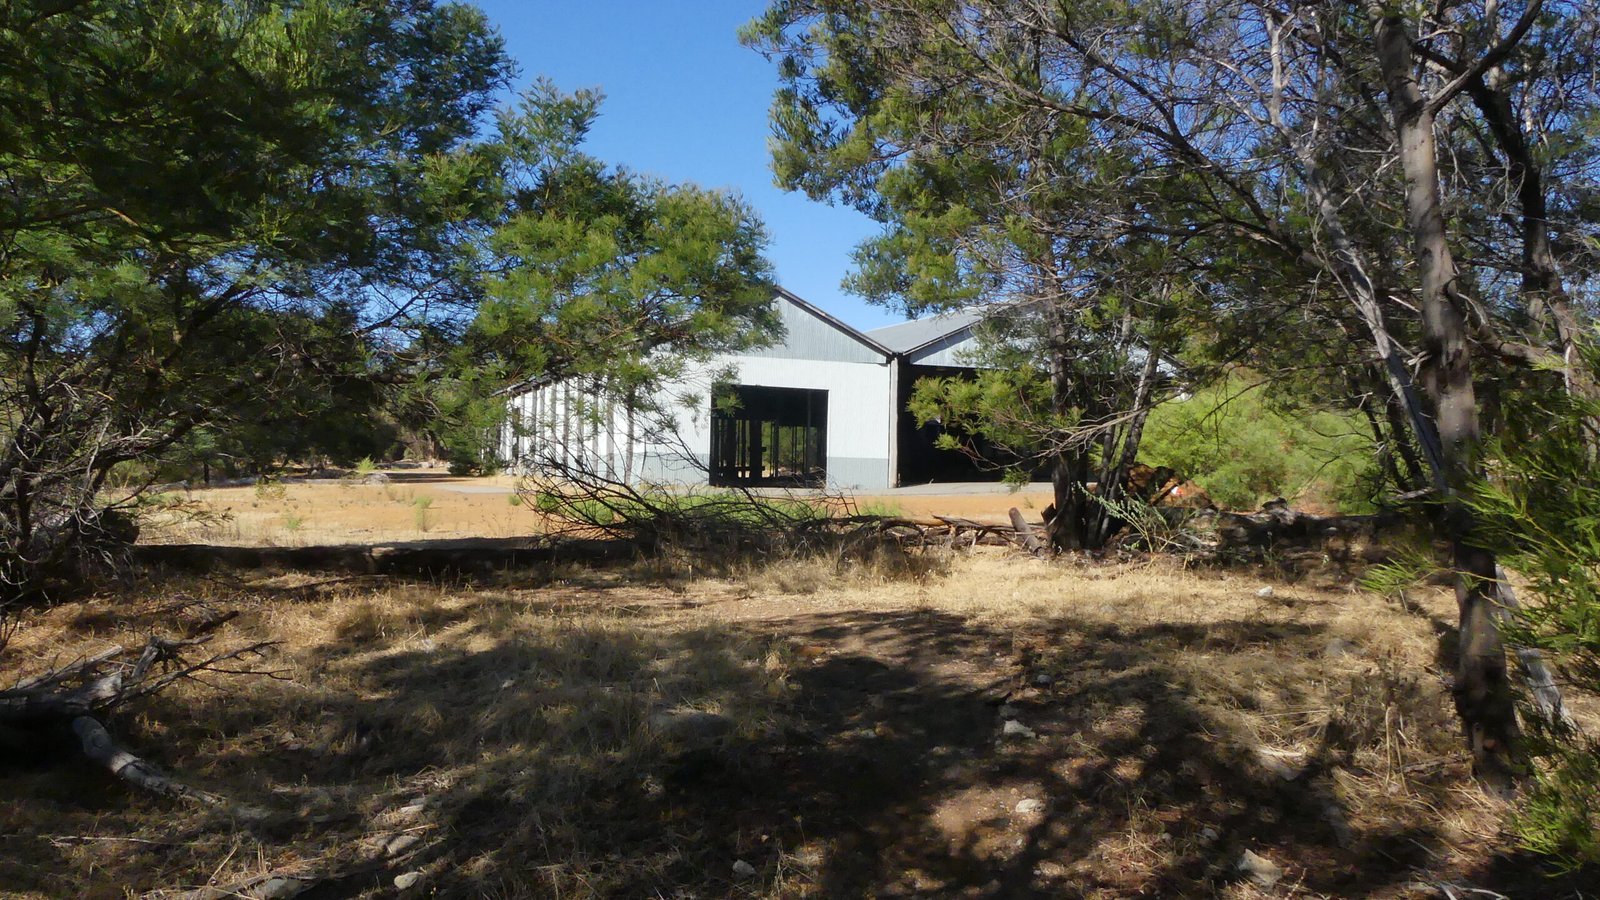
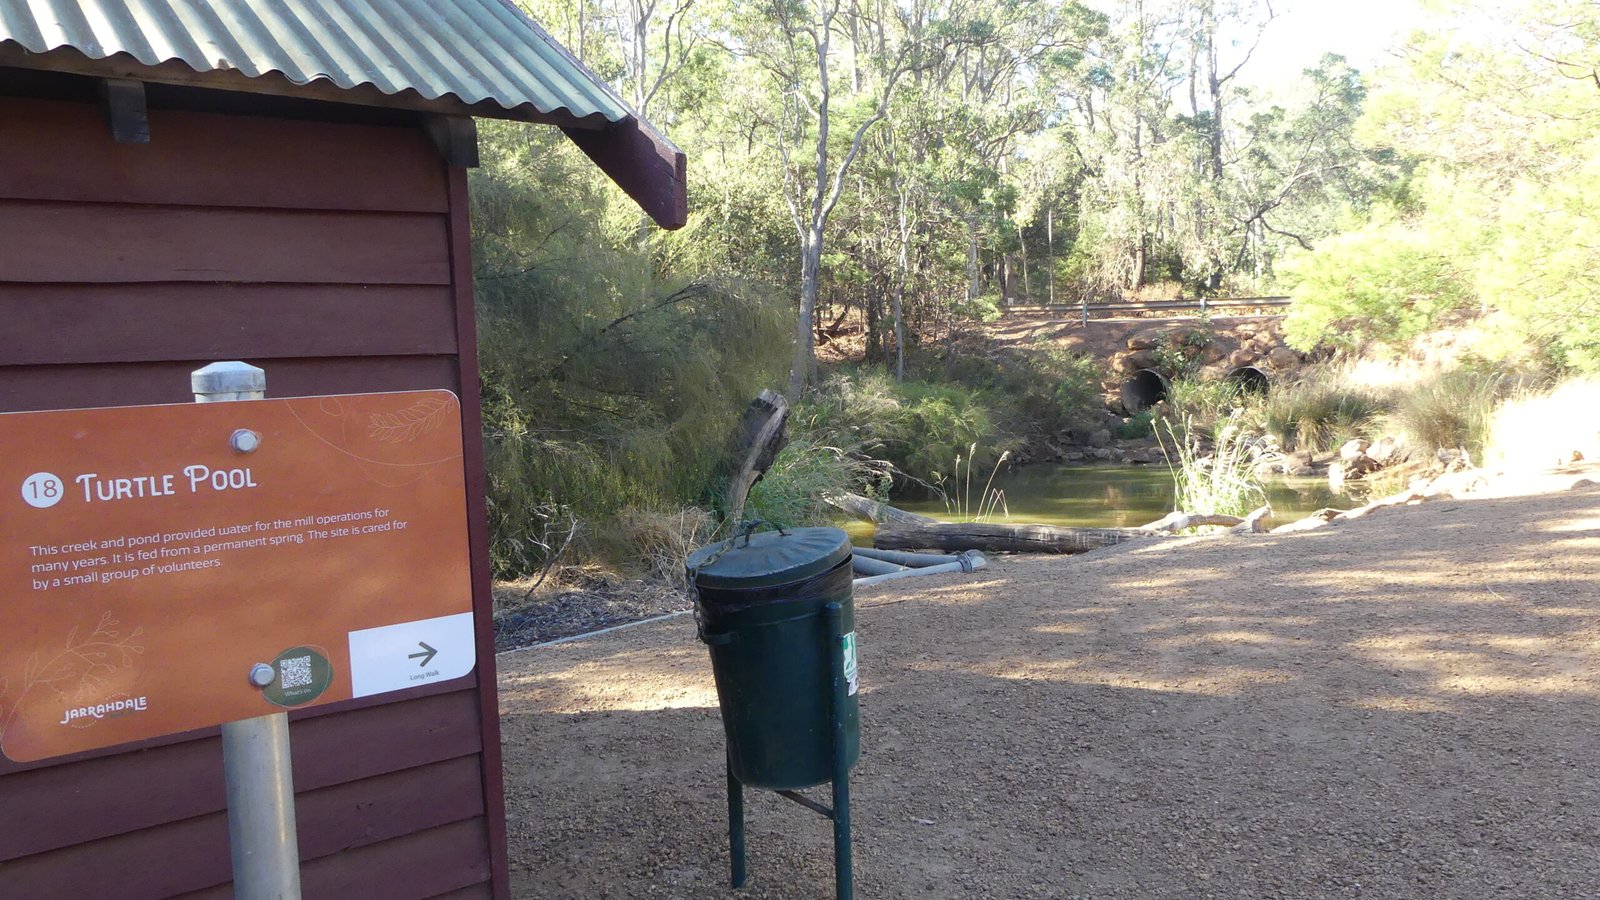
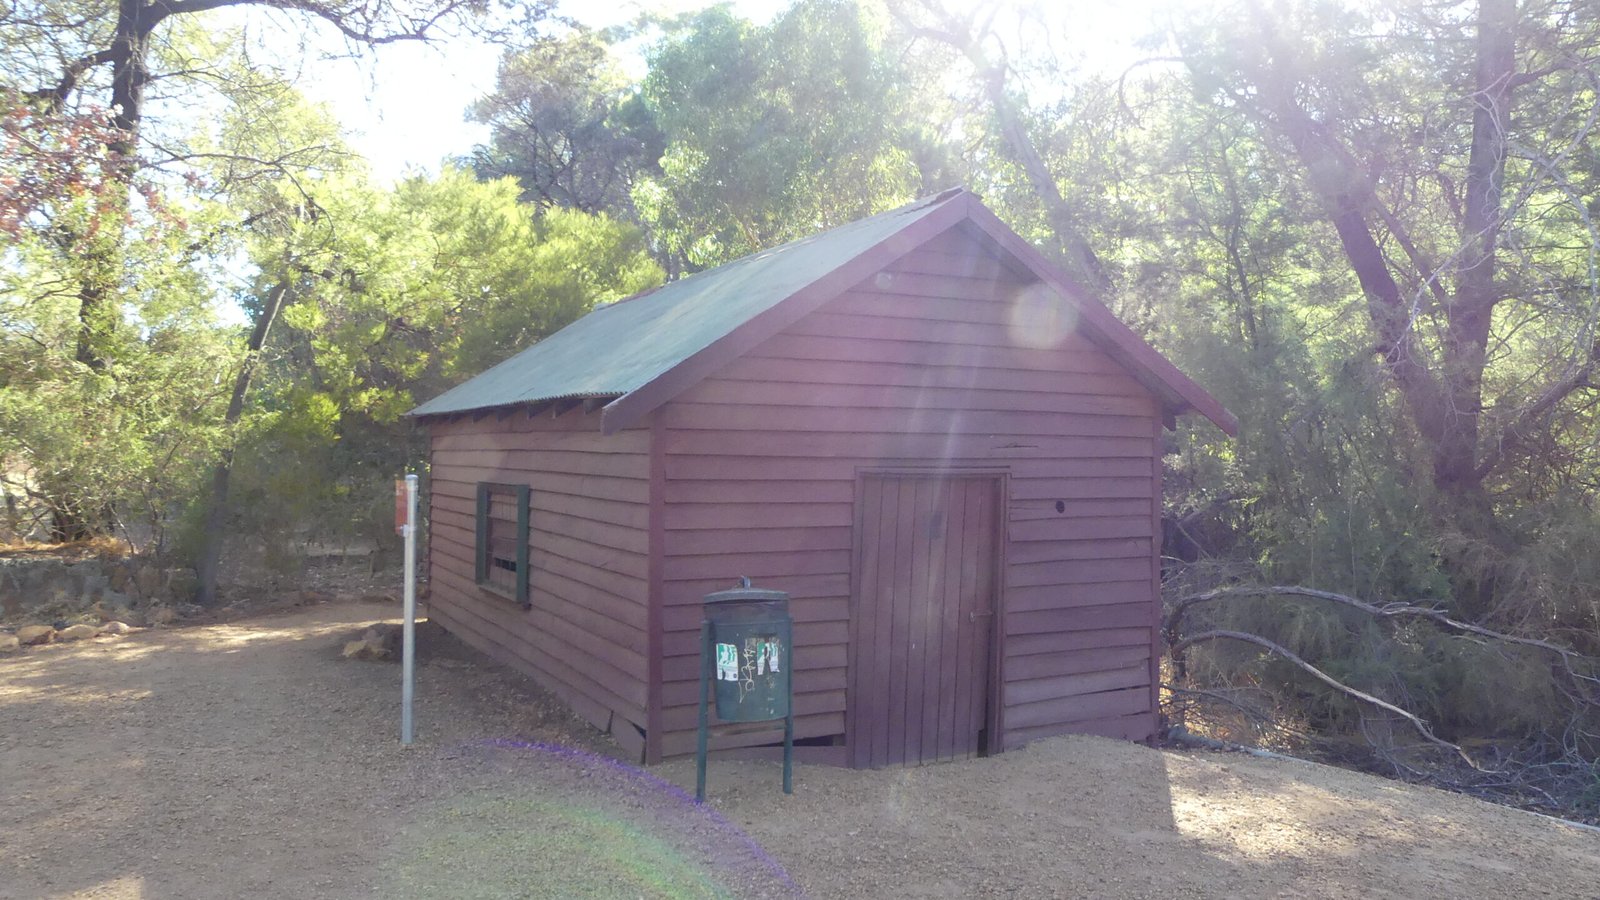
From next door to the campground a walking trail takes you out and back along both sides of Gooralong Brook passing the Centenary log and several historic sites.
![](https://alloveraustralia.com/wp-content/uploads/2024/03/Jarrahdale-and-Gooralong-Brook-Walk-003-P1190695-1600x900.jpg)
![](https://alloveraustralia.com/wp-content/uploads/2024/03/Jarrahdale-and-Gooralong-Brook-Walk-004-P1190696-1600x900.jpg)
![](https://alloveraustralia.com/wp-content/uploads/2024/03/Jarrahdale-and-Gooralong-Brook-Walk-005-P1190697-1600x900.jpg)
![](https://alloveraustralia.com/wp-content/uploads/2024/03/Jarrahdale-and-Gooralong-Brook-Walk-006-P1190698-1600x900.jpg)
![](https://alloveraustralia.com/wp-content/uploads/2024/03/Jarrahdale-and-Gooralong-Brook-Walk-009-P1190703-1600x900.jpg)
![](https://alloveraustralia.com/wp-content/uploads/2024/03/Jarrahdale-and-Gooralong-Brook-Walk-010-P1190704-1600x900.jpg)
![](https://alloveraustralia.com/wp-content/uploads/2024/03/Jarrahdale-and-Gooralong-Brook-Walk-012-P1190709-1600x900.jpg)
![](https://alloveraustralia.com/wp-content/uploads/2024/03/Jarrahdale-and-Gooralong-Brook-Walk-014-P1190711-1600x900.jpg)
![](https://alloveraustralia.com/wp-content/uploads/2024/03/Jarrahdale-and-Gooralong-Brook-Walk-017-P1190715-1600x900.jpg)
![](https://alloveraustralia.com/wp-content/uploads/2024/03/Jarrahdale-and-Gooralong-Brook-Walk-020-P1190718-1600x900.jpg)
![](https://alloveraustralia.com/wp-content/uploads/2024/03/Jarrahdale-and-Gooralong-Brook-Walk-021-P1190719-1600x897.jpg)
![](https://alloveraustralia.com/wp-content/uploads/2024/03/Jarrahdale-and-Gooralong-Brook-Walk-036-P1190744-1600x900.jpg)
![](https://alloveraustralia.com/wp-content/uploads/2024/03/Jarrahdale-and-Gooralong-Brook-Walk-037-P1190745-1600x900.jpg)
![](https://alloveraustralia.com/wp-content/uploads/2024/03/Jarrahdale-and-Gooralong-Brook-Walk-023-P1190723-1600x900.jpg)
![](https://alloveraustralia.com/wp-content/uploads/2024/03/Jarrahdale-and-Gooralong-Brook-Walk-038-P1190749-1600x900.jpg)
![](https://alloveraustralia.com/wp-content/uploads/2024/03/Jarrahdale-and-Gooralong-Brook-Walk-042-P1190756-1600x900.jpg)
![](https://alloveraustralia.com/wp-content/uploads/2024/03/Jarrahdale-and-Gooralong-Brook-Walk-048-P1190767-1600x900.jpg)
![](https://alloveraustralia.com/wp-content/uploads/2024/03/Jarrahdale-and-Gooralong-Brook-Walk-049-P1190768-1600x900.jpg)
![](https://alloveraustralia.com/wp-content/uploads/2024/03/Jarrahdale-and-Gooralong-Brook-Walk-051-P1190770-1600x900.jpg)
![](https://alloveraustralia.com/wp-content/uploads/2024/03/Jarrahdale-and-Gooralong-Brook-Walk-054-P1190773-1600x900.jpg)
![](https://alloveraustralia.com/wp-content/uploads/2024/03/Jarrahdale-and-Gooralong-Brook-Walk-055-P1190774-1600x900.jpg)
![](https://alloveraustralia.com/wp-content/uploads/2024/03/Jarrahdale-and-Gooralong-Brook-Walk-059-P1190778-1600x900.jpg)
![](https://alloveraustralia.com/wp-content/uploads/2024/03/Jarrahdale-and-Gooralong-Brook-Walk-060-P1190779-1600x900.jpg)
![](https://alloveraustralia.com/wp-content/uploads/2024/03/Jarrahdale-and-Gooralong-Brook-Walk-066-P1190785-1600x900.jpg)
![](https://alloveraustralia.com/wp-content/uploads/2024/03/Jarrahdale-and-Gooralong-Brook-Walk-067-P1190786-1600x900.jpg)
![](https://alloveraustralia.com/wp-content/uploads/2024/03/Jarrahdale-and-Gooralong-Brook-Walk-071-P1190790-1600x900.jpg)
![](https://alloveraustralia.com/wp-content/uploads/2024/03/Jarrahdale-and-Gooralong-Brook-Walk-073-P1190792-1600x900.jpg)
![](https://alloveraustralia.com/wp-content/uploads/2024/03/Jarrahdale-and-Gooralong-Brook-Walk-077-P1190796-1600x900.jpg)
![](https://alloveraustralia.com/wp-content/uploads/2024/03/Jarrahdale-and-Gooralong-Brook-Walk-081-P1190800-1600x900.jpg)
![](https://alloveraustralia.com/wp-content/uploads/2024/03/Jarrahdale-and-Gooralong-Brook-Walk-086-P1190805-1600x900.jpg)
![](https://alloveraustralia.com/wp-content/uploads/2024/03/Jarrahdale-and-Gooralong-Brook-Walk-093-P1190812-506x900.jpg)
![](https://alloveraustralia.com/wp-content/uploads/2024/03/Jarrahdale-and-Gooralong-Brook-Walk-095-P1190814-506x900.jpg)
![](https://alloveraustralia.com/wp-content/uploads/2024/03/Jarrahdale-and-Gooralong-Brook-Walk-094-P1190813-506x900.jpg)
![](https://alloveraustralia.com/wp-content/uploads/2024/03/Jarrahdale-and-Gooralong-Brook-Walk-087-P1190806-1600x900.jpg)
![](https://alloveraustralia.com/wp-content/uploads/2024/03/Jarrahdale-and-Gooralong-Brook-Walk-098-P1190817-1600x900.jpg)
![](https://alloveraustralia.com/wp-content/uploads/2024/03/Jarrahdale-and-Gooralong-Brook-Walk-099-P1190818-1600x900.jpg)
![](https://alloveraustralia.com/wp-content/uploads/2024/03/Jarrahdale-and-Gooralong-Brook-Walk-101-P1190820-1600x900.jpg)