June 6, 2024
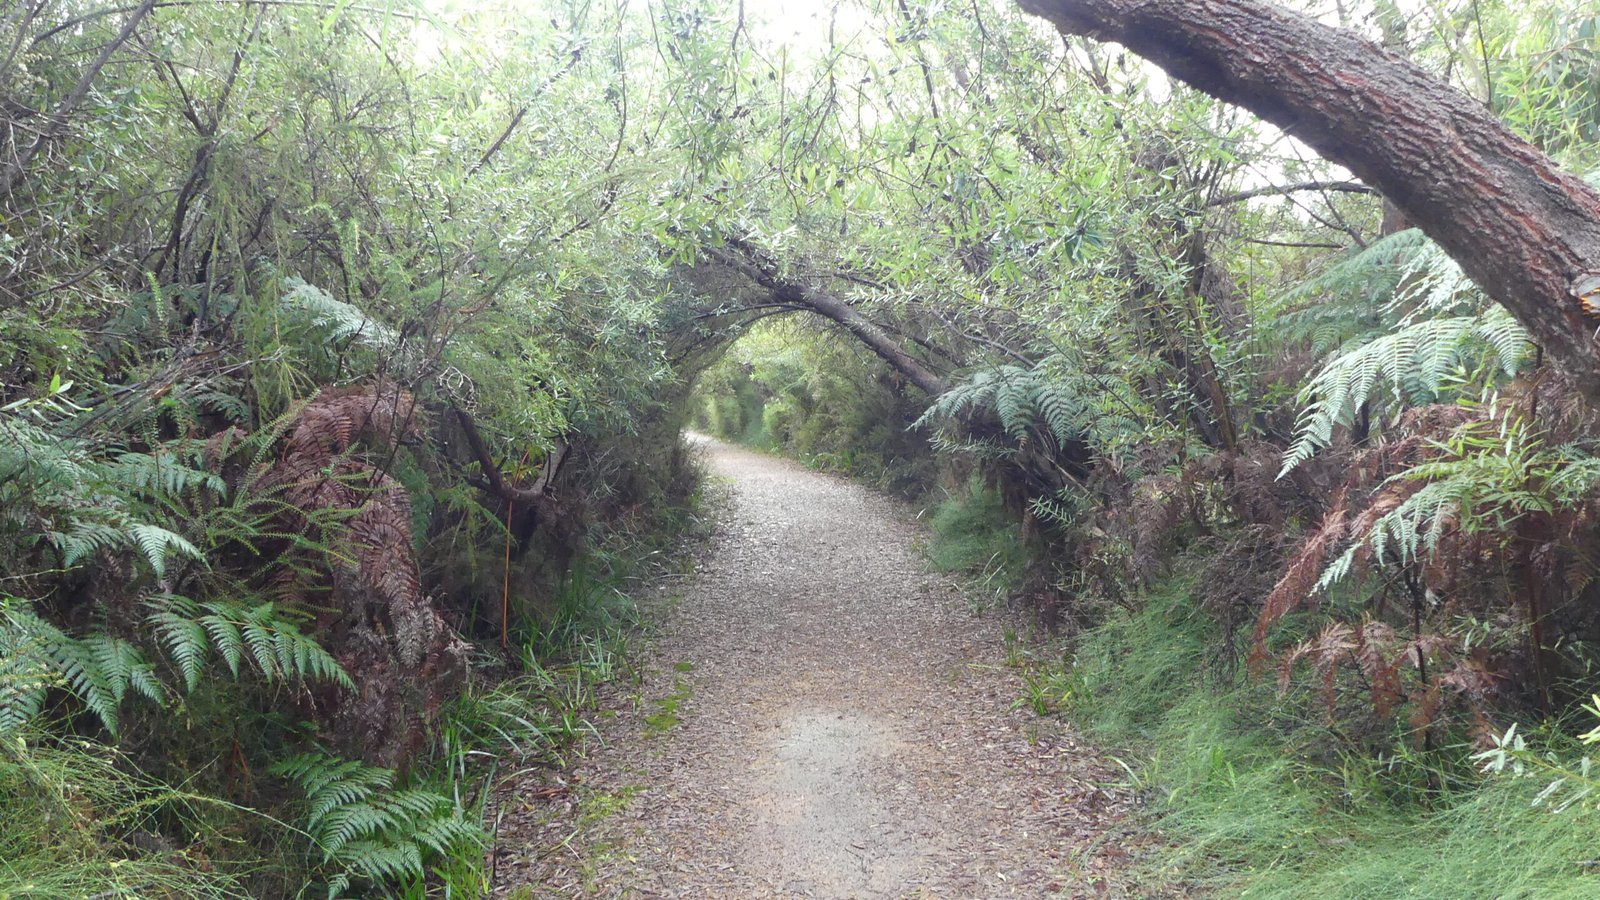
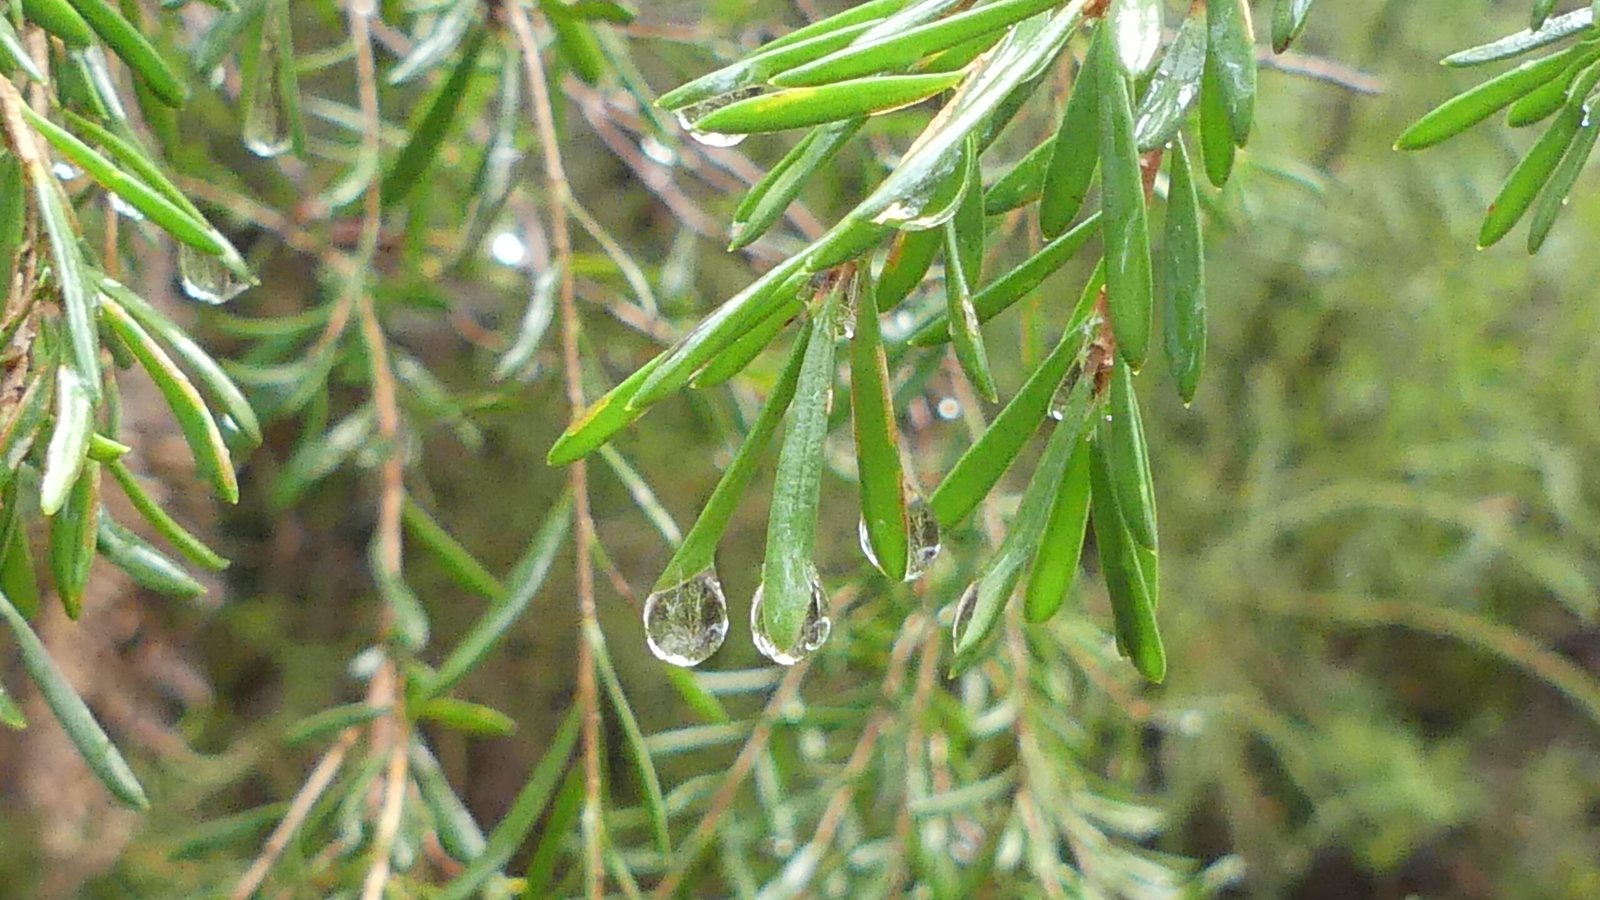
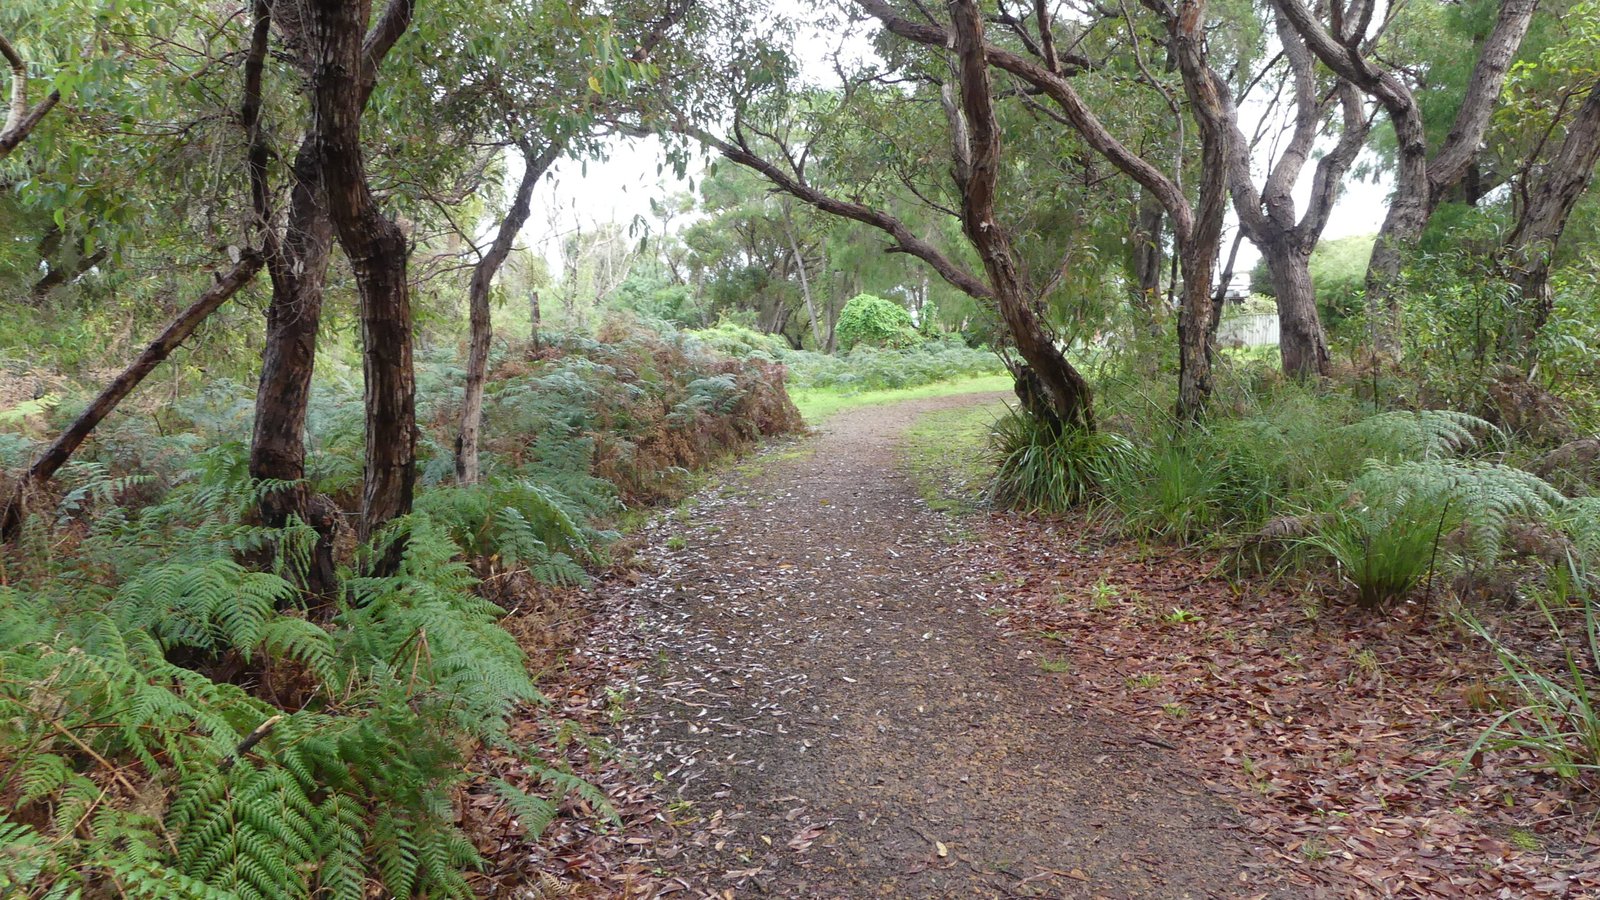
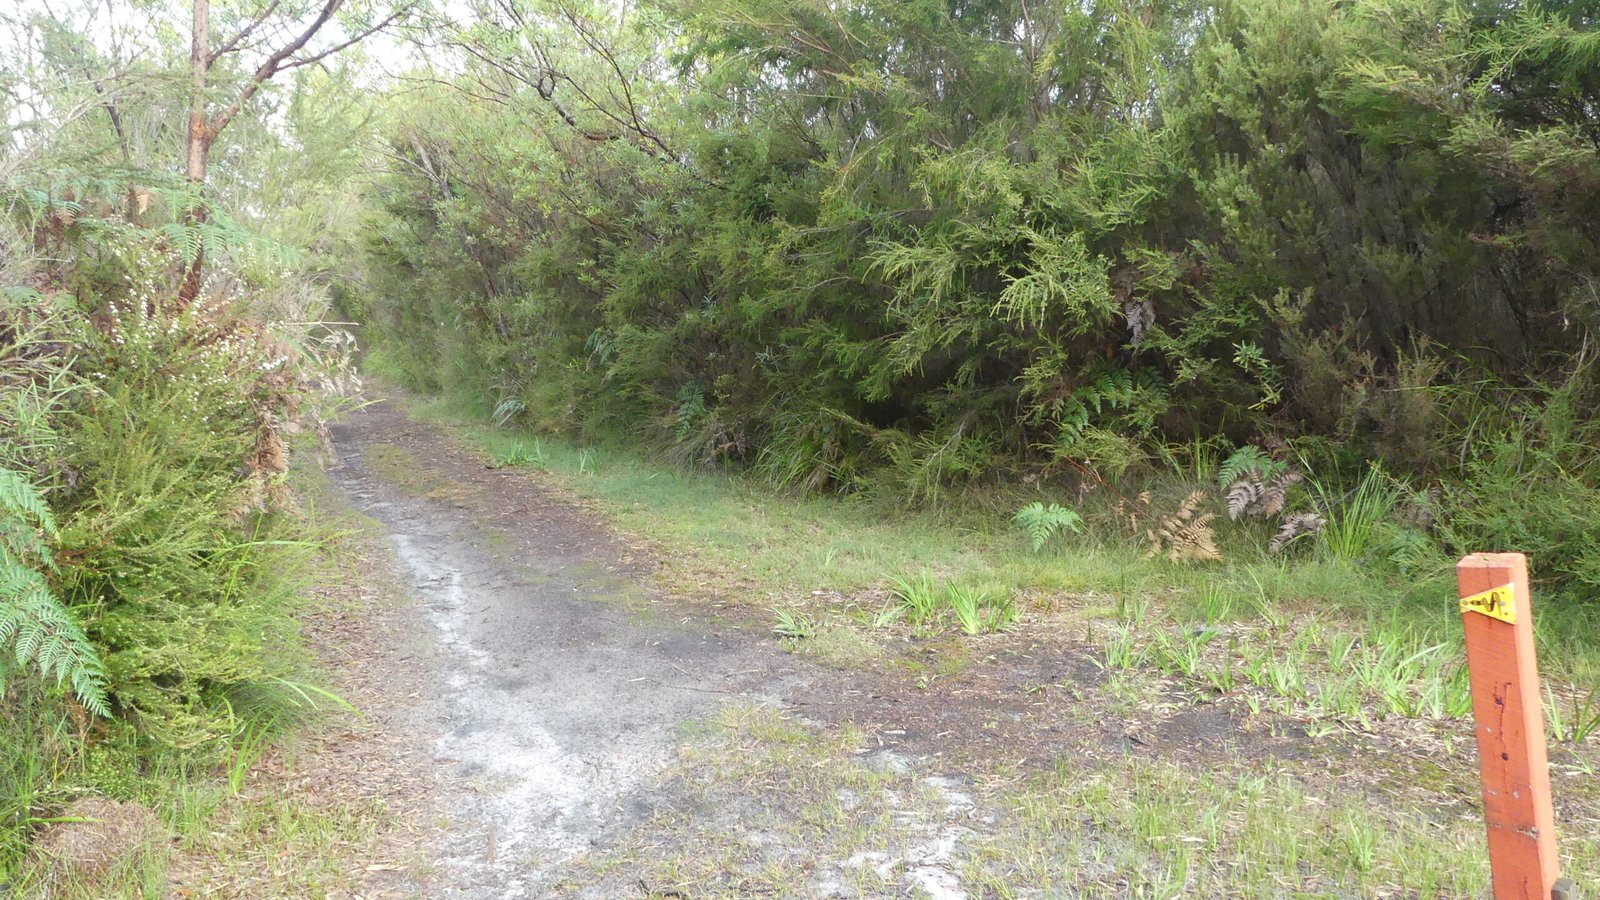
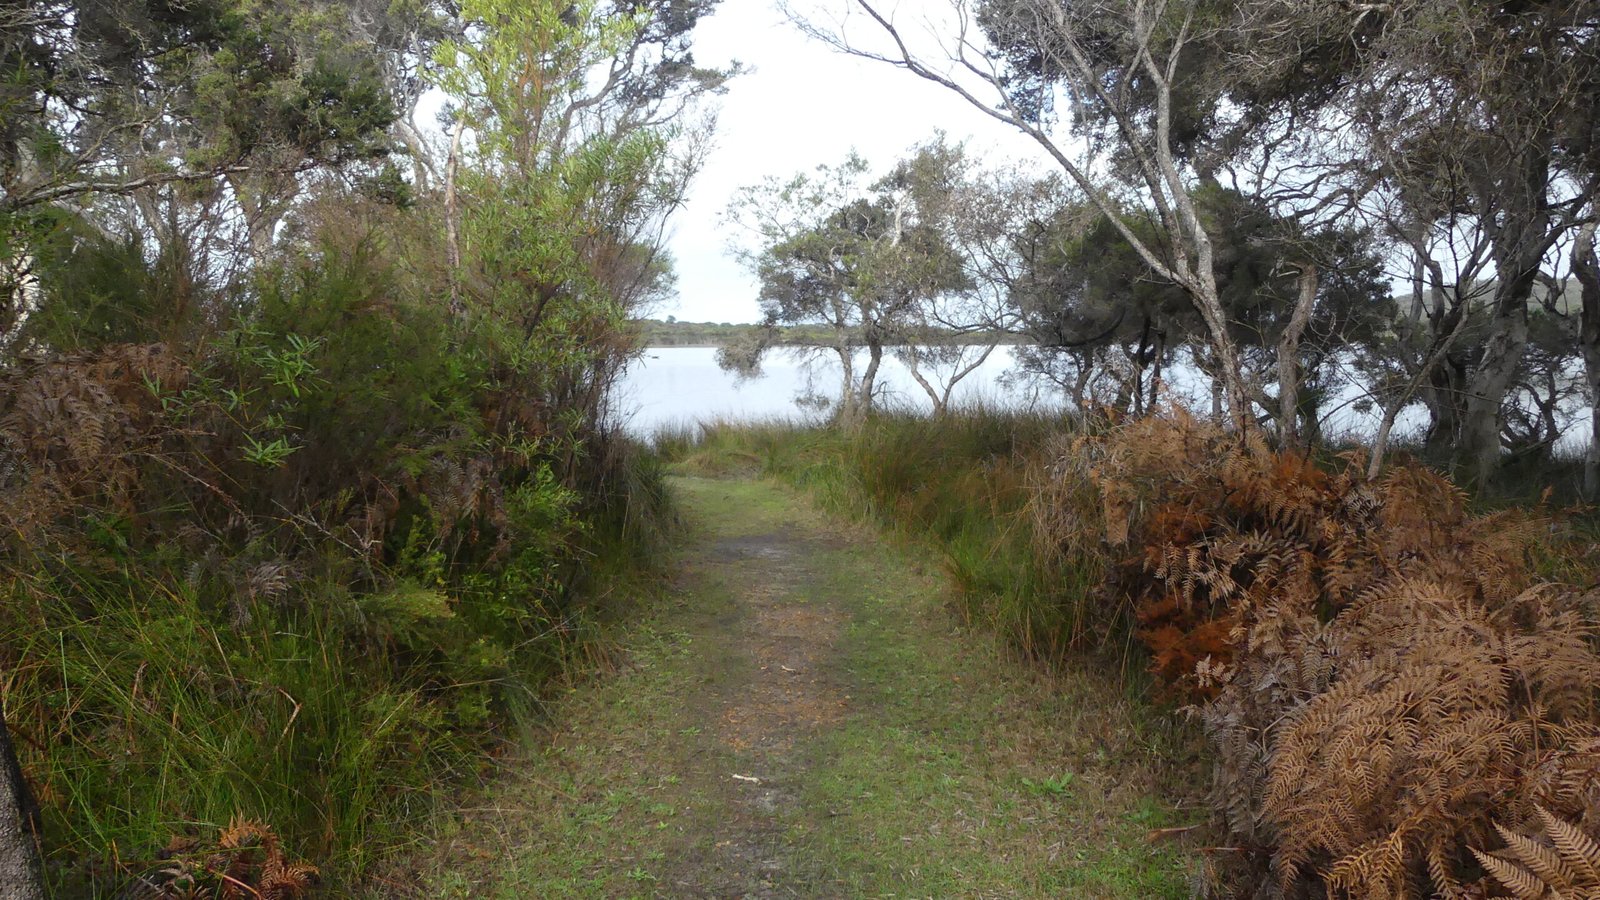
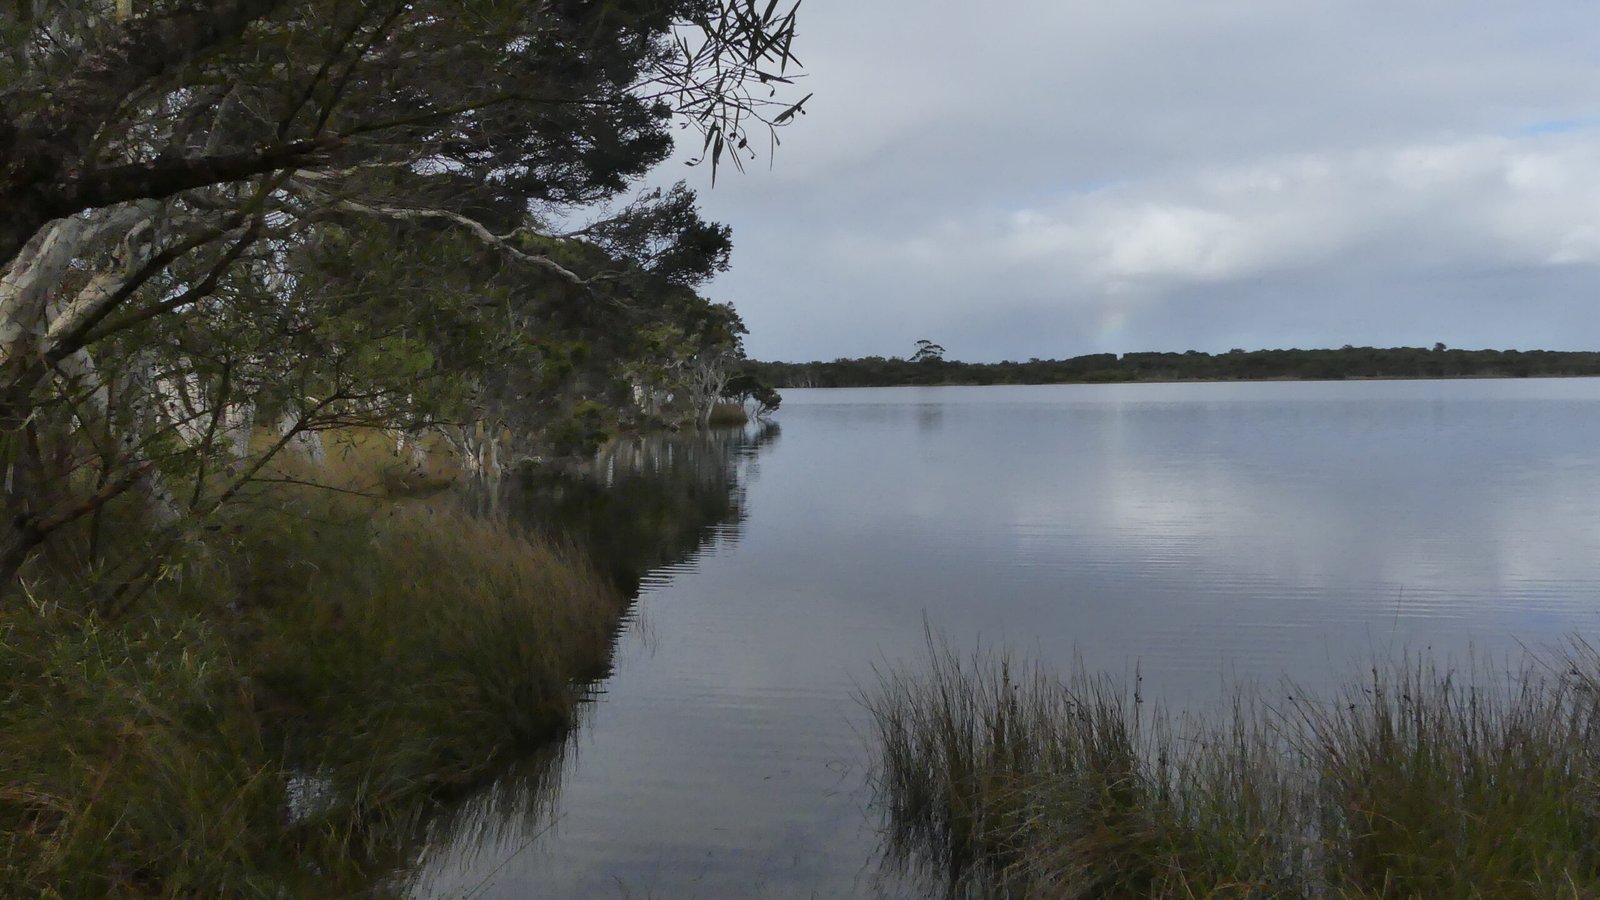
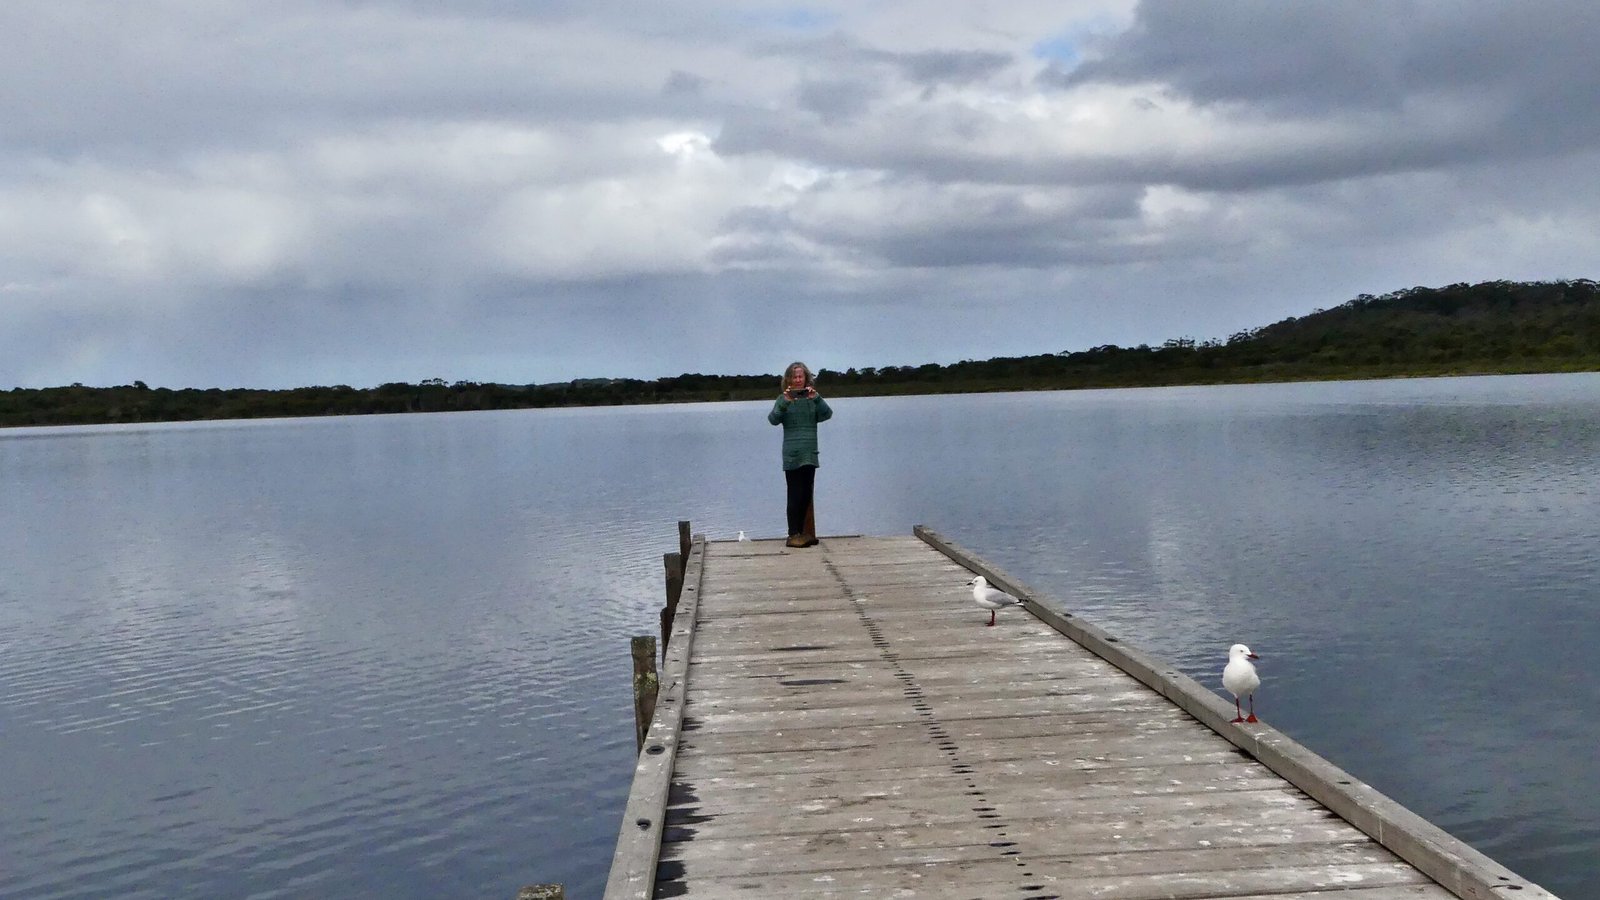
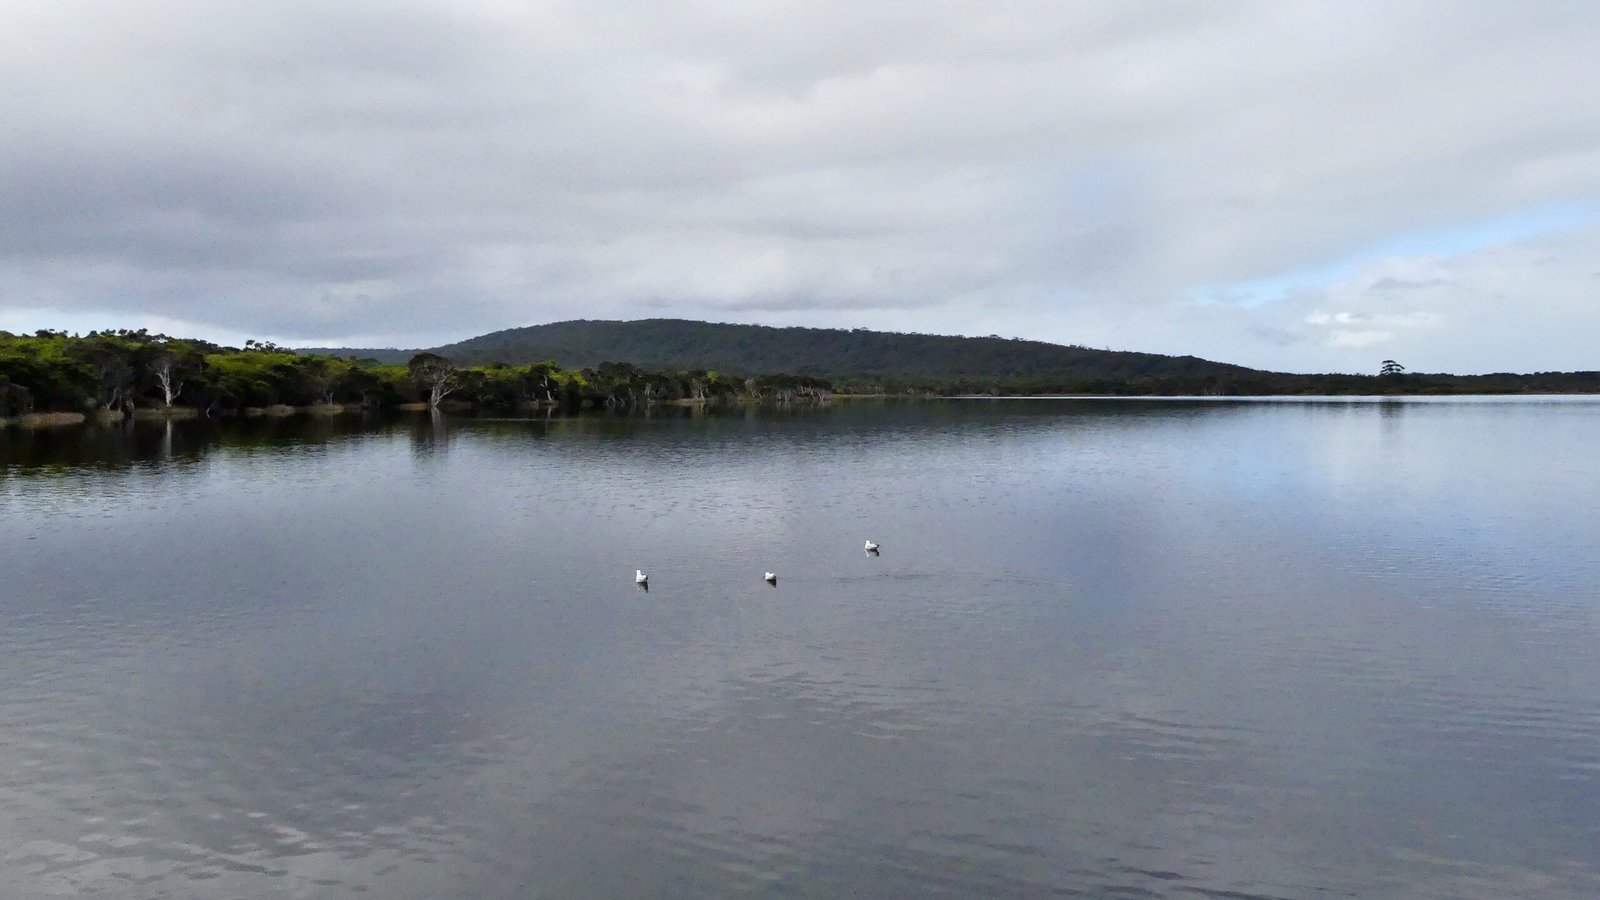
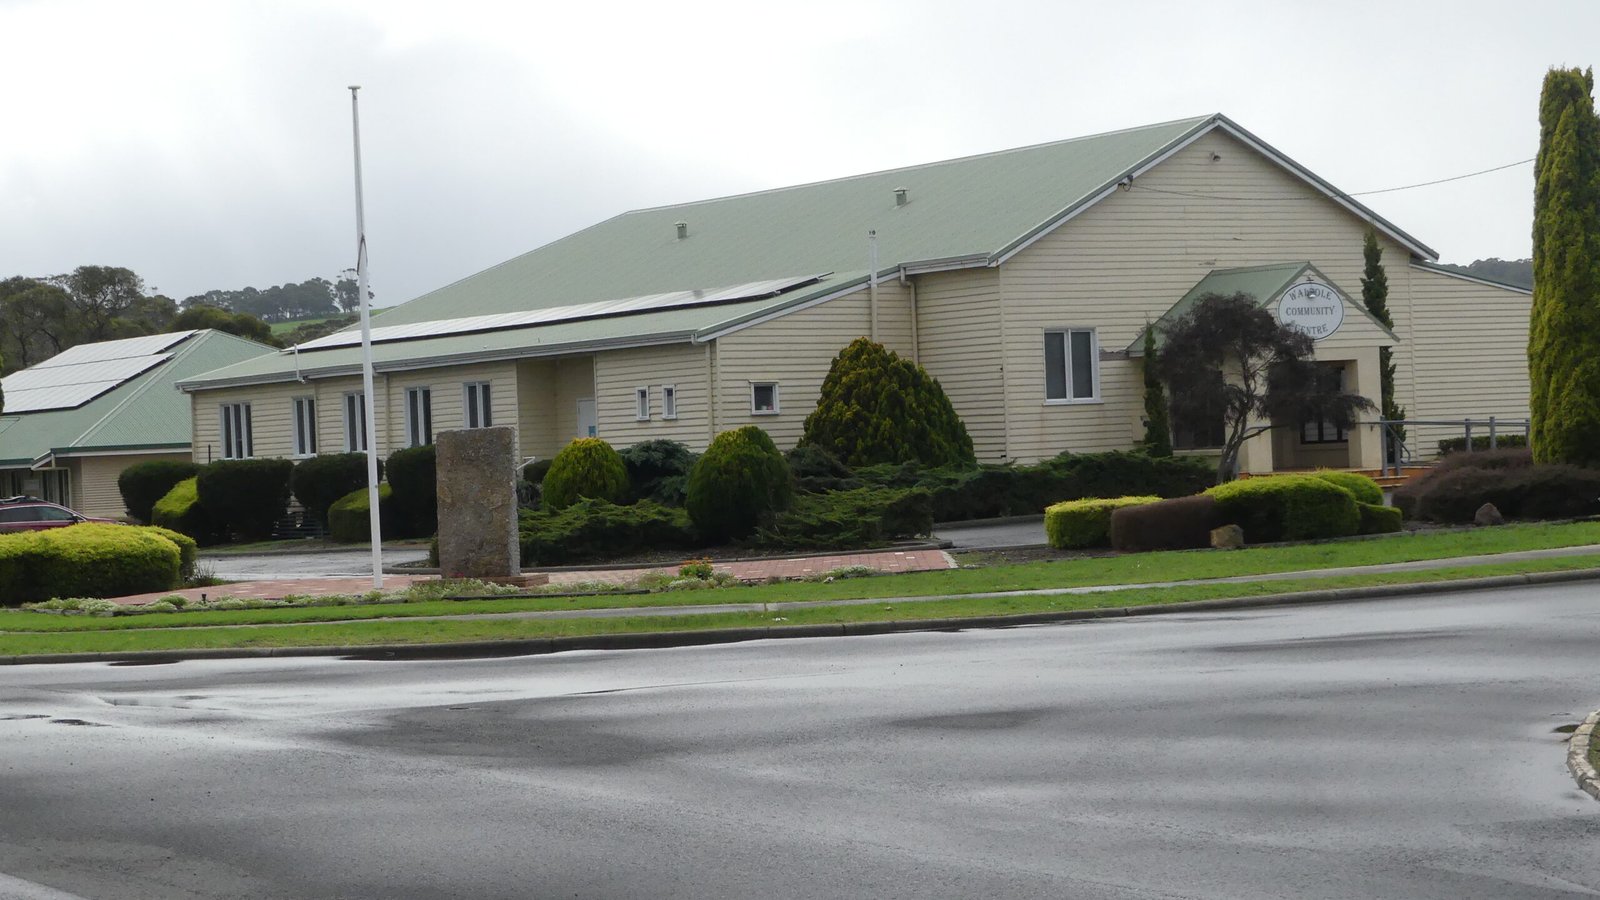
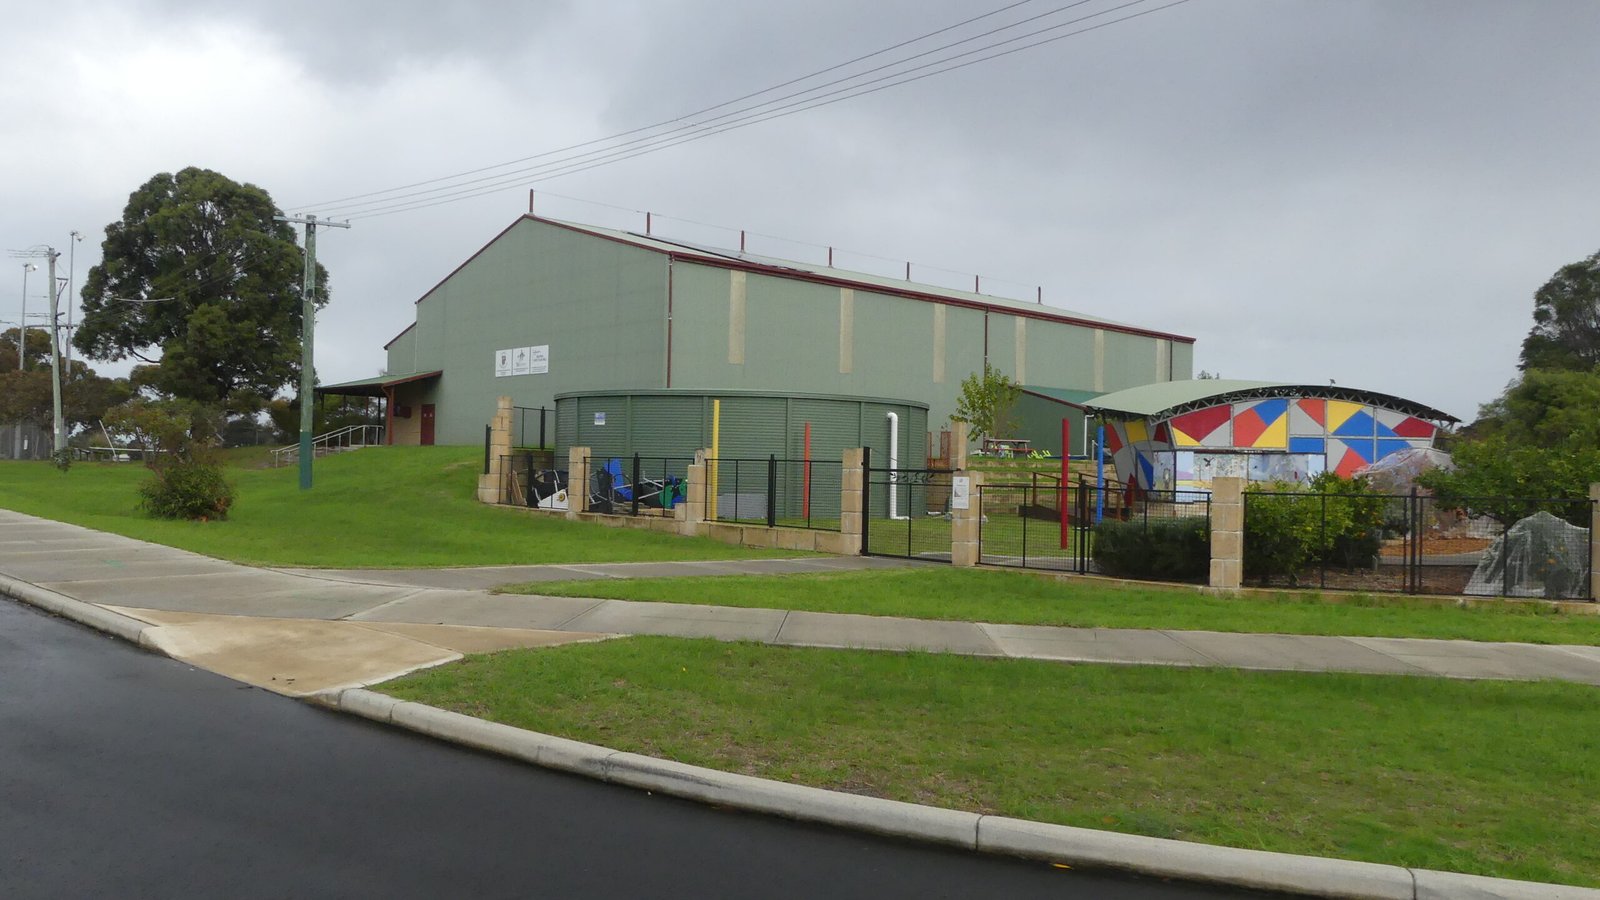
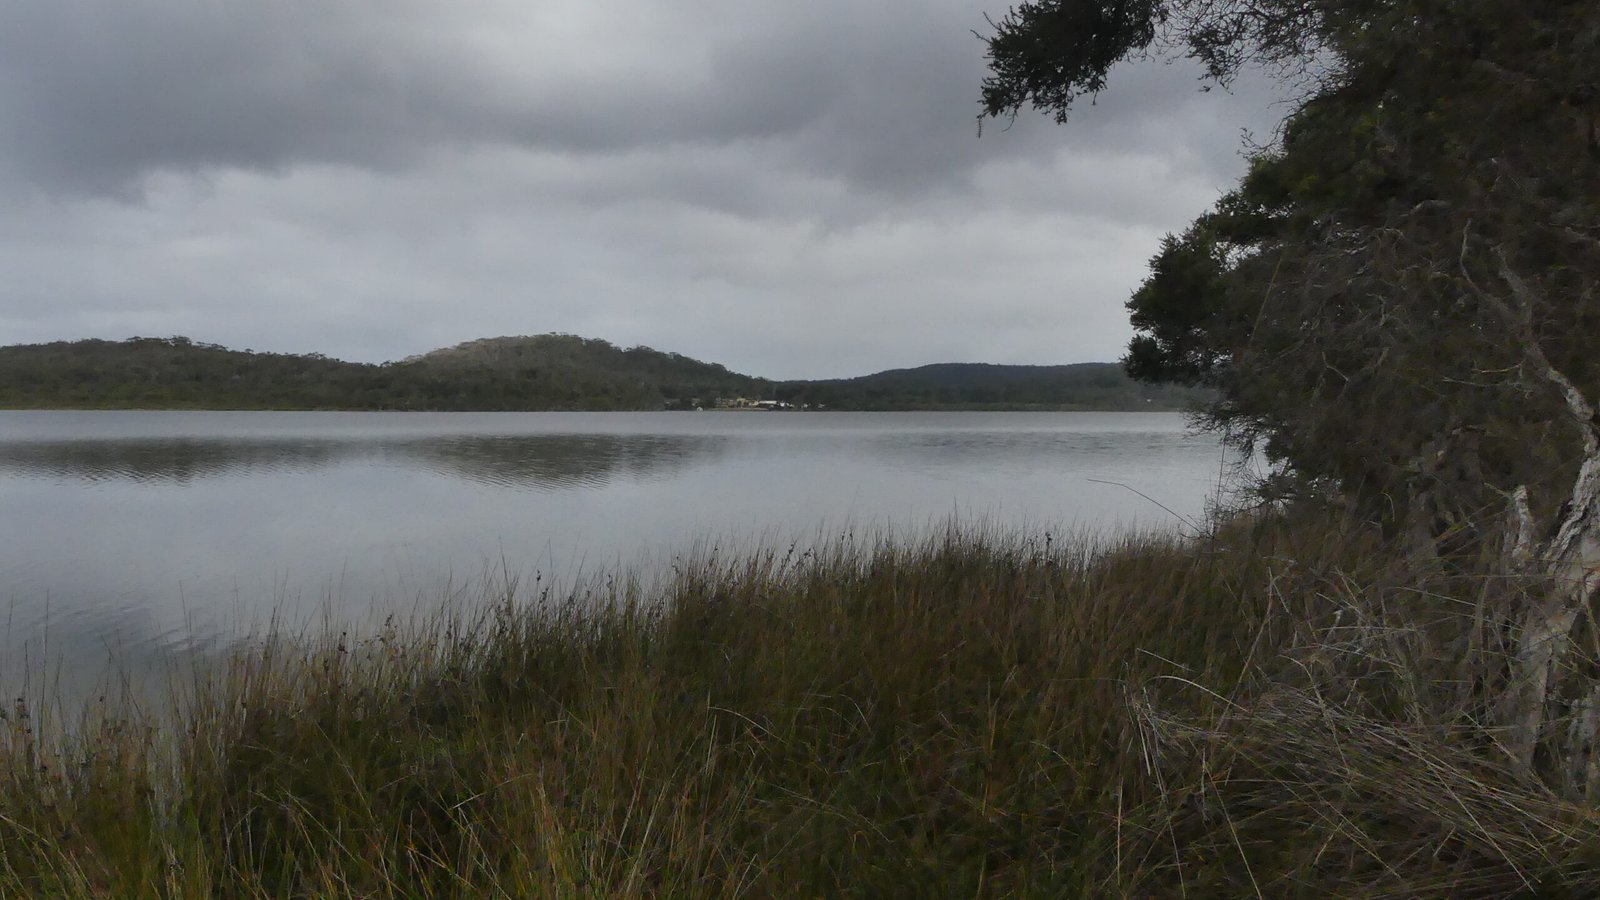
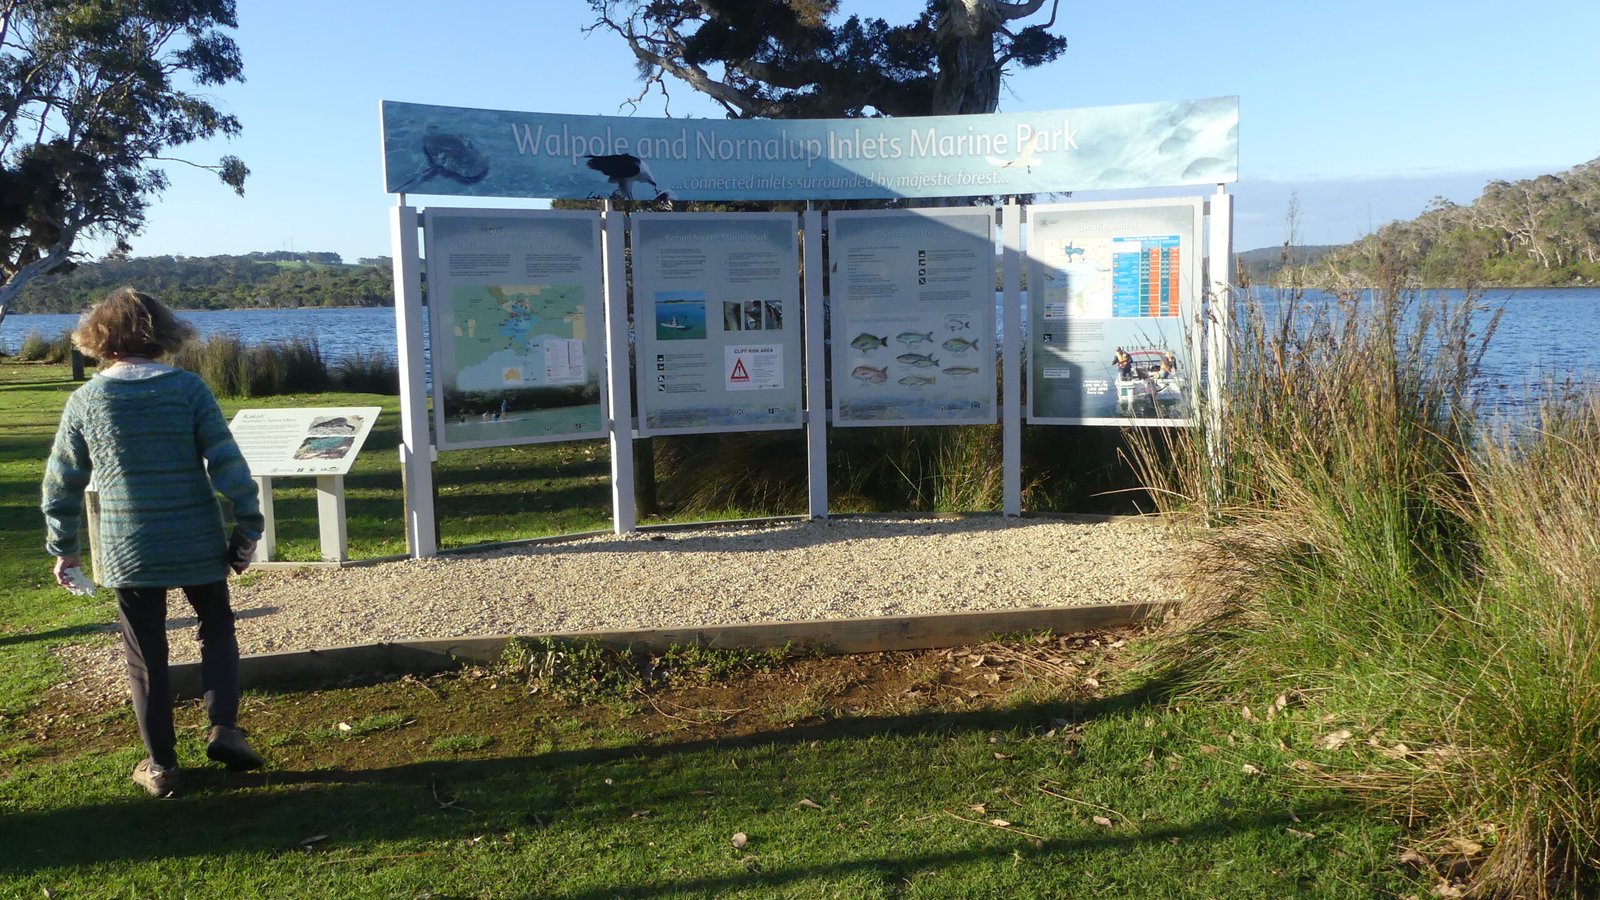
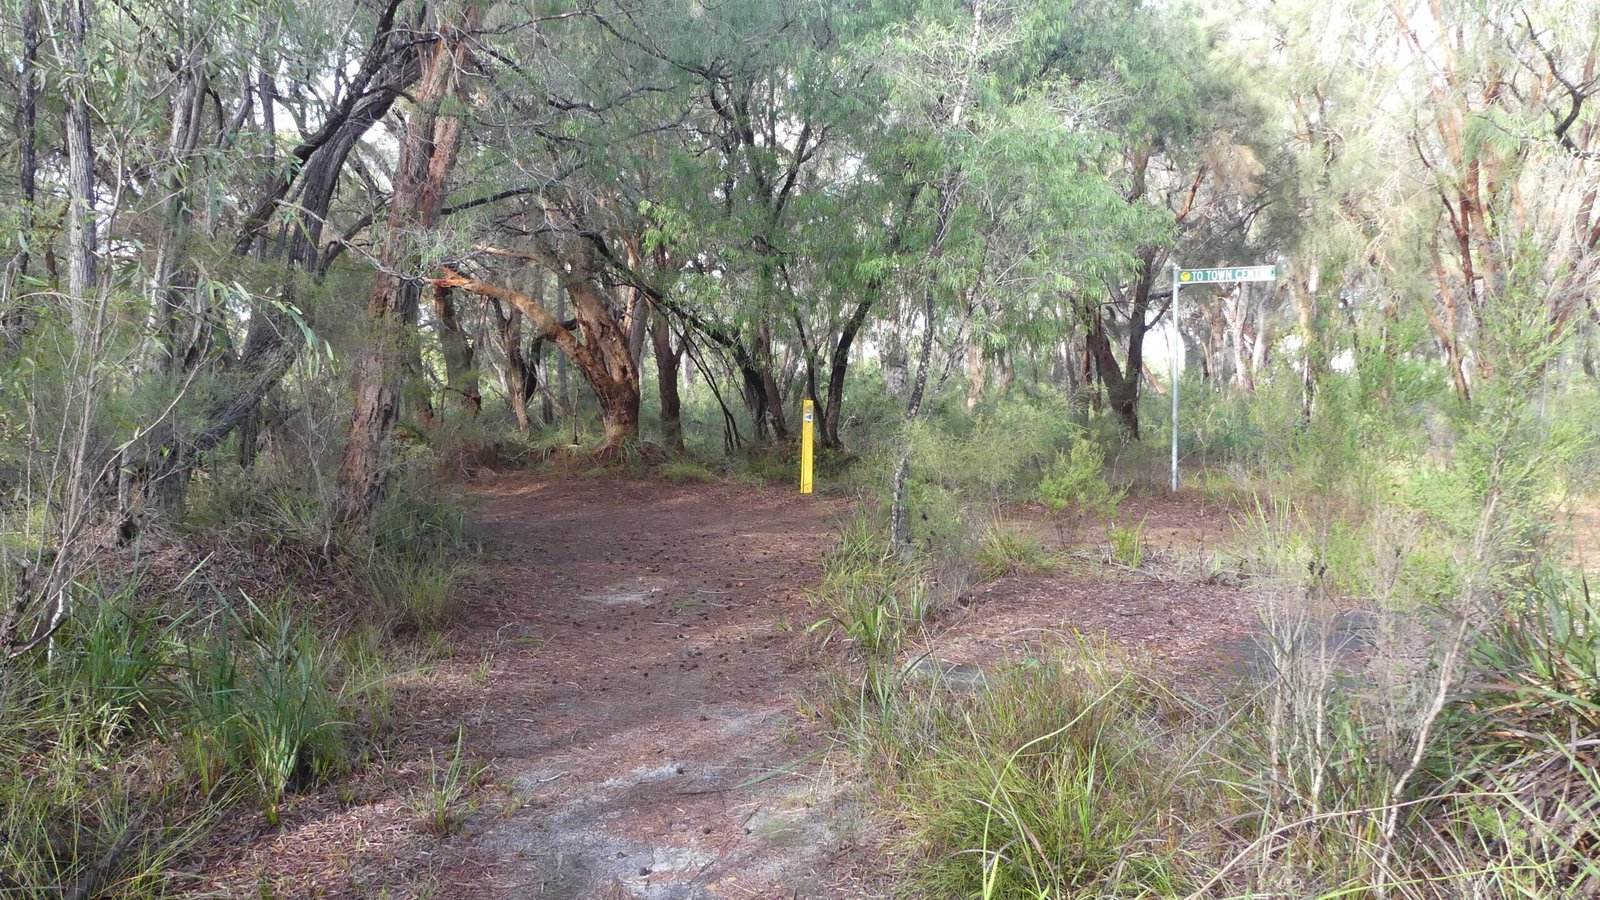
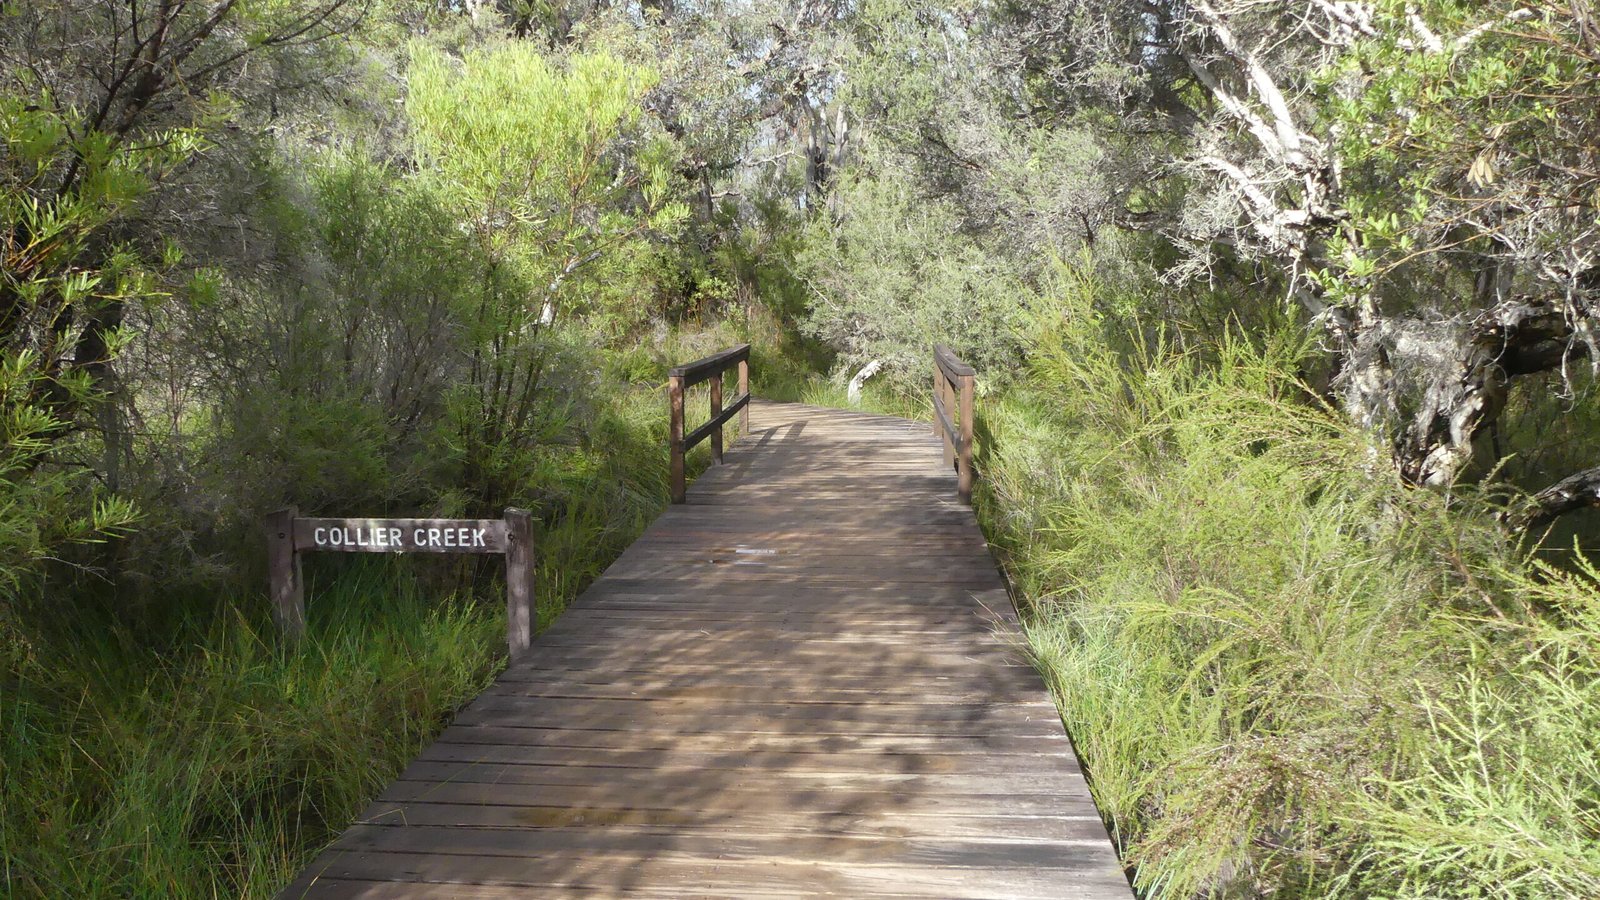
As the day promised to be “mostly fine” and around 17 degrees we decided to tackle the Heritage Walk from the Walpole Visitor Centre to Coalmine Beach and back. We did get a very light shower for a short while producing a rainbow but not enough to be a problem. This is part of the Munda Biddi Trail and in part the Bibbulmum Track so on our return we detoured around a bit more of the Bibbulmum to the waters edge to the Walpole Boat Ramp and jetty and then through town back to the car, total distance 7.1km
We finished with a Fish and Chip Lunch at the Bakery.
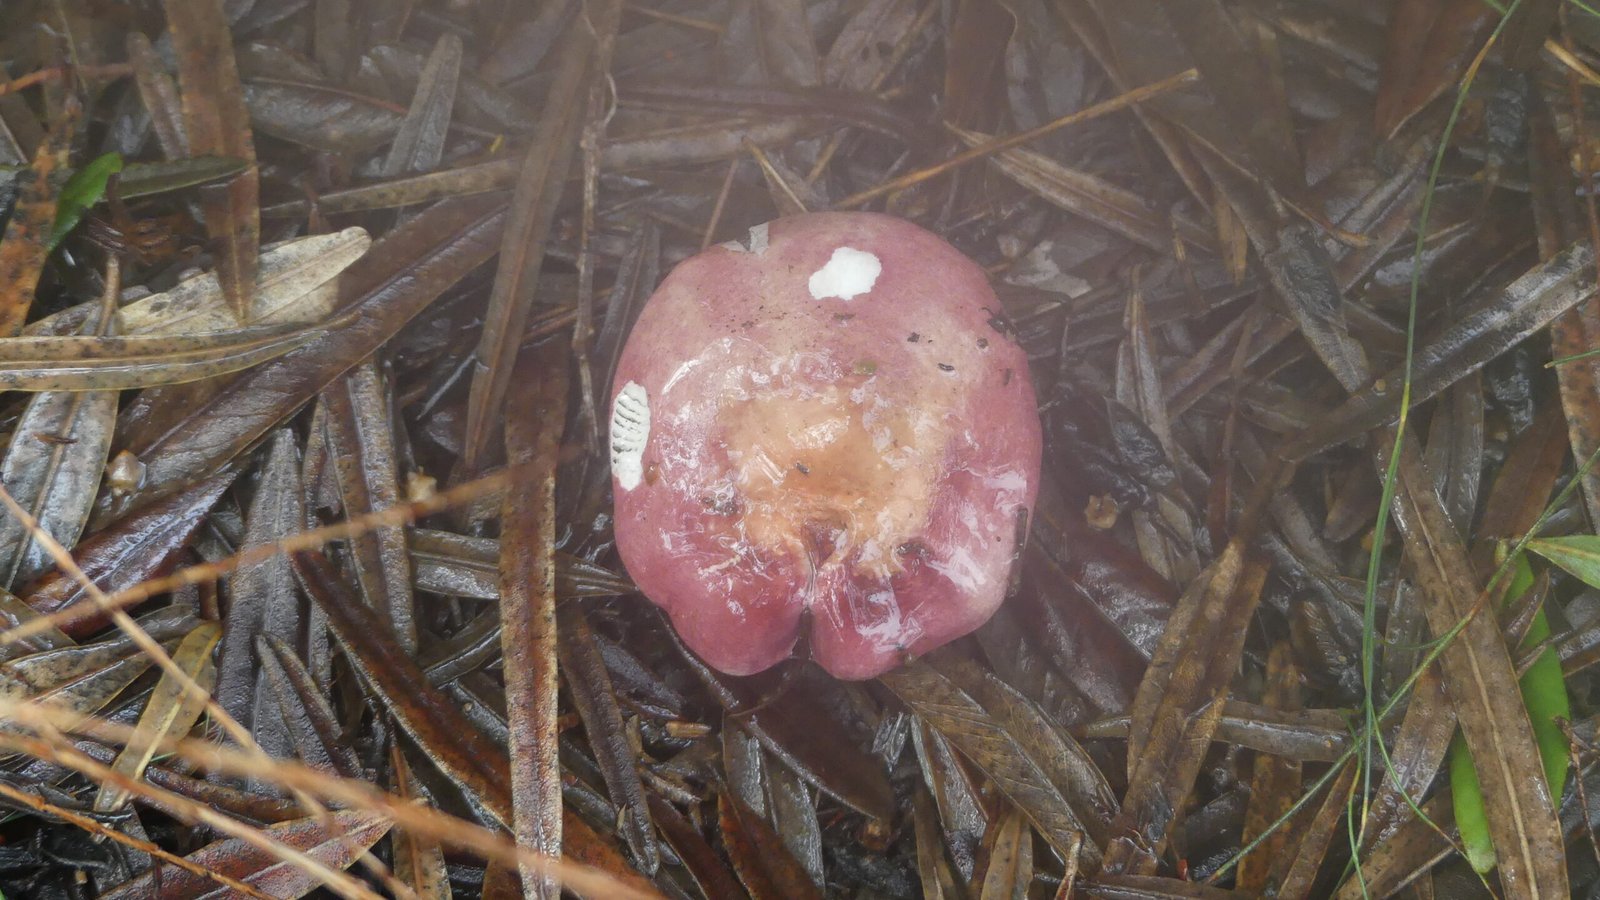
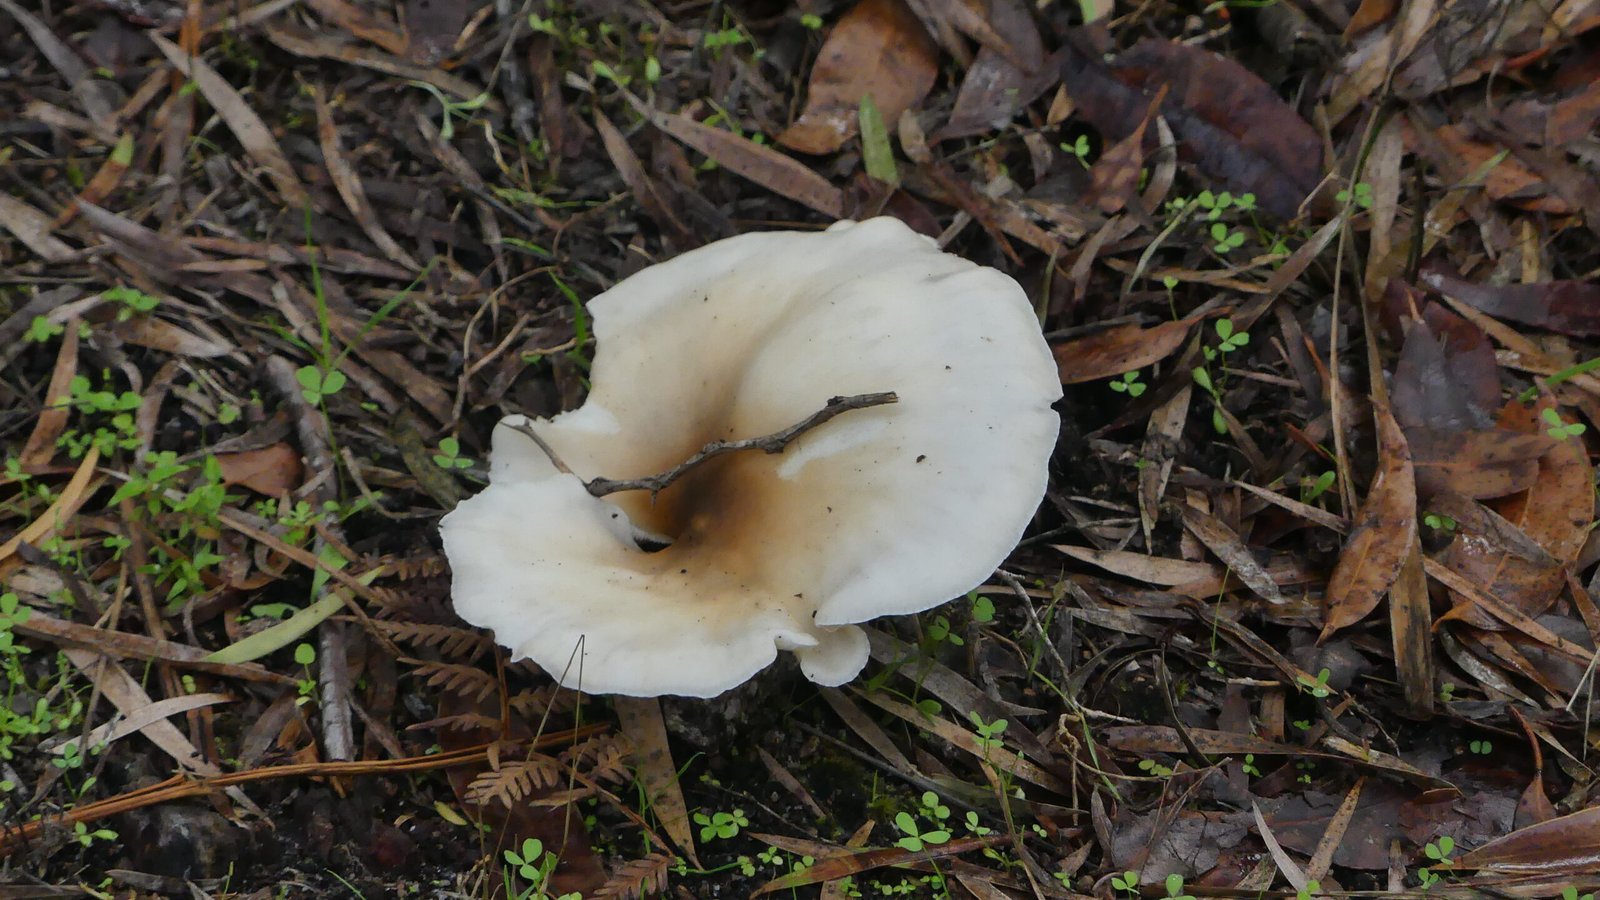
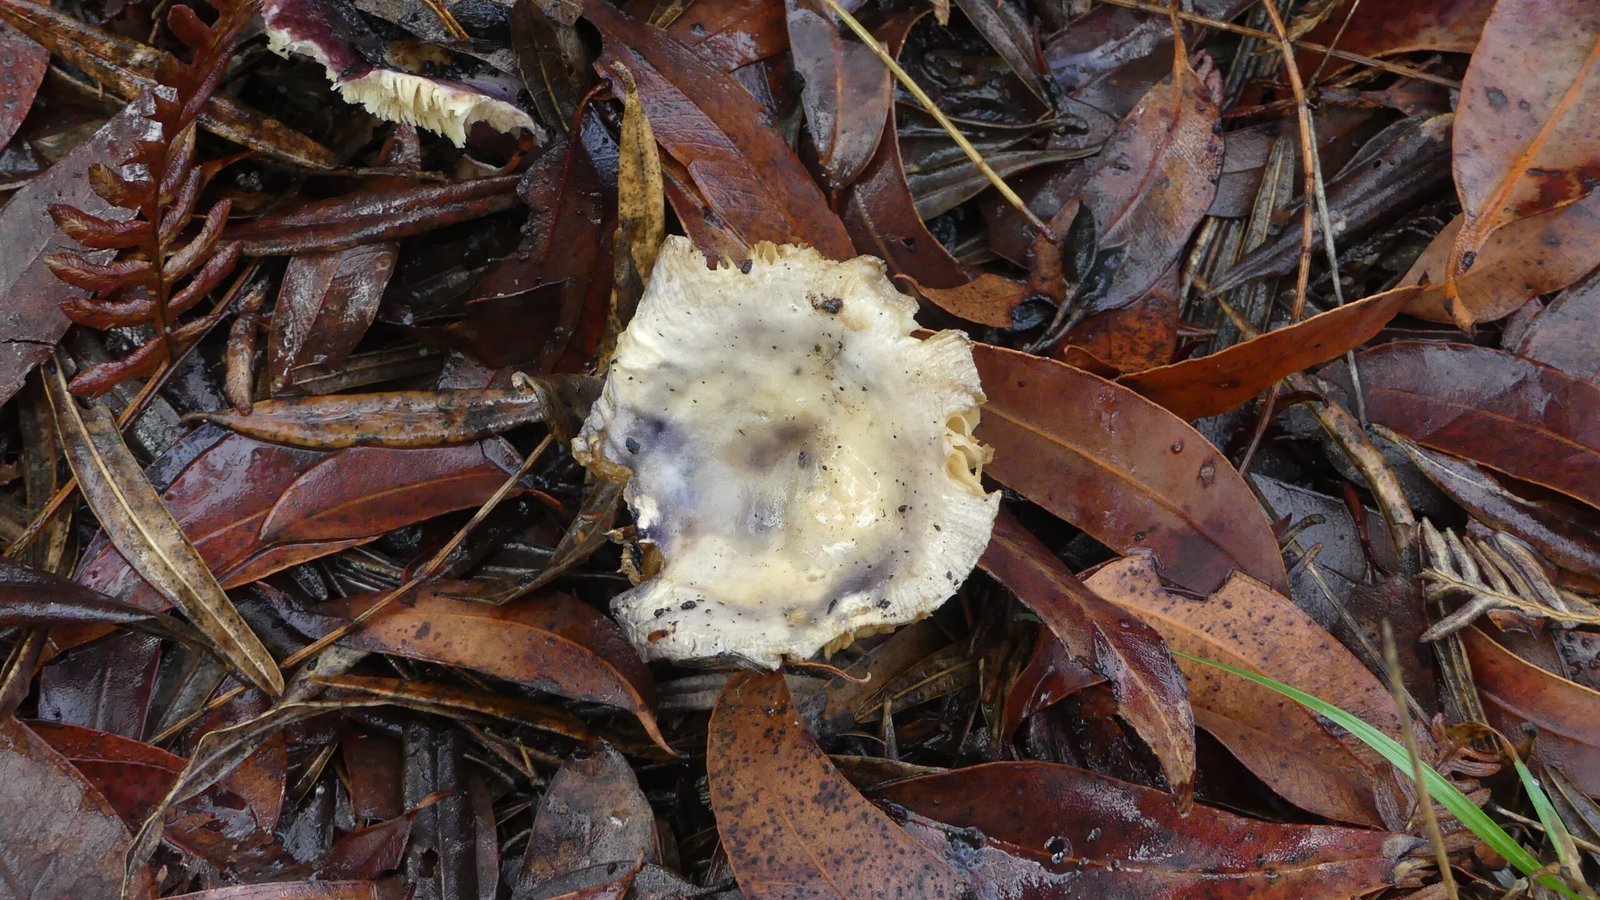
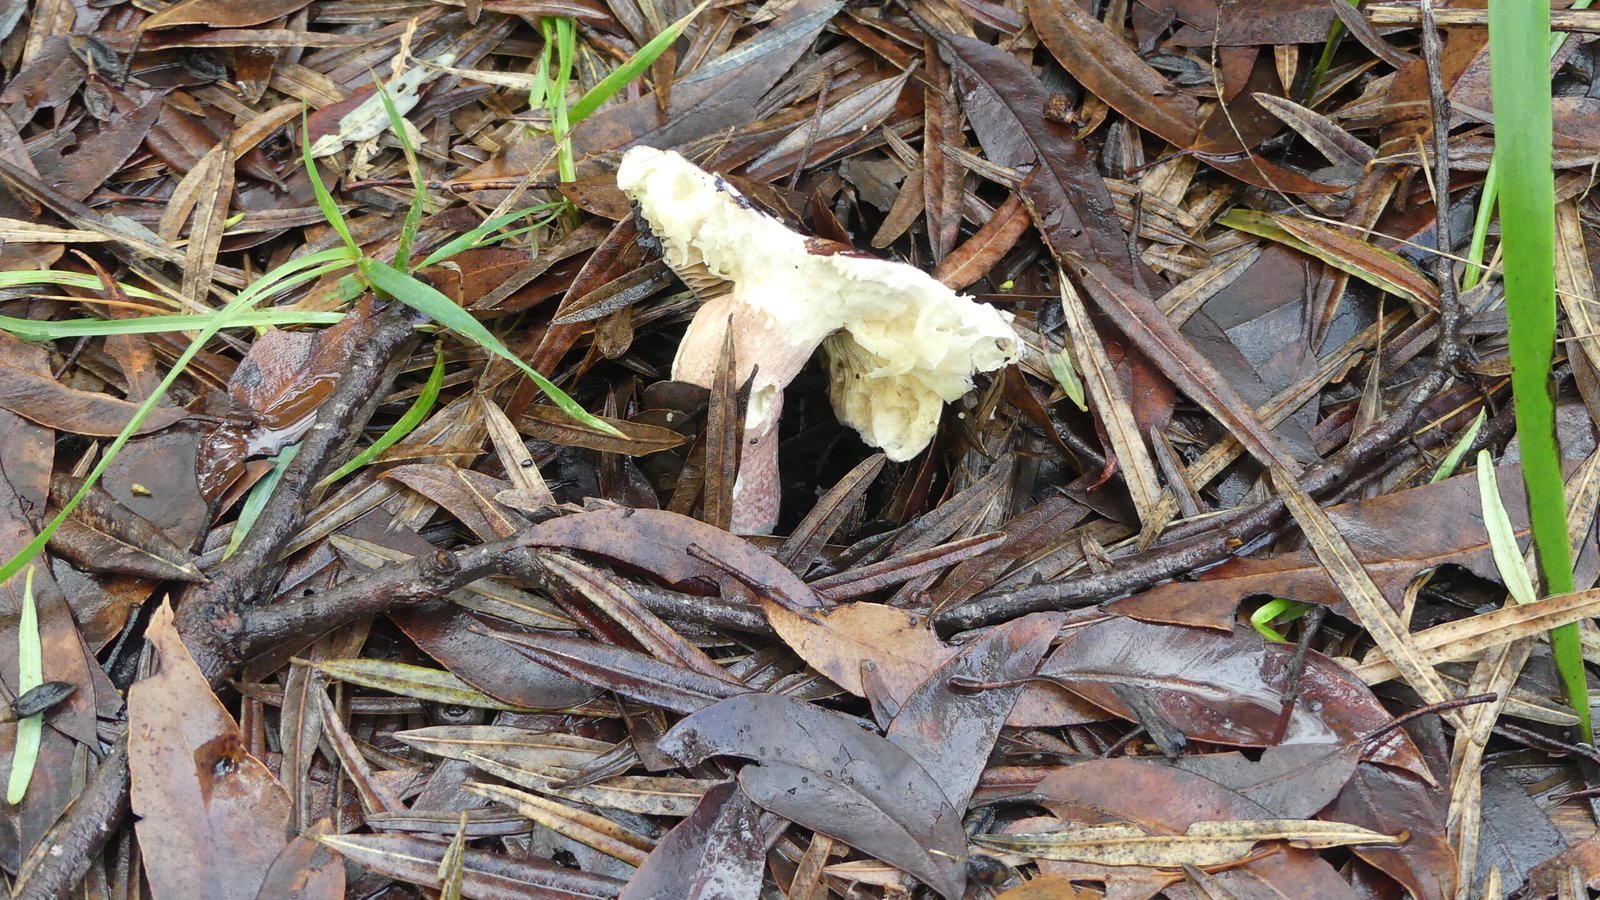
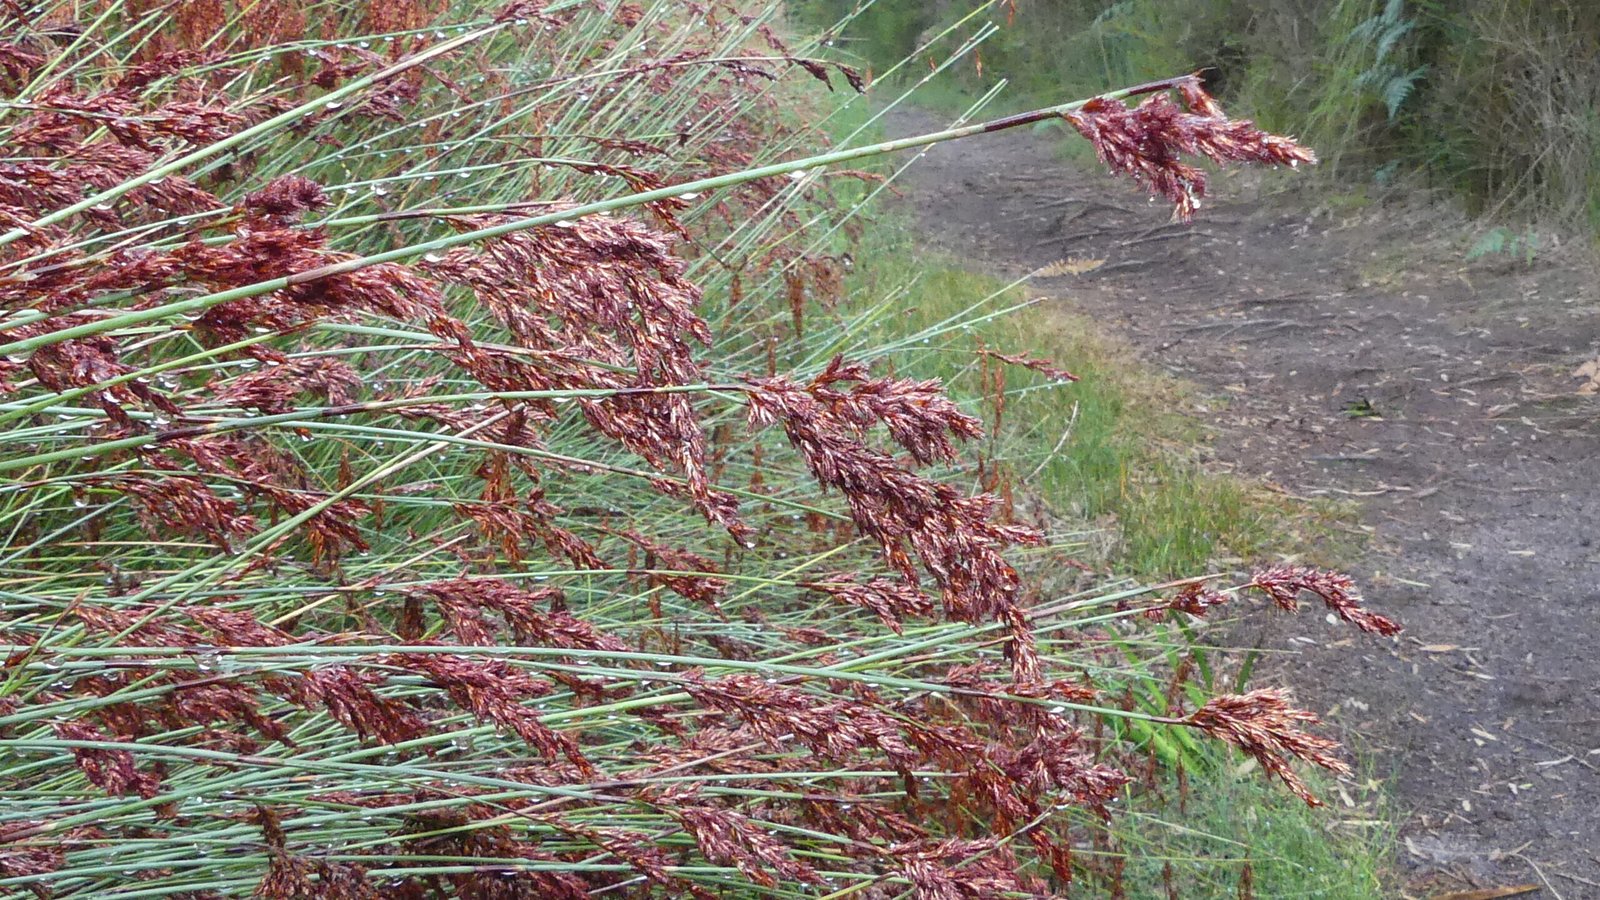
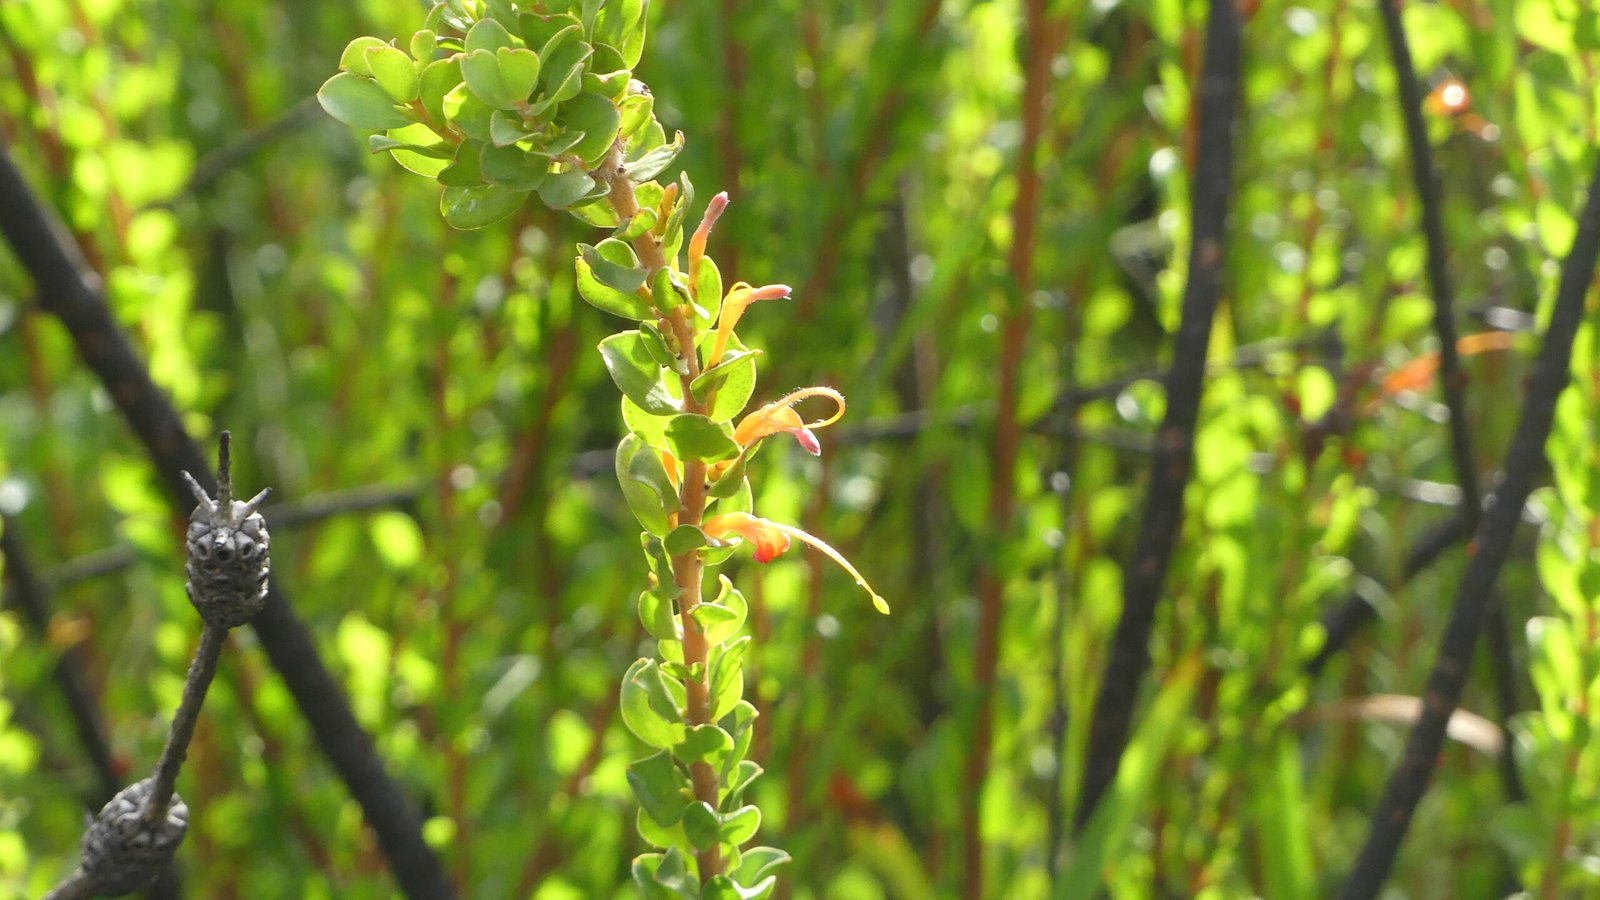
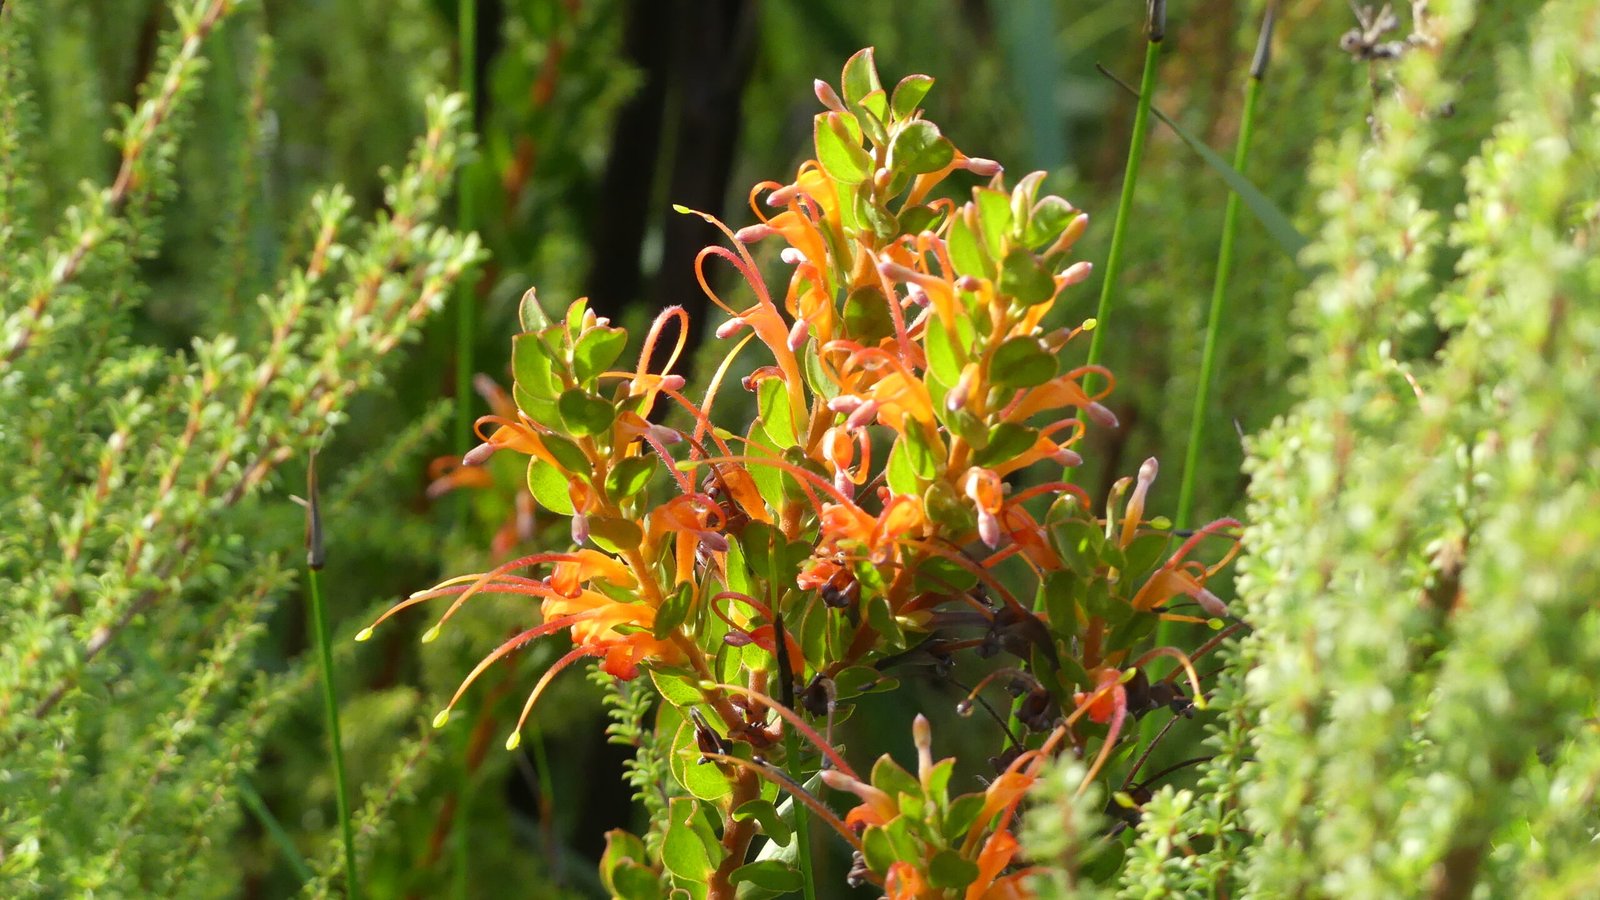
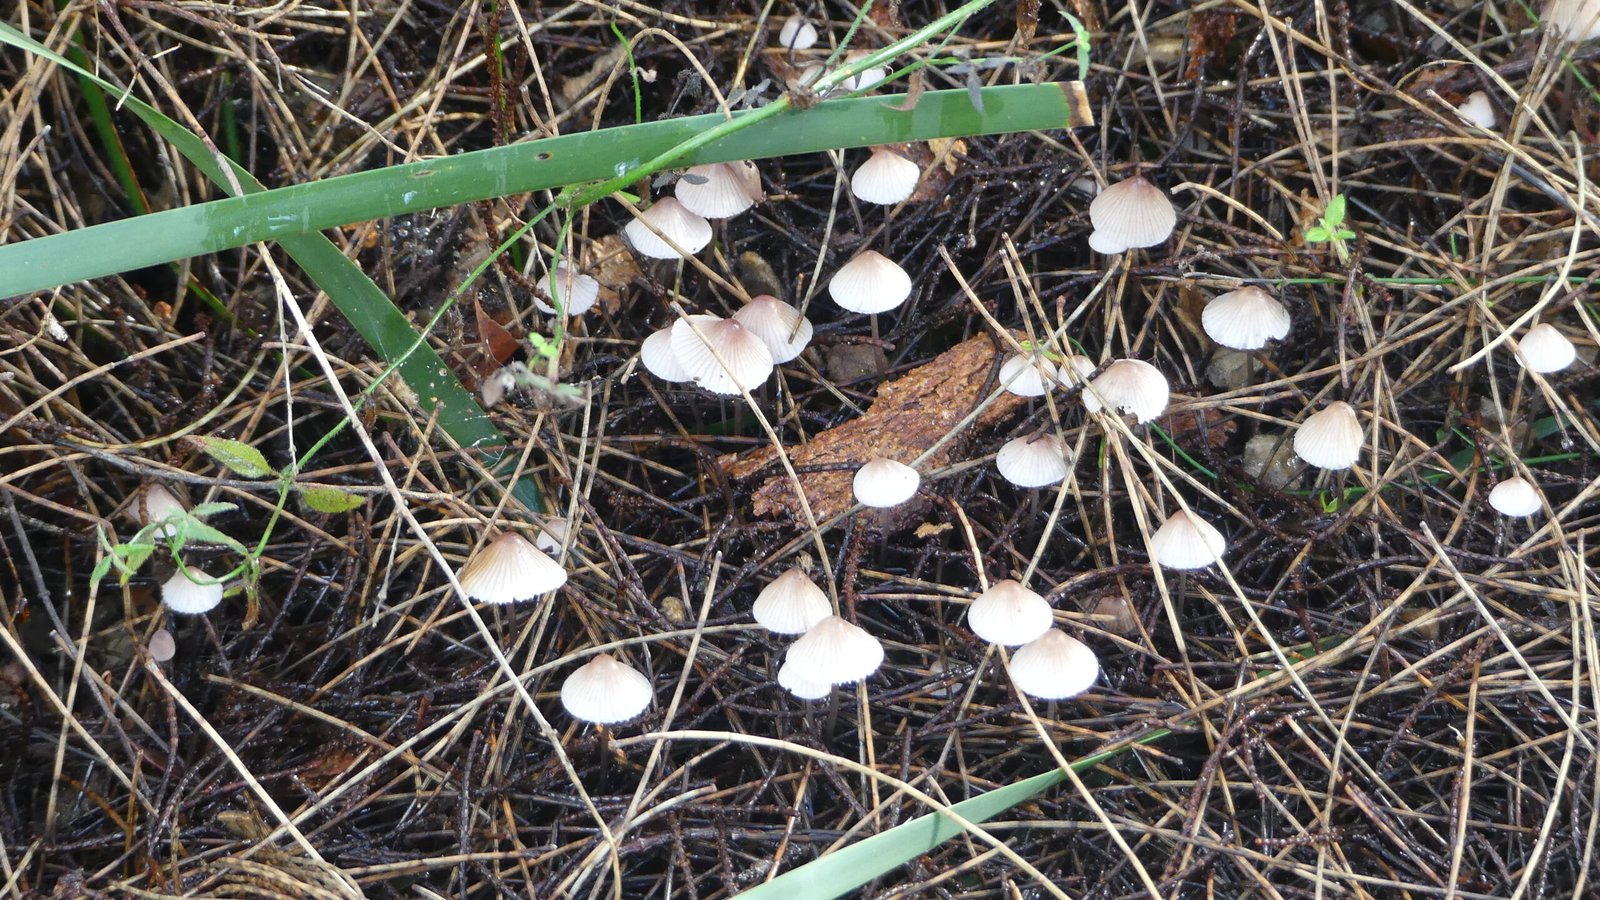
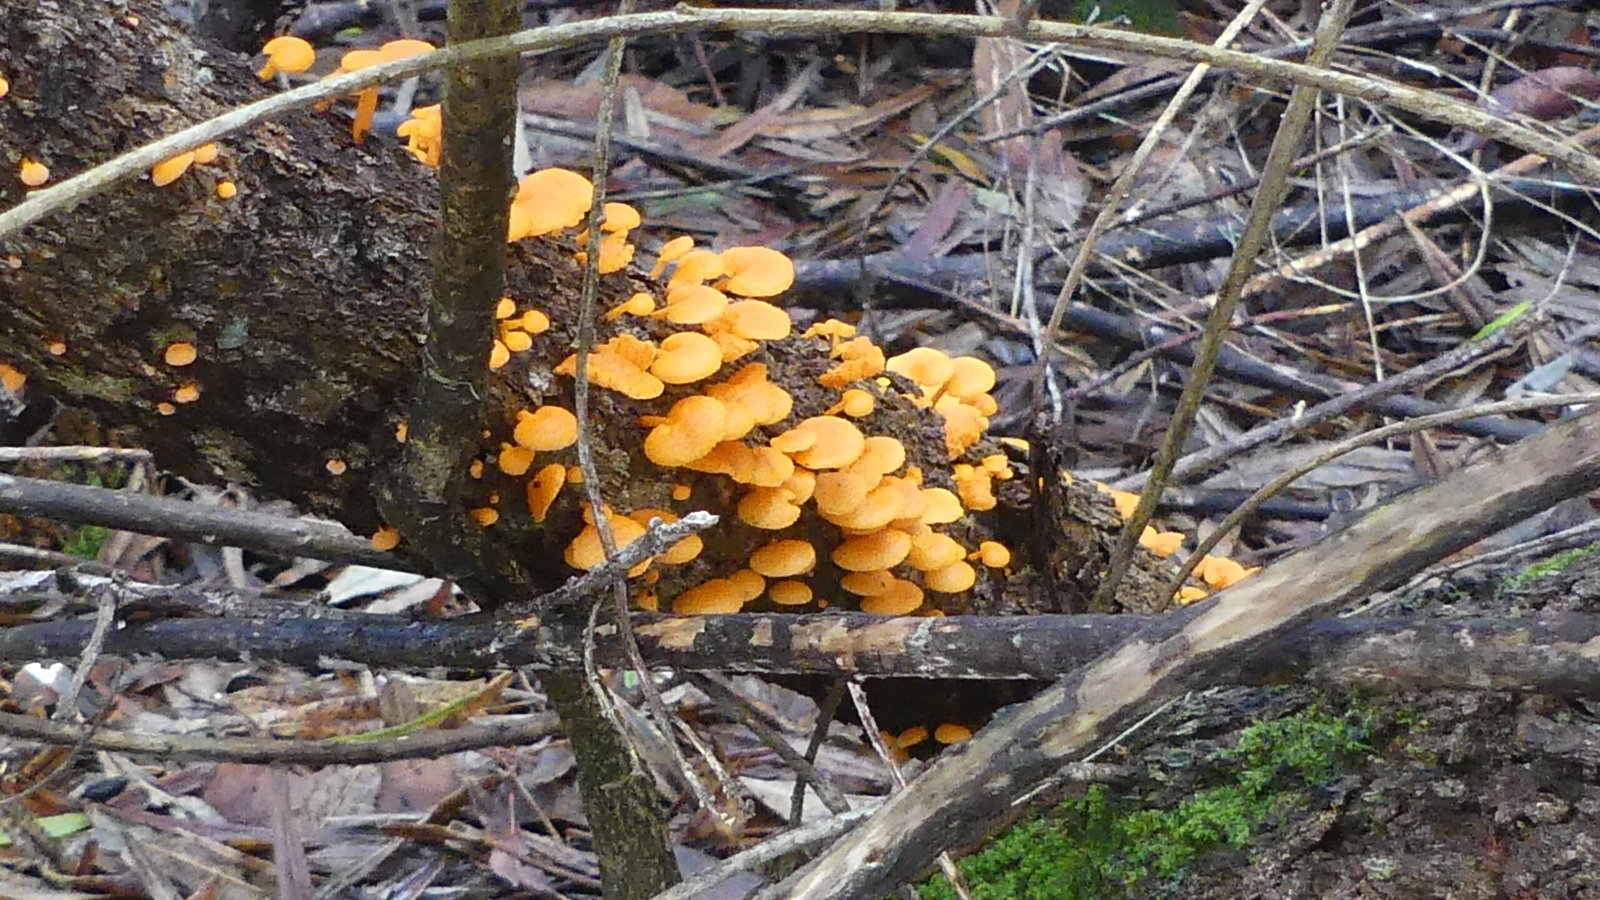
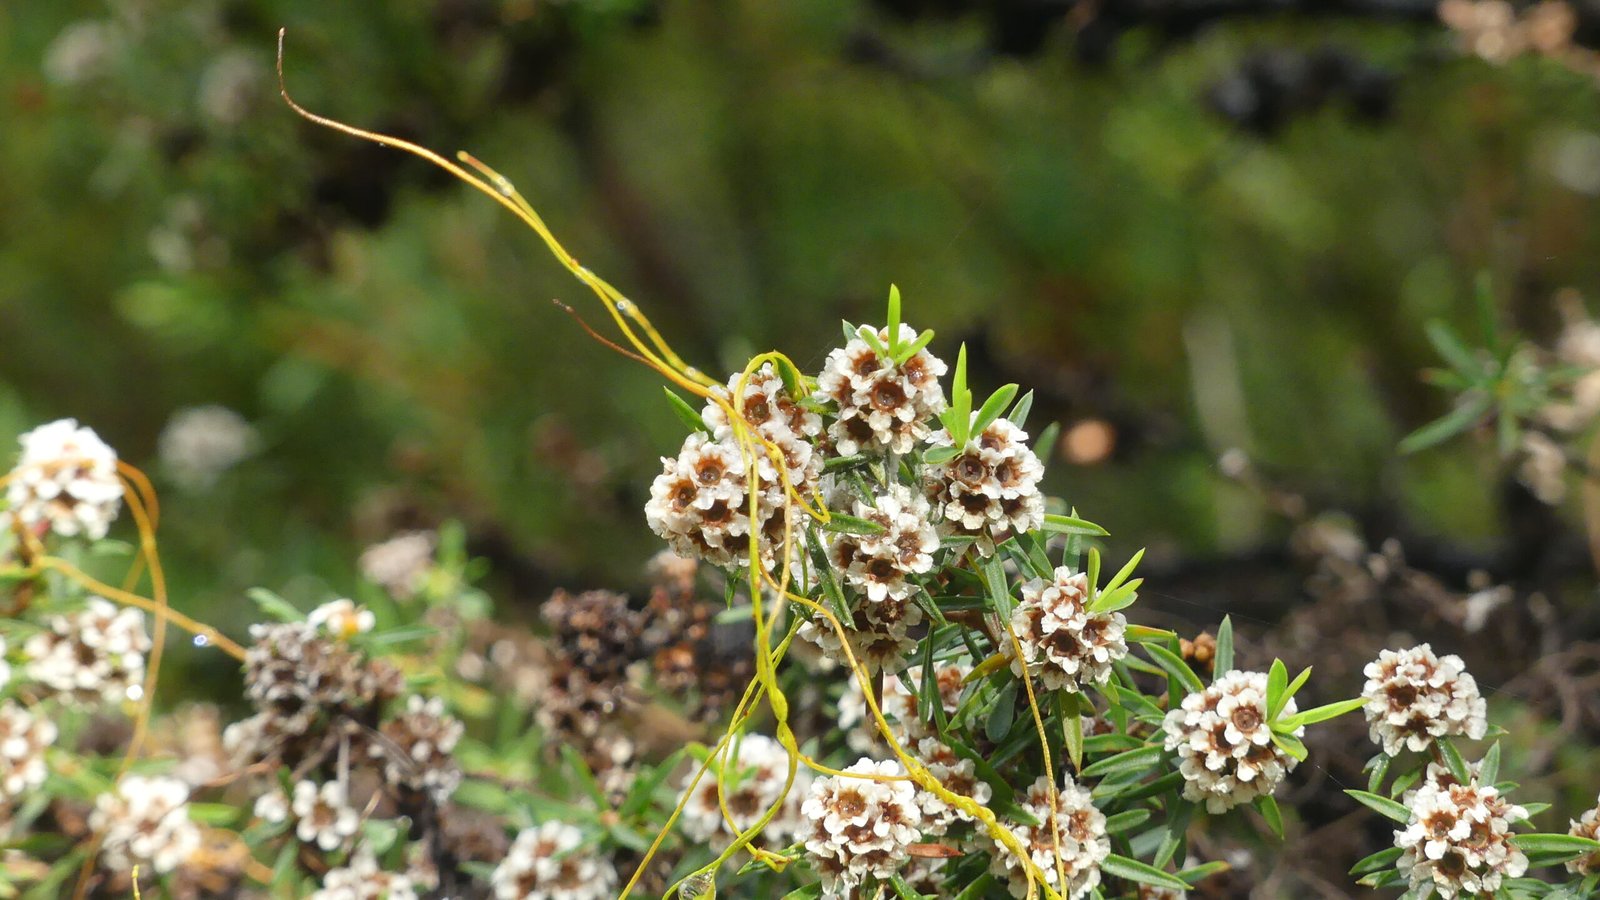
The walk found a few Winter flowering shrubs, an unusual ants nest and a selection of emerging Fungi of various types some pushing through the leaf mould to emerge.
![](https://alloveraustralia.com/wp-content/uploads/2024/06/P1240864-1-1600x900.jpg)
![](https://alloveraustralia.com/wp-content/uploads/2024/06/Walpole-to-Coalmine-Beach-001-P1240866-1600x900.jpg)
![](https://alloveraustralia.com/wp-content/uploads/2024/06/Walpole-to-Coalmine-Beach-002-P1240867-1600x900.jpg)
![](https://alloveraustralia.com/wp-content/uploads/2024/06/Walpole-to-Coalmine-Beach-003-P1240868-1600x900.jpg)
![](https://alloveraustralia.com/wp-content/uploads/2024/06/Walpole-to-Coalmine-Beach-005-P1240871-1600x900.jpg)
![](https://alloveraustralia.com/wp-content/uploads/2024/06/Walpole-to-Coalmine-Beach-006-P1240872-1600x900.jpg)
![](https://alloveraustralia.com/wp-content/uploads/2024/06/Walpole-to-Coalmine-Beach-008-P1240875-1600x900.jpg)
![](https://alloveraustralia.com/wp-content/uploads/2024/06/Walpole-to-Coalmine-Beach-010-P1240877-1600x900.jpg)
![](https://alloveraustralia.com/wp-content/uploads/2024/06/Walpole-to-Coalmine-Beach-011-P1240878-1600x900.jpg)
![](https://alloveraustralia.com/wp-content/uploads/2024/06/Walpole-to-Coalmine-Beach-013-P1240880-1600x900.jpg)
![](https://alloveraustralia.com/wp-content/uploads/2024/06/Walpole-to-Coalmine-Beach-014-P1240881-1600x900.jpg)
![](https://alloveraustralia.com/wp-content/uploads/2024/06/Walpole-to-Coalmine-Beach-016-P1240883-1600x900.jpg)
![](https://alloveraustralia.com/wp-content/uploads/2024/06/Walpole-to-Coalmine-Beach-019-P1240886-1600x900.jpg)
![](https://alloveraustralia.com/wp-content/uploads/2024/06/Walpole-to-Coalmine-Beach-020-P1240887-1600x900.jpg)
![](https://alloveraustralia.com/wp-content/uploads/2024/06/Walpole-to-Coalmine-Beach-021-P1240888-1600x900.jpg)
![](https://alloveraustralia.com/wp-content/uploads/2024/06/Walpole-to-Coalmine-Beach-023-P1240890-1600x900.jpg)
![](https://alloveraustralia.com/wp-content/uploads/2024/06/Walpole-to-Coalmine-Beach-024-P1240891-1600x900.jpg)
![](https://alloveraustralia.com/wp-content/uploads/2024/06/Walpole-to-Coalmine-Beach-025-P1240892-1600x900.jpg)
![](https://alloveraustralia.com/wp-content/uploads/2024/06/Walpole-to-Coalmine-Beach-026-P1240893-1600x900.jpg)
![](https://alloveraustralia.com/wp-content/uploads/2024/06/Walpole-to-Coalmine-Beach-028-P1240896-1600x900.jpg)
![](https://alloveraustralia.com/wp-content/uploads/2024/06/Walpole-to-Coalmine-Beach-029-P1240897-1600x900.jpg)
![](https://alloveraustralia.com/wp-content/uploads/2024/06/Walpole-to-Coalmine-Beach-030-P1240898-1600x900.jpg)
![](https://alloveraustralia.com/wp-content/uploads/2024/06/Walpole-to-Coalmine-Beach-032-P1240901-1600x900.jpg)
![](https://alloveraustralia.com/wp-content/uploads/2024/06/Walpole-to-Coalmine-Beach-033-P1240902-1600x900.jpg)
![](https://alloveraustralia.com/wp-content/uploads/2024/06/Walpole-to-Coalmine-Beach-036-P1240910-1600x900.jpg)
![](https://alloveraustralia.com/wp-content/uploads/2024/06/Walpole-to-Coalmine-Beach-037-P1240912-1600x900.jpg)
![](https://alloveraustralia.com/wp-content/uploads/2024/06/Walpole-to-Coalmine-Beach-039-P1240914-1600x900.jpg)
![](https://alloveraustralia.com/wp-content/uploads/2024/06/Walpole-to-Coalmine-Beach-042-P1240917-1600x900.jpg)
![](https://alloveraustralia.com/wp-content/uploads/2024/06/Walpole-to-Coalmine-Beach-044-P1240919-1600x900.jpg)
![](https://alloveraustralia.com/wp-content/uploads/2024/06/Walpole-to-Coalmine-Beach-046-P1240921-1600x900.jpg)
![](https://alloveraustralia.com/wp-content/uploads/2024/06/Walpole-to-Coalmine-Beach-047-P1240922-1600x900.jpg)
![](https://alloveraustralia.com/wp-content/uploads/2024/06/Walpole-to-Coalmine-Beach-048-P1240923-1600x900.jpg)
![](https://alloveraustralia.com/wp-content/uploads/2024/06/Walpole-to-Coalmine-Beach-049-P1240924-1600x900.jpg)
![](https://alloveraustralia.com/wp-content/uploads/2024/06/Walpole-to-Coalmine-Beach-050-P1240926-1600x900.jpg)
![](https://alloveraustralia.com/wp-content/uploads/2024/06/Walpole-to-Coalmine-Beach-051-P1240927-1600x900.jpg)
![](https://alloveraustralia.com/wp-content/uploads/2024/06/Walpole-to-Coalmine-Beach-054-P1240930-1600x900.jpg)
![](https://alloveraustralia.com/wp-content/uploads/2024/06/Walpole-to-Coalmine-Beach-052-P1240928-1600x455.jpg)
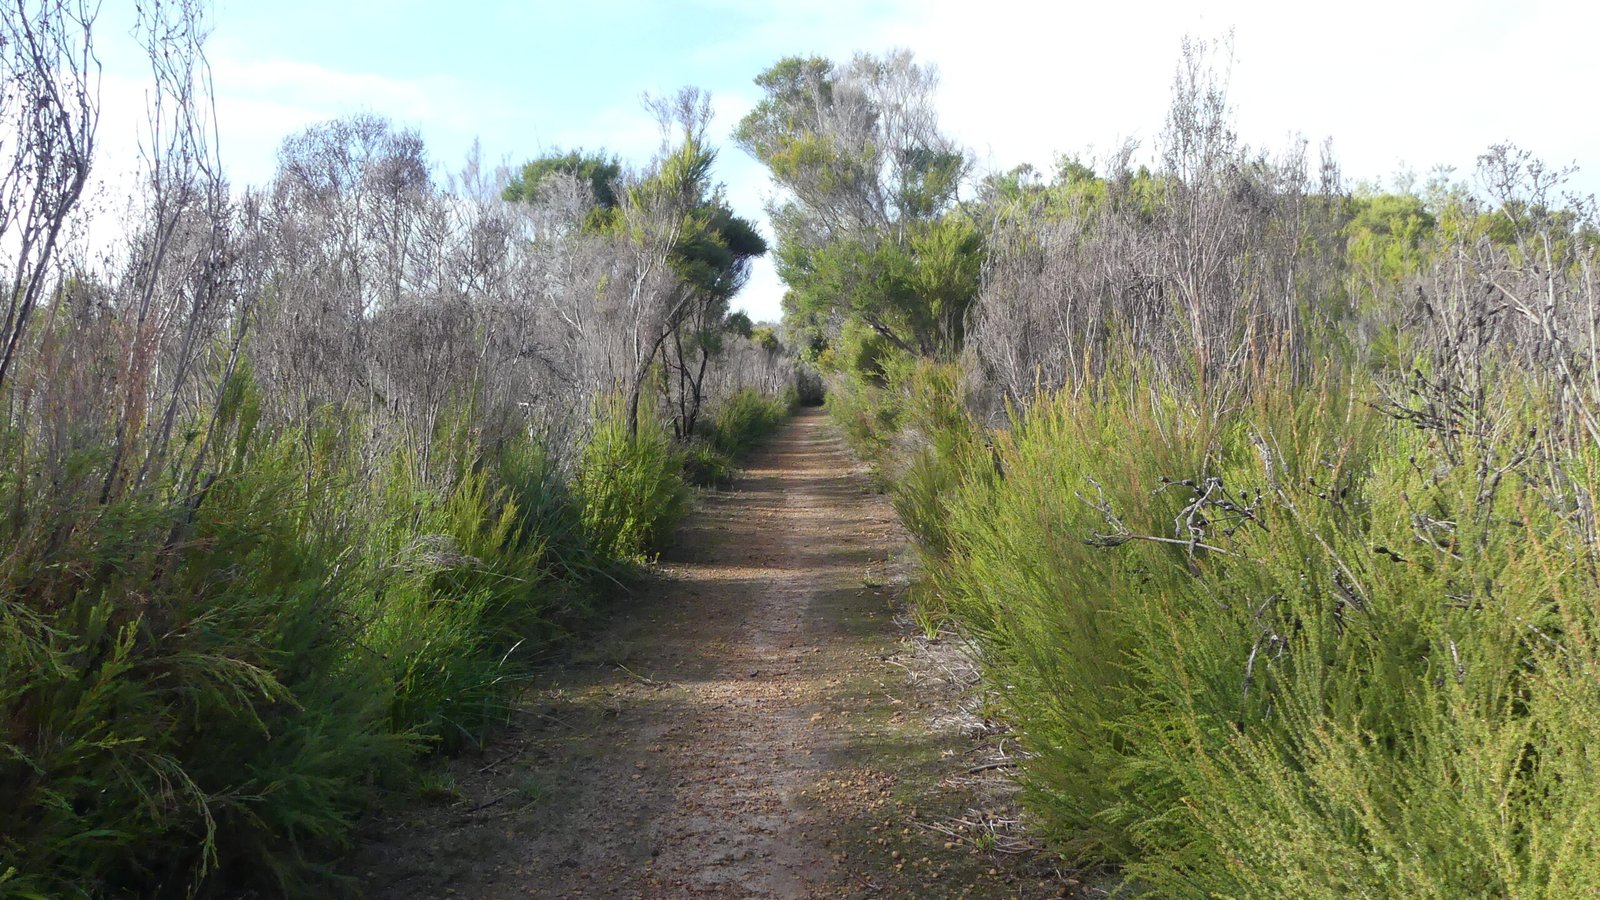
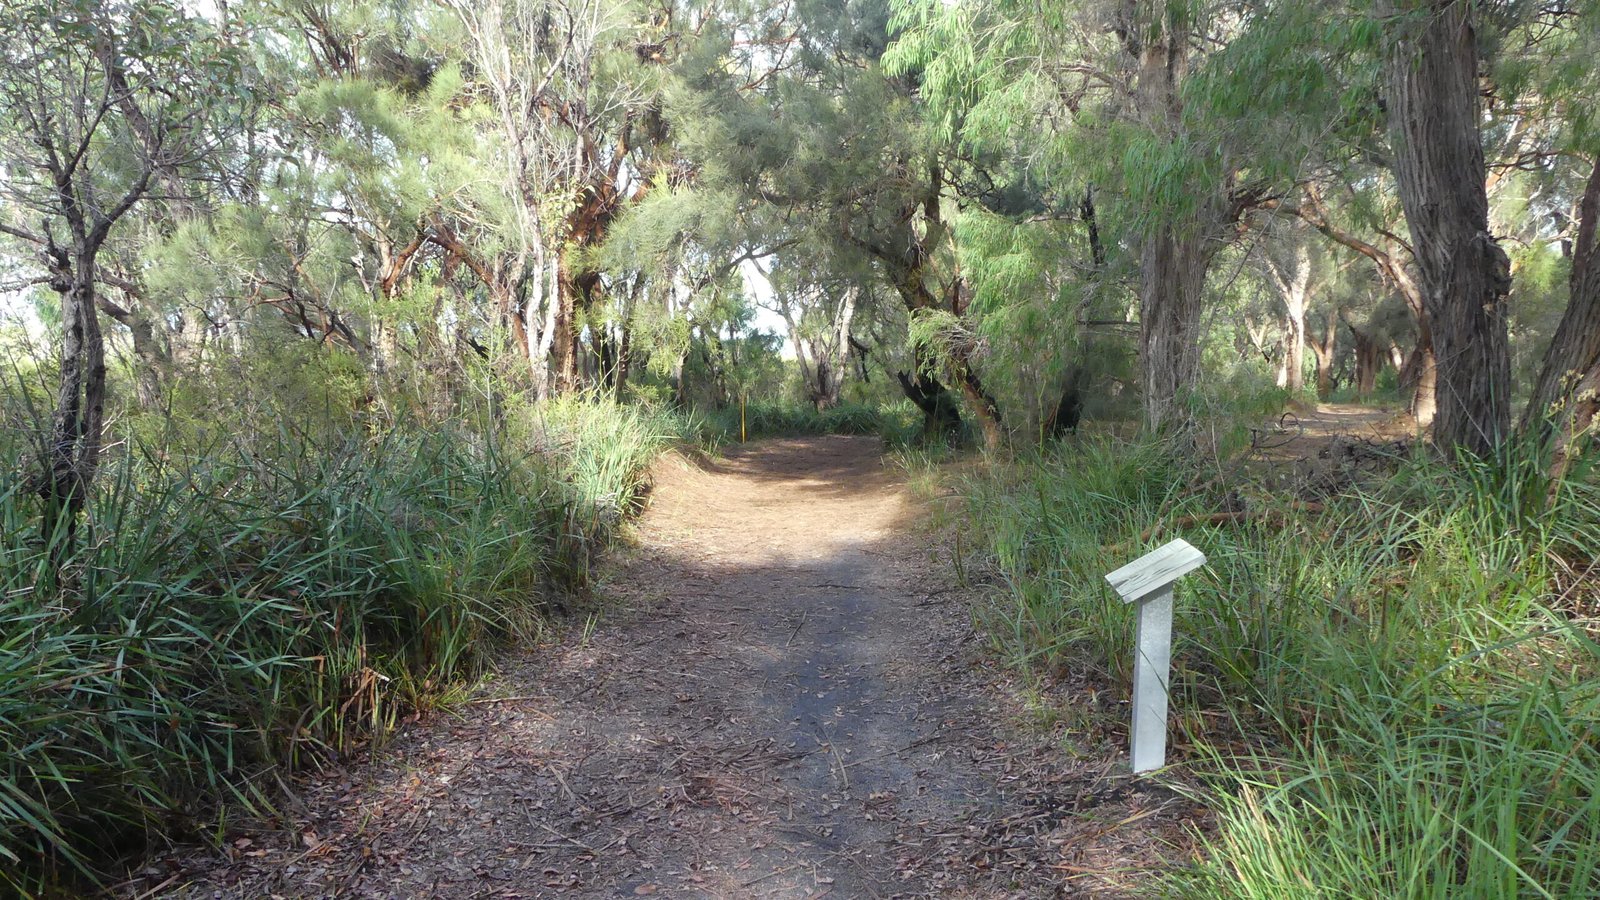
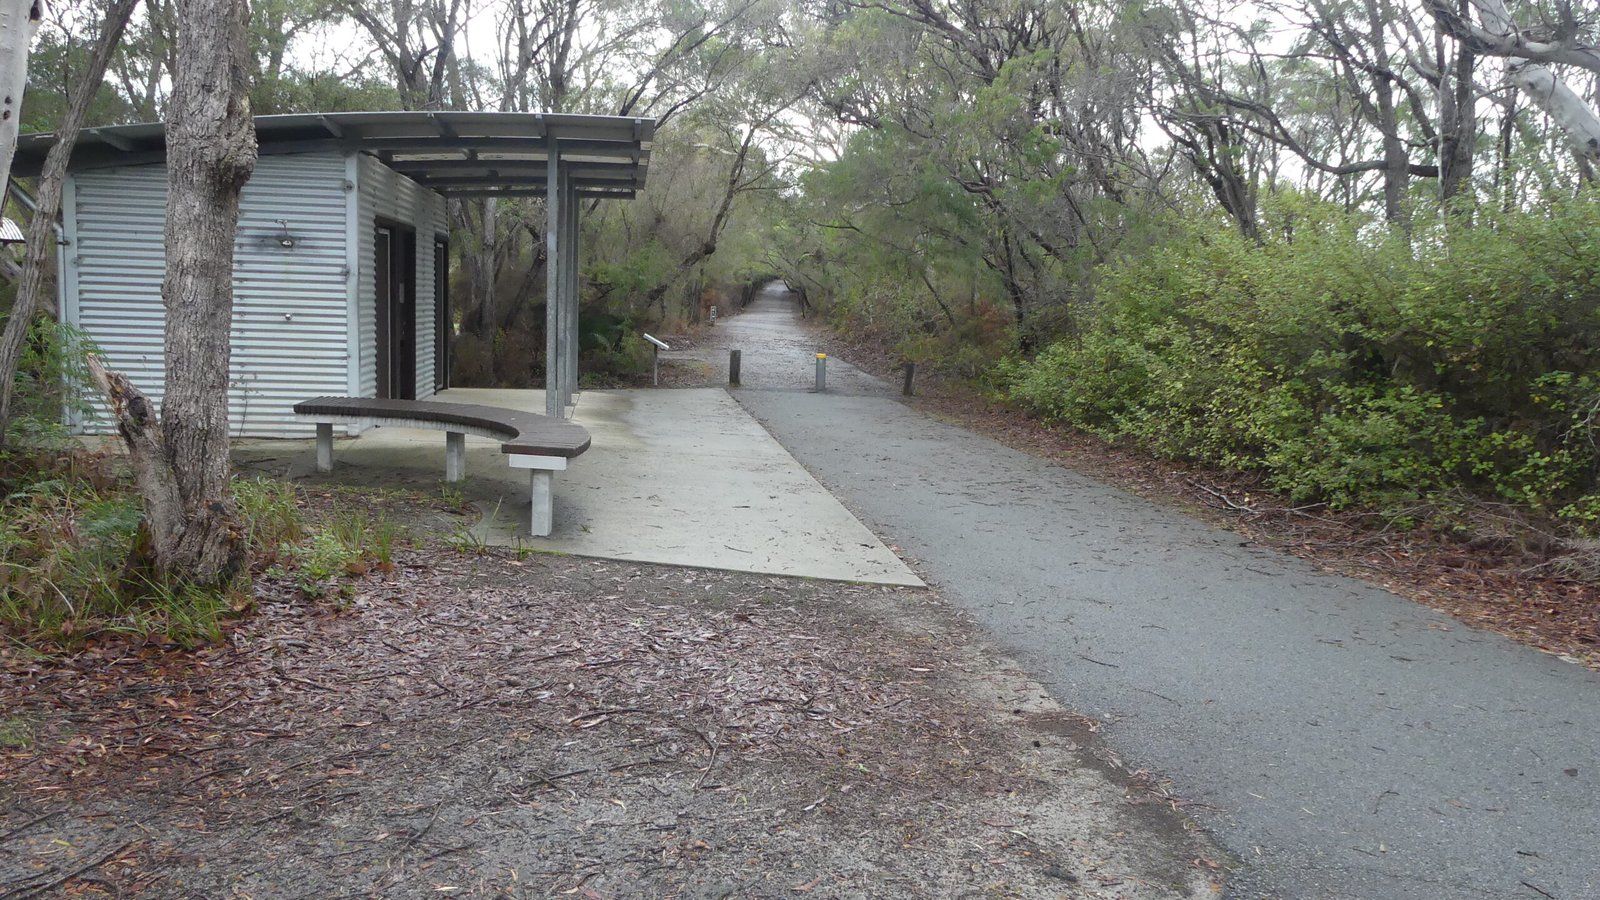
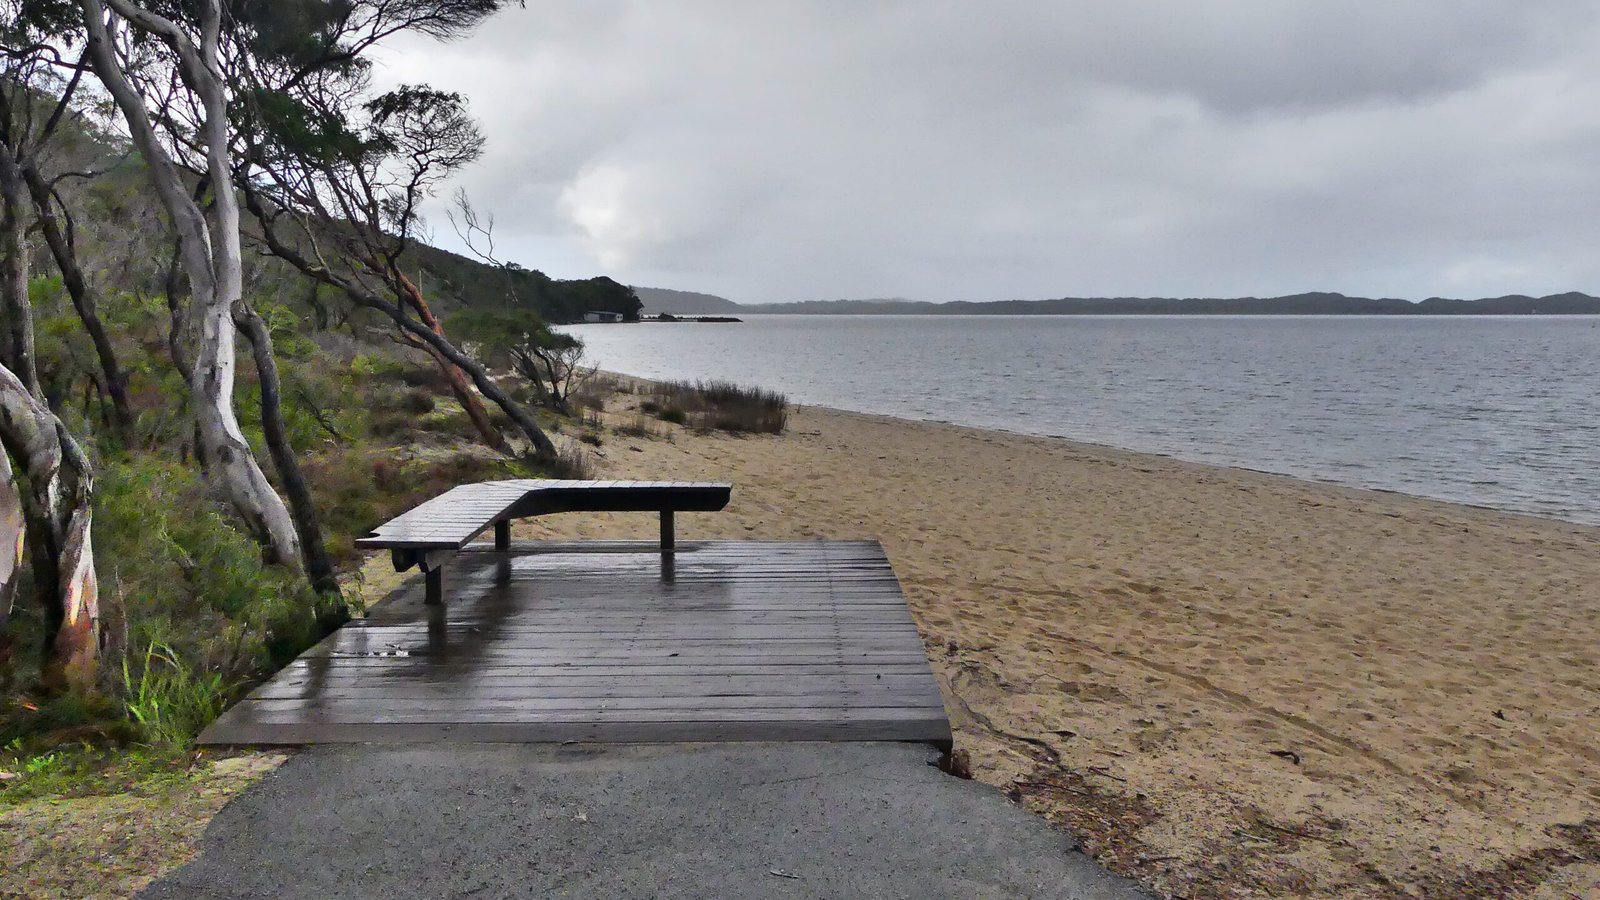
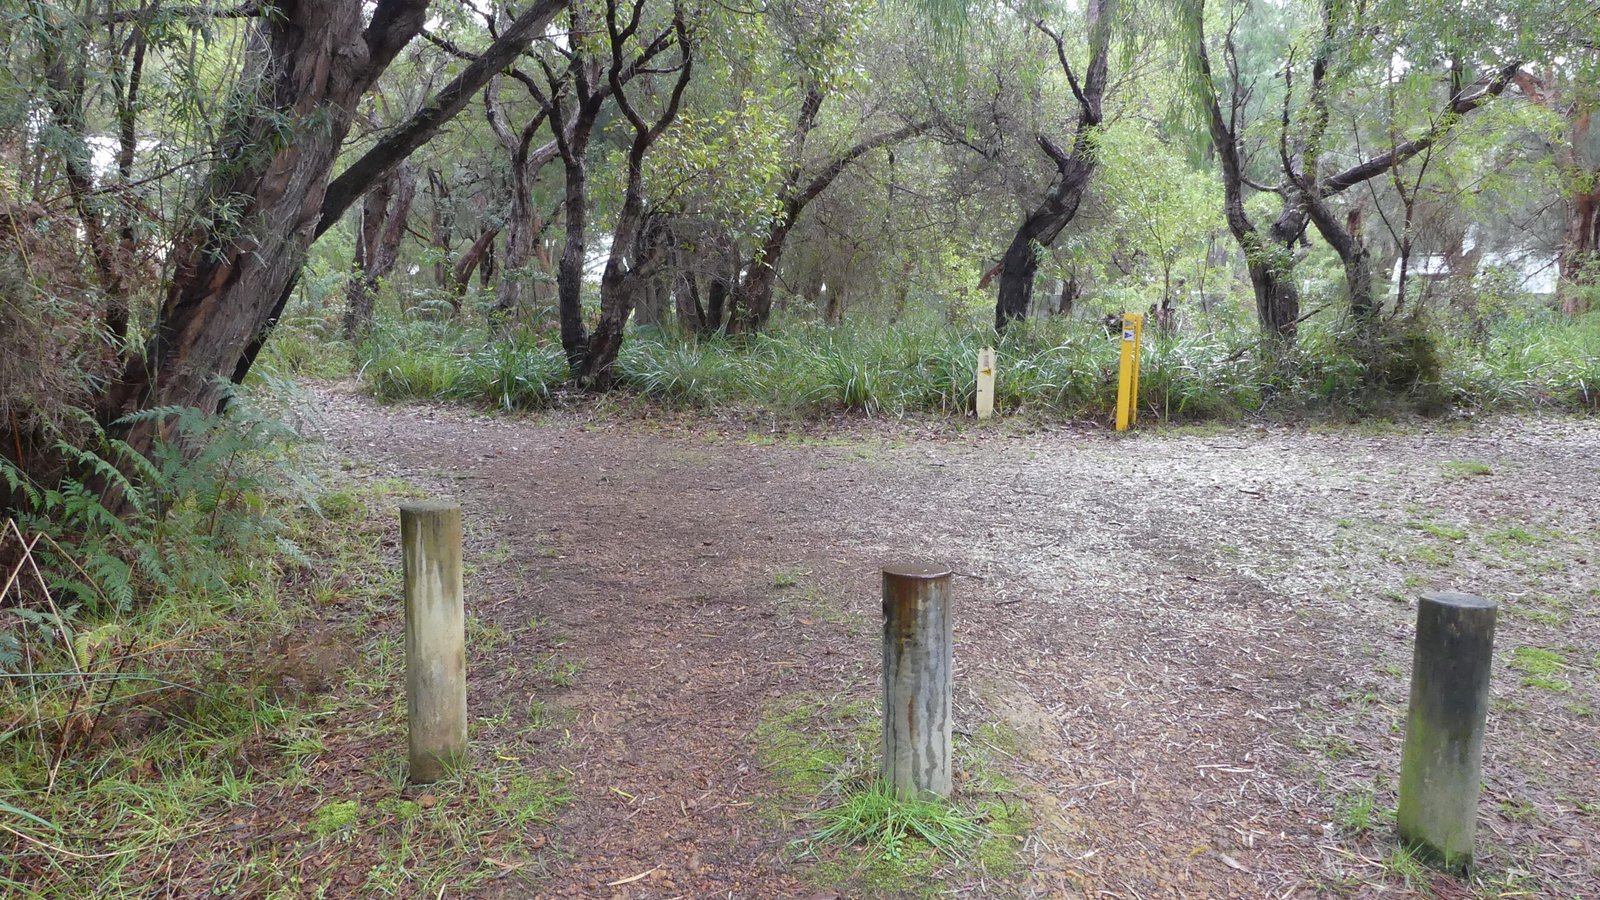
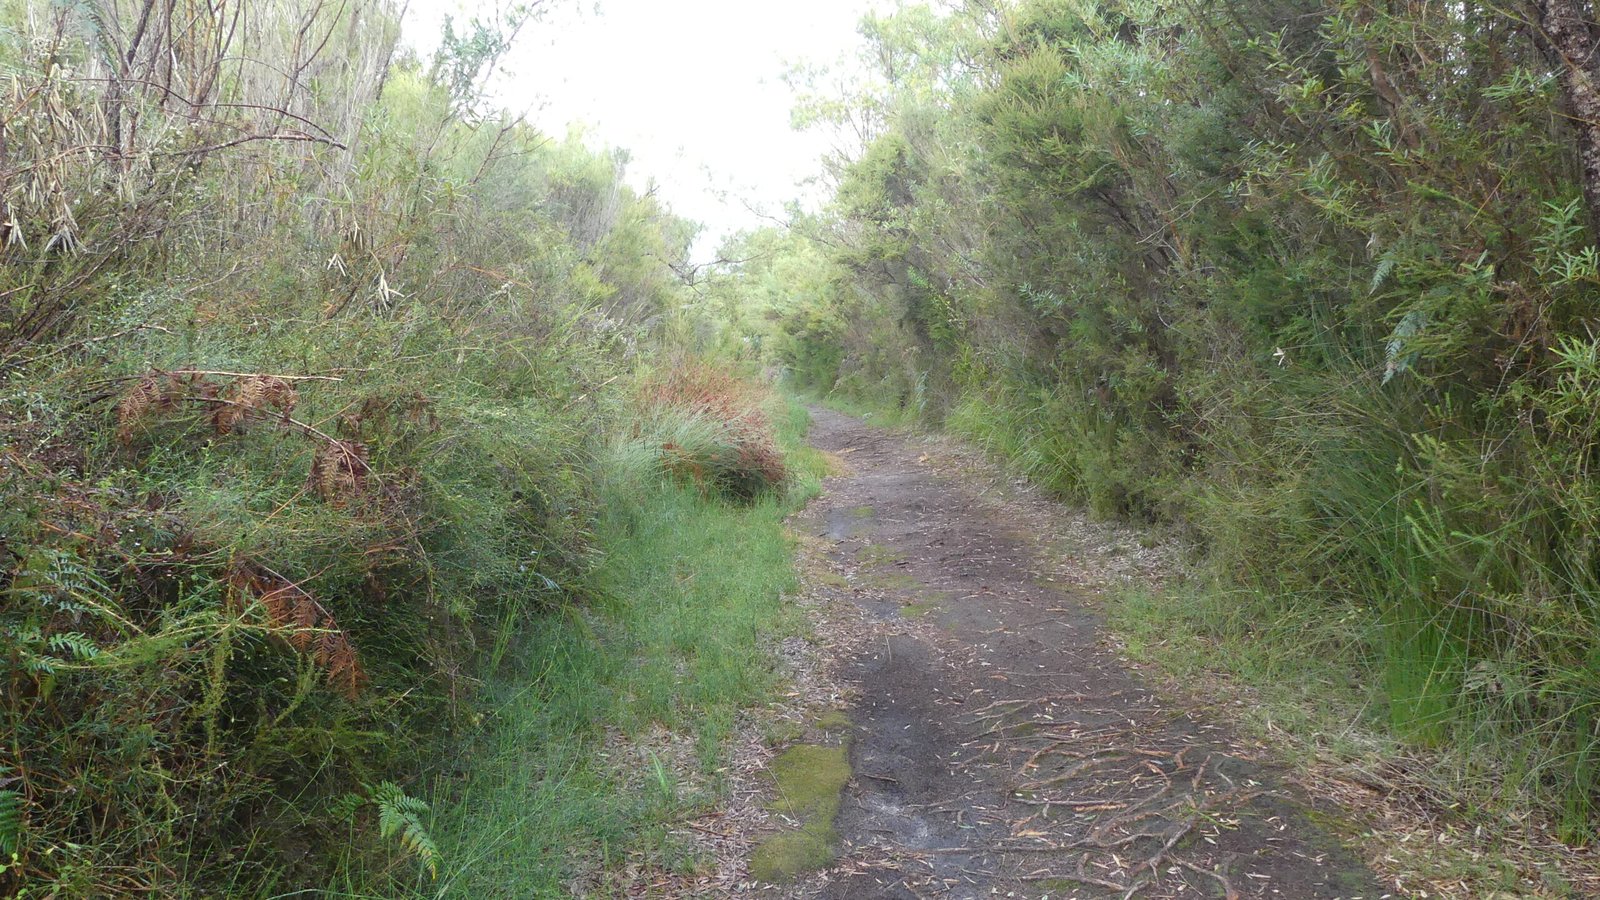
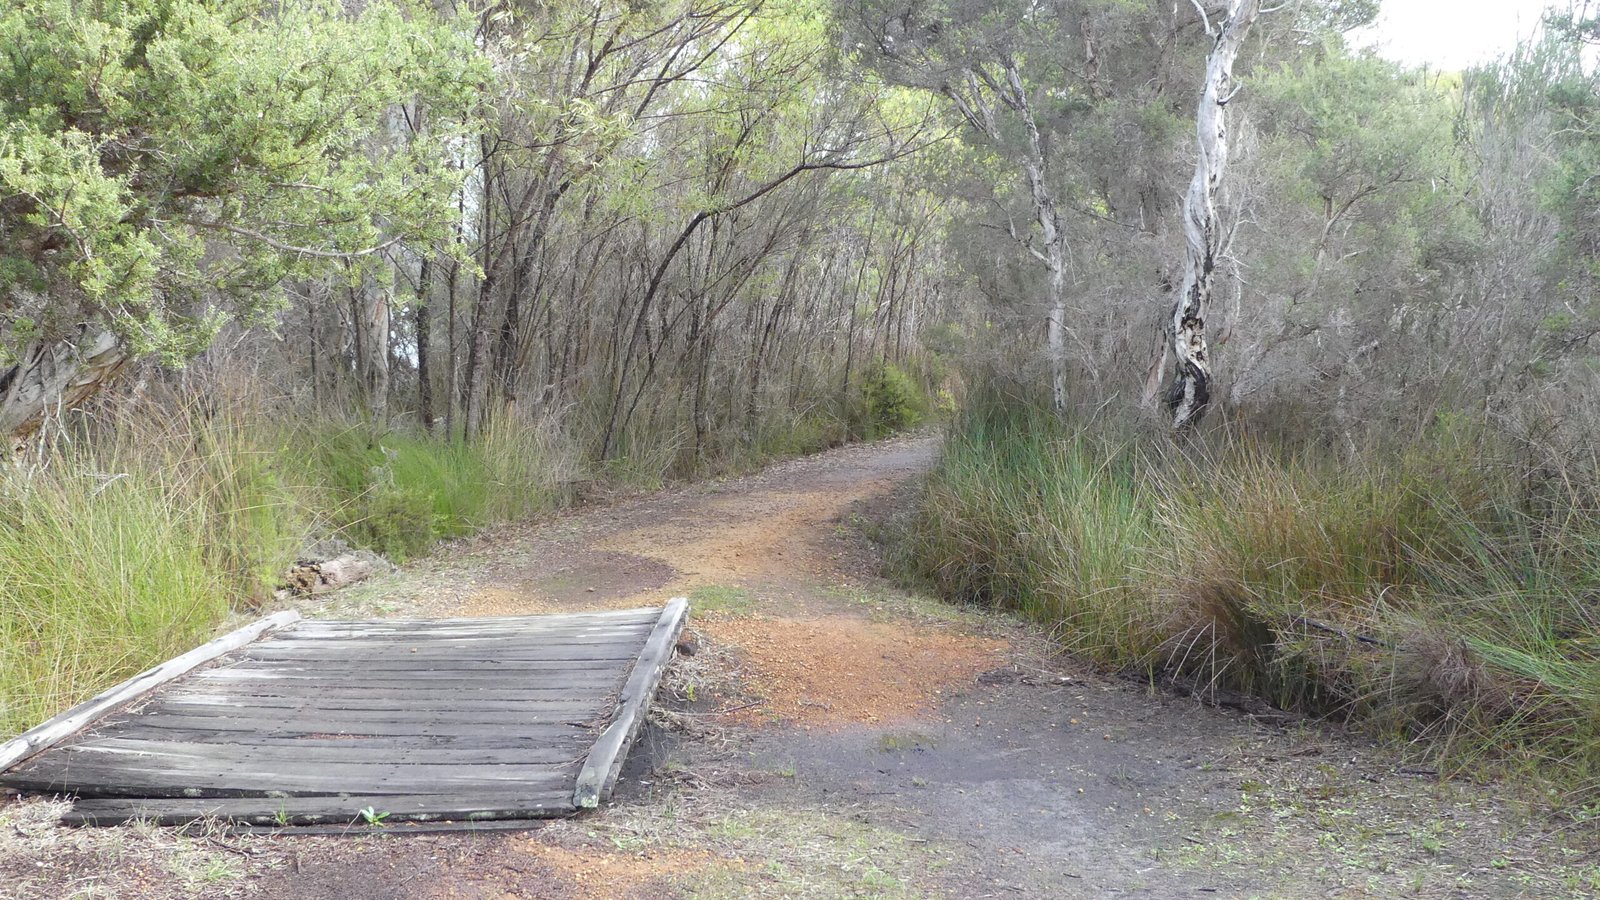
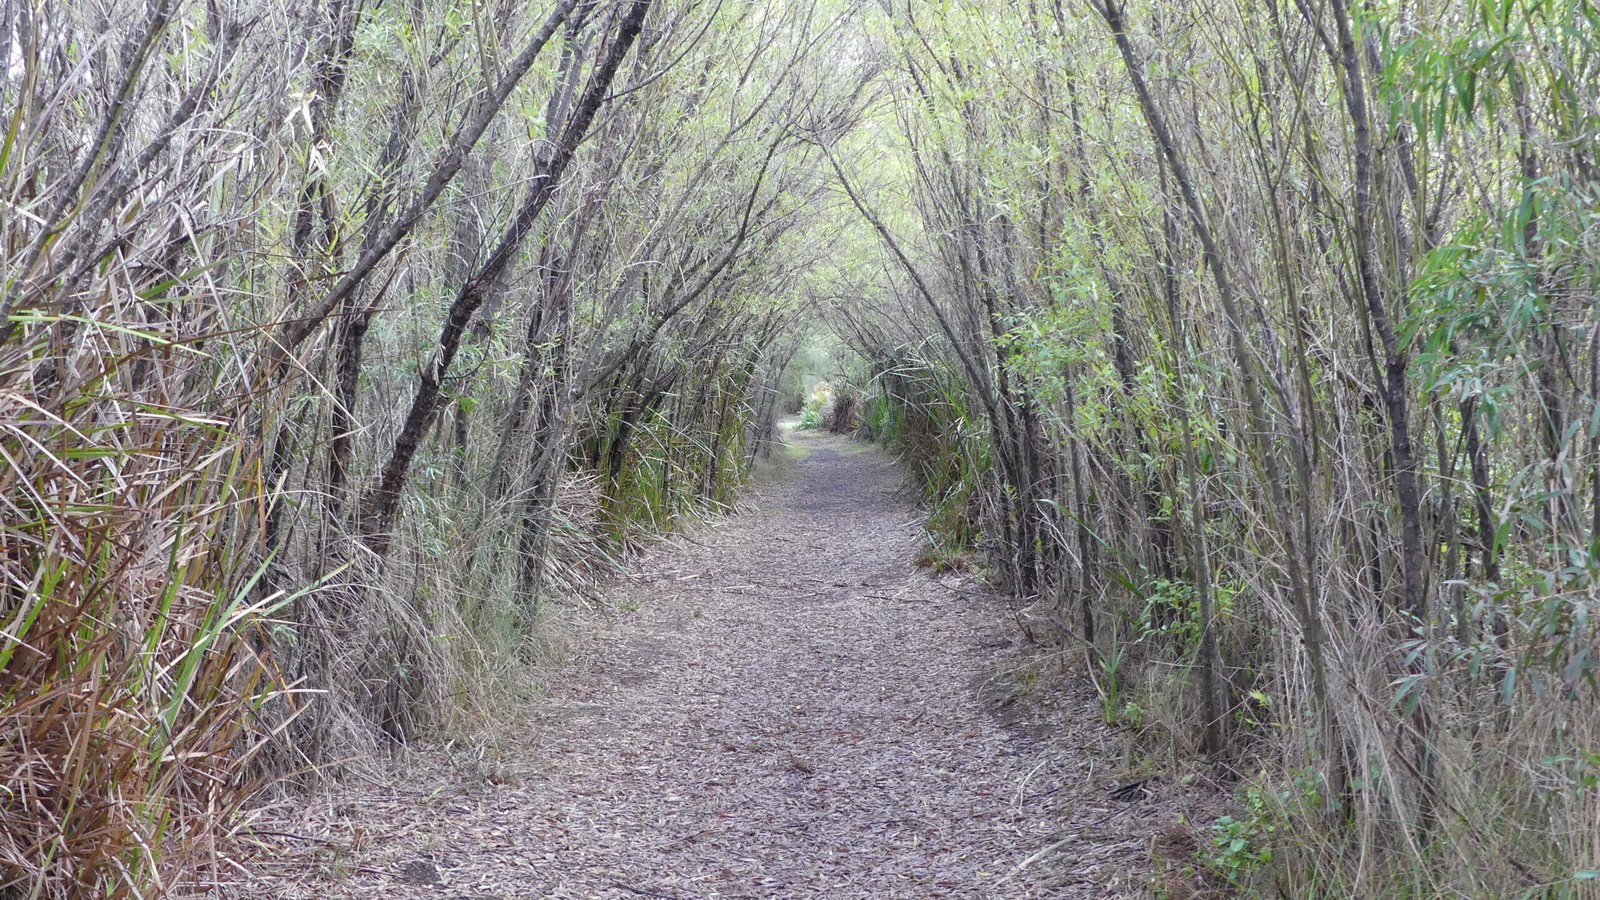
.. and the return walk:
![](https://alloveraustralia.com/wp-content/uploads/2024/06/Walpole-to-Coalmine-Beach-057-P1240933-1600x900.jpg)
![](https://alloveraustralia.com/wp-content/uploads/2024/06/Walpole-to-Coalmine-Beach-060-P1240936-1600x900.jpg)
![](https://alloveraustralia.com/wp-content/uploads/2024/06/Walpole-to-Coalmine-Beach-061-P1240937-1600x900.jpg)
![](https://alloveraustralia.com/wp-content/uploads/2024/06/Walpole-to-Coalmine-Beach-062-P1240938-1600x900.jpg)
![](https://alloveraustralia.com/wp-content/uploads/2024/06/Walpole-to-Coalmine-Beach-064-P1240940-1600x900.jpg)
![](https://alloveraustralia.com/wp-content/uploads/2024/06/Walpole-to-Coalmine-Beach-066-P1240942-1600x900.jpg)
![](https://alloveraustralia.com/wp-content/uploads/2024/06/Walpole-to-Coalmine-Beach-067-P1240943-1600x900.jpg)
![](https://alloveraustralia.com/wp-content/uploads/2024/06/Walpole-to-Coalmine-Beach-068-P1240944-1600x900.jpg)
![](https://alloveraustralia.com/wp-content/uploads/2024/06/Walpole-to-Coalmine-Beach-070-P1240946-1600x900.jpg)
![](https://alloveraustralia.com/wp-content/uploads/2024/06/Walpole-to-Coalmine-Beach-072-P1240948-1600x900.jpg)
![](https://alloveraustralia.com/wp-content/uploads/2024/06/Walpole-to-Coalmine-Beach-073-P1240949-1600x900.jpg)
![](https://alloveraustralia.com/wp-content/uploads/2024/06/Walpole-to-Coalmine-Beach-074-P1240950-1600x900.jpg)
![](https://alloveraustralia.com/wp-content/uploads/2024/06/Walpole-to-Coalmine-Beach-077-P1240957-1600x900.jpg)
![](https://alloveraustralia.com/wp-content/uploads/2024/06/Walpole-to-Coalmine-Beach-079-P1240960-1600x900.jpg)
![](https://alloveraustralia.com/wp-content/uploads/2024/06/Walpole-to-Coalmine-Beach-080-P1240961-1600x900.jpg)
![](https://alloveraustralia.com/wp-content/uploads/2024/06/Walpole-to-Coalmine-Beach-082-P1240963-1600x900.jpg)
![](https://alloveraustralia.com/wp-content/uploads/2024/06/Walpole-to-Coalmine-Beach-084-P1240966-1600x900.jpg)
![](https://alloveraustralia.com/wp-content/uploads/2024/06/Walpole-to-Coalmine-Beach-085-P1240967-1600x900.jpg)
![](https://alloveraustralia.com/wp-content/uploads/2024/06/Walpole-to-Coalmine-Beach-087-P1240969-1600x900.jpg)
![](https://alloveraustralia.com/wp-content/uploads/2024/06/Walpole-to-Coalmine-Beach-090-P1240973-1600x900.jpg)
![](https://alloveraustralia.com/wp-content/uploads/2024/06/Walpole-to-Coalmine-Beach-091-P1240974-1600x900.jpg)
![](https://alloveraustralia.com/wp-content/uploads/2024/06/Walpole-to-Coalmine-Beach-093-P1240975combo-1600x900.jpg)
![](https://alloveraustralia.com/wp-content/uploads/2024/06/Walpole-to-Coalmine-Beach-095-P1240977-1600x900.jpg)
![](https://alloveraustralia.com/wp-content/uploads/2024/06/Walpole-to-Coalmine-Beach-098-P1240980-1600x900.jpg)
![](https://alloveraustralia.com/wp-content/uploads/2024/06/Walpole-to-Coalmine-Beach-100-P1240982-1600x900.jpg)
![](https://alloveraustralia.com/wp-content/uploads/2024/06/Walpole-to-Coalmine-Beach-101-P1240983-1600x900.jpg)
![](https://alloveraustralia.com/wp-content/uploads/2024/06/Walpole-to-Coalmine-Beach-104-P1240986-1600x900.jpg)
![](https://alloveraustralia.com/wp-content/uploads/2024/06/Walpole-to-Coalmine-Beach-107-P1240989-1600x900.jpg)
![](https://alloveraustralia.com/wp-content/uploads/2024/06/Walpole-to-Coalmine-Beach-110-P1240992-1600x900.jpg)
![](https://alloveraustralia.com/wp-content/uploads/2024/06/Walpole-to-Coalmine-Beach-111-P1240993-1600x900.jpg)
![](https://alloveraustralia.com/wp-content/uploads/2024/06/Walpole-to-Coalmine-Beach-112-P1240994-1600x900.jpg)
![](https://alloveraustralia.com/wp-content/uploads/2024/06/Walpole-to-Coalmine-Beach-113-P1240995-1600x900.jpg)
![](https://alloveraustralia.com/wp-content/uploads/2024/06/Walpole-to-Coalmine-Beach-114-P1240996-1600x900.jpg)